
Making your own cushions is a great project to personalise your space and using an envelope opening makes this project really quick and easy. If you have a sewing machine you should be able to produce a cushion over in around 30 minutes.
You will need:
a cushion (mine is 18" square)
your chosen fabric
matching thread
pencil or fabric chalk
long ruler / tape measure
sharp scissors / rotary cutter
iron & ironing board at the ready
Your fabric
I have chosen to use this floral linen which has a bold and colourful design. The fabric has a big repeat and I want to make sure that the front on my cushion has the colourful pattern and the reverse has the grey pattern.
If you have a pattern on your fabric make sure that you consider the direction and size of the pattern when you are measuring & cutting.

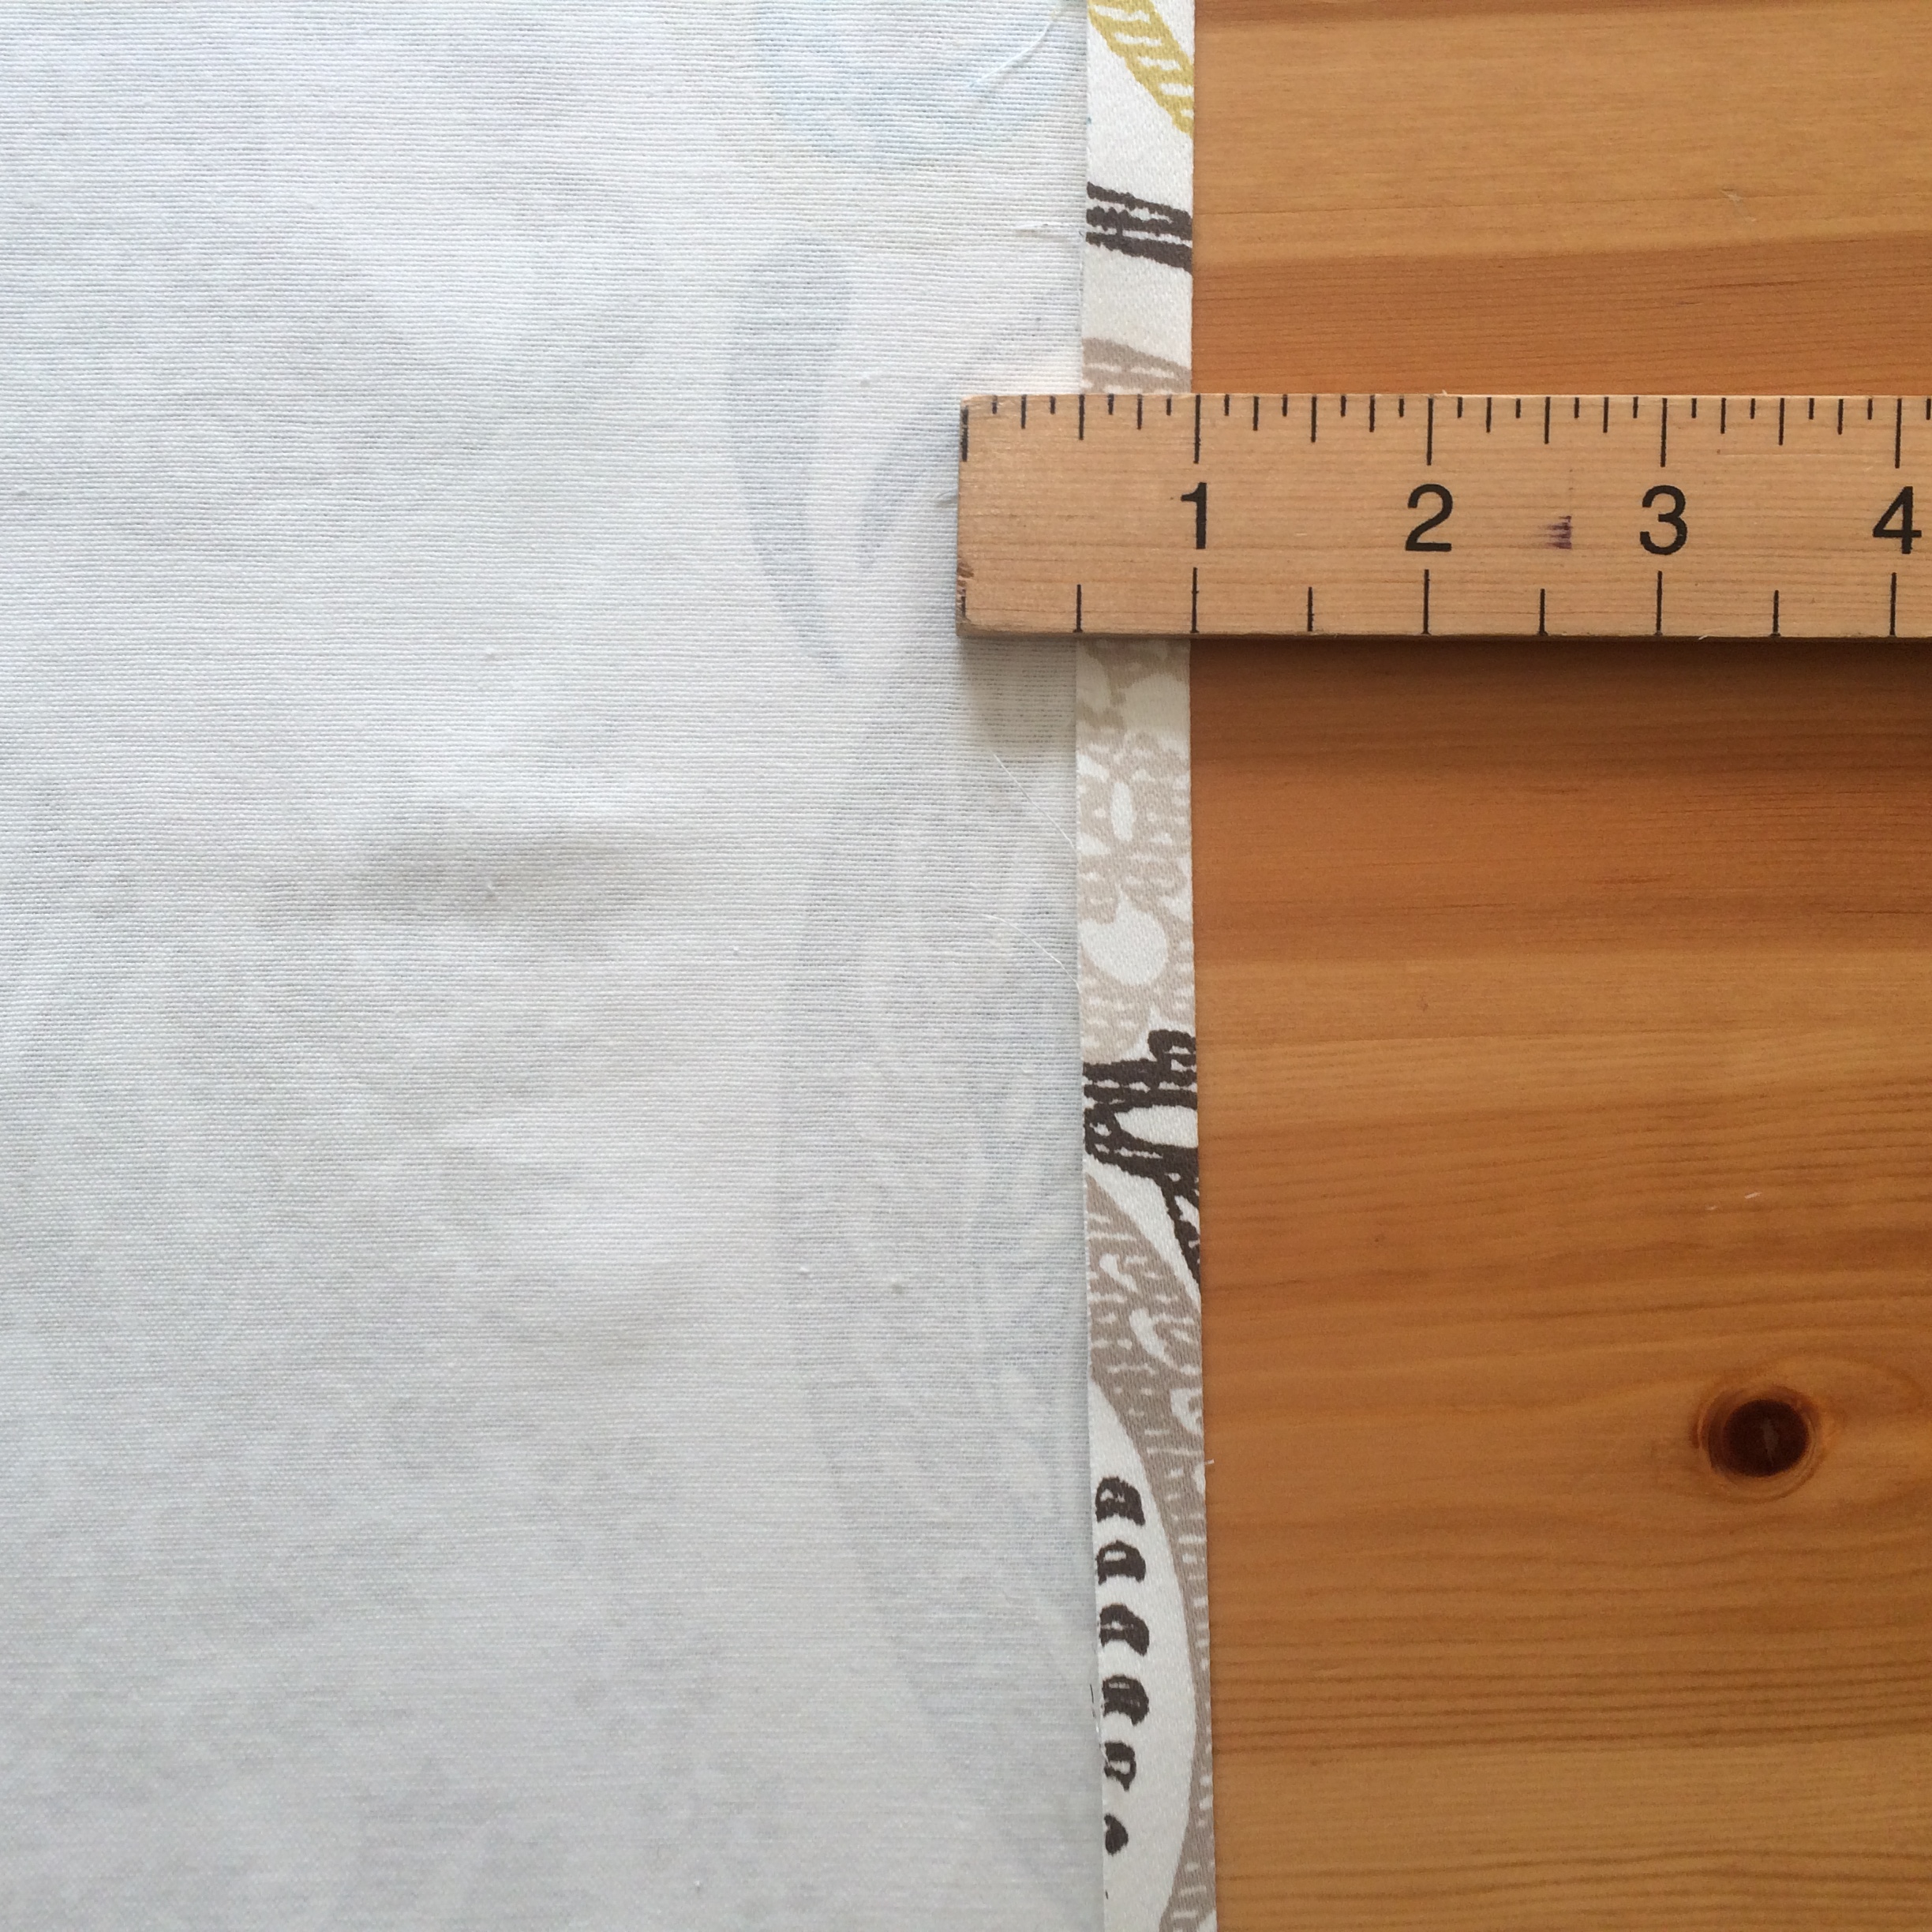
Step 1 - Measuring & cutting
This pattern uses a single piece of fabric so you will need to calculate the length of your fabric to cover the front and back and the overlapping opening sections. This is your calculation:
Width of cushion = x
Length of cushion = y
Width of fabric = x + ½" + ½" - this gives you the width to cover the cushion plus a 1/2" seam allowance on either side.
Length of fabric = y + (2/3 of y +1") + (2/3 of y + 1") - this gives you the length to cover your cushion plus two sections to cover the reverse which overlap by 1/3 of the length of the cushion. In my example my cushion is 18" square so my piece of fabric is 19" x 44", i.e.
Width = 18” + ½" + ½" = 19”
Length = 18 + ( (18 ÷ 3) x 2) + 1” + ( (18 ÷ 3) x 2) + 1” = 18” + 12” + 1” + 12” + 1” = 44”

Step 2 – Hemming the short ends
The short ends are hemmed to give a nice neat finish to the envelope opening and to stop the fabric from fraying.
Fold the edge over by ½” and press. Fold the edge over by ½” again enclosing the first fold, and press. You have now folded over 1" in total from each of the short ends.
Sew a neat line along the open edge to fix the hem in place. You can use a matching thread or something contrasting, in my example I have used white thread.


Once both short ends are hemmed press the piece again.
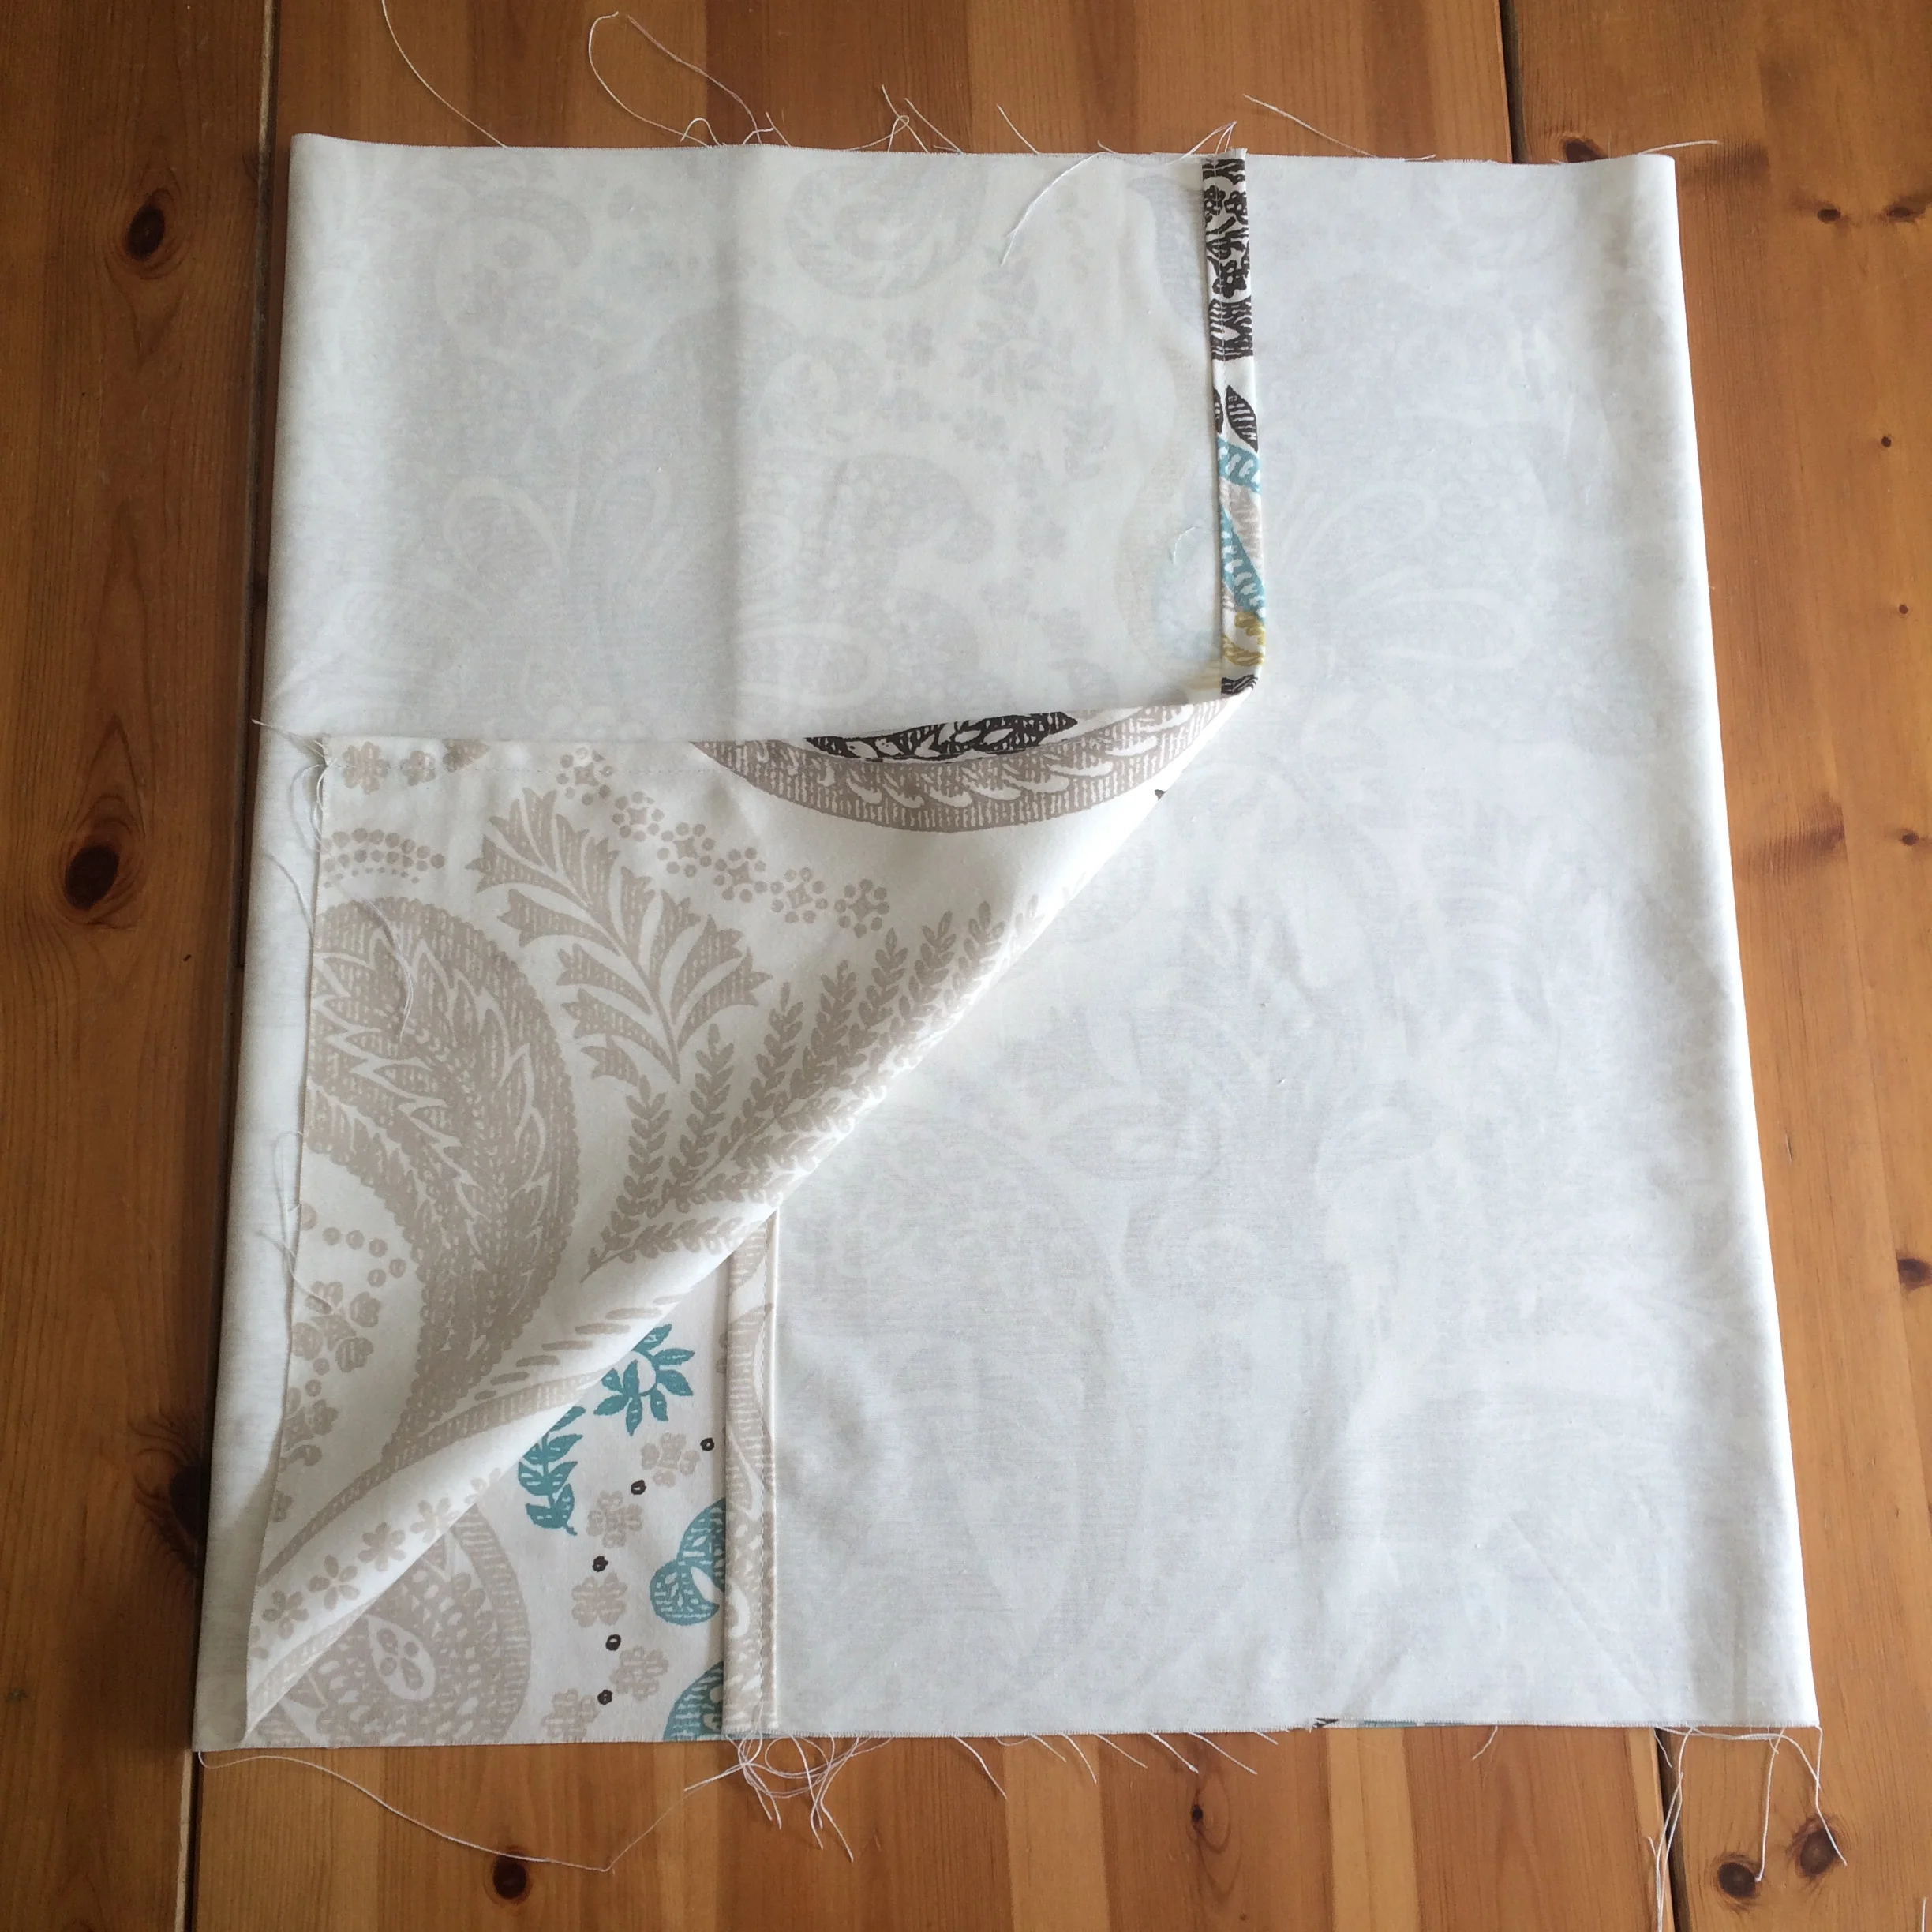
Step 3 – Making the envelope
Lie your piece of fabric face down and measure along the long edge from the hemmed edge. Measure 2/3 of the length of your cushion and mark a line, this line indicates where you will make your fold. Repeat this at the other end of your fabric. My cushion is 18" so 2/3 of this is 12". I measured and marked my line 12" from the hem running parallel to the hem.

Place your fabric right side up and fold each end towards the centre, rights sides together, along the new lines that you have drawn. Your ends will overlap by 1/3 the length of your cushion. In my example the ends overlap by 6" which is a third of my cushion length.
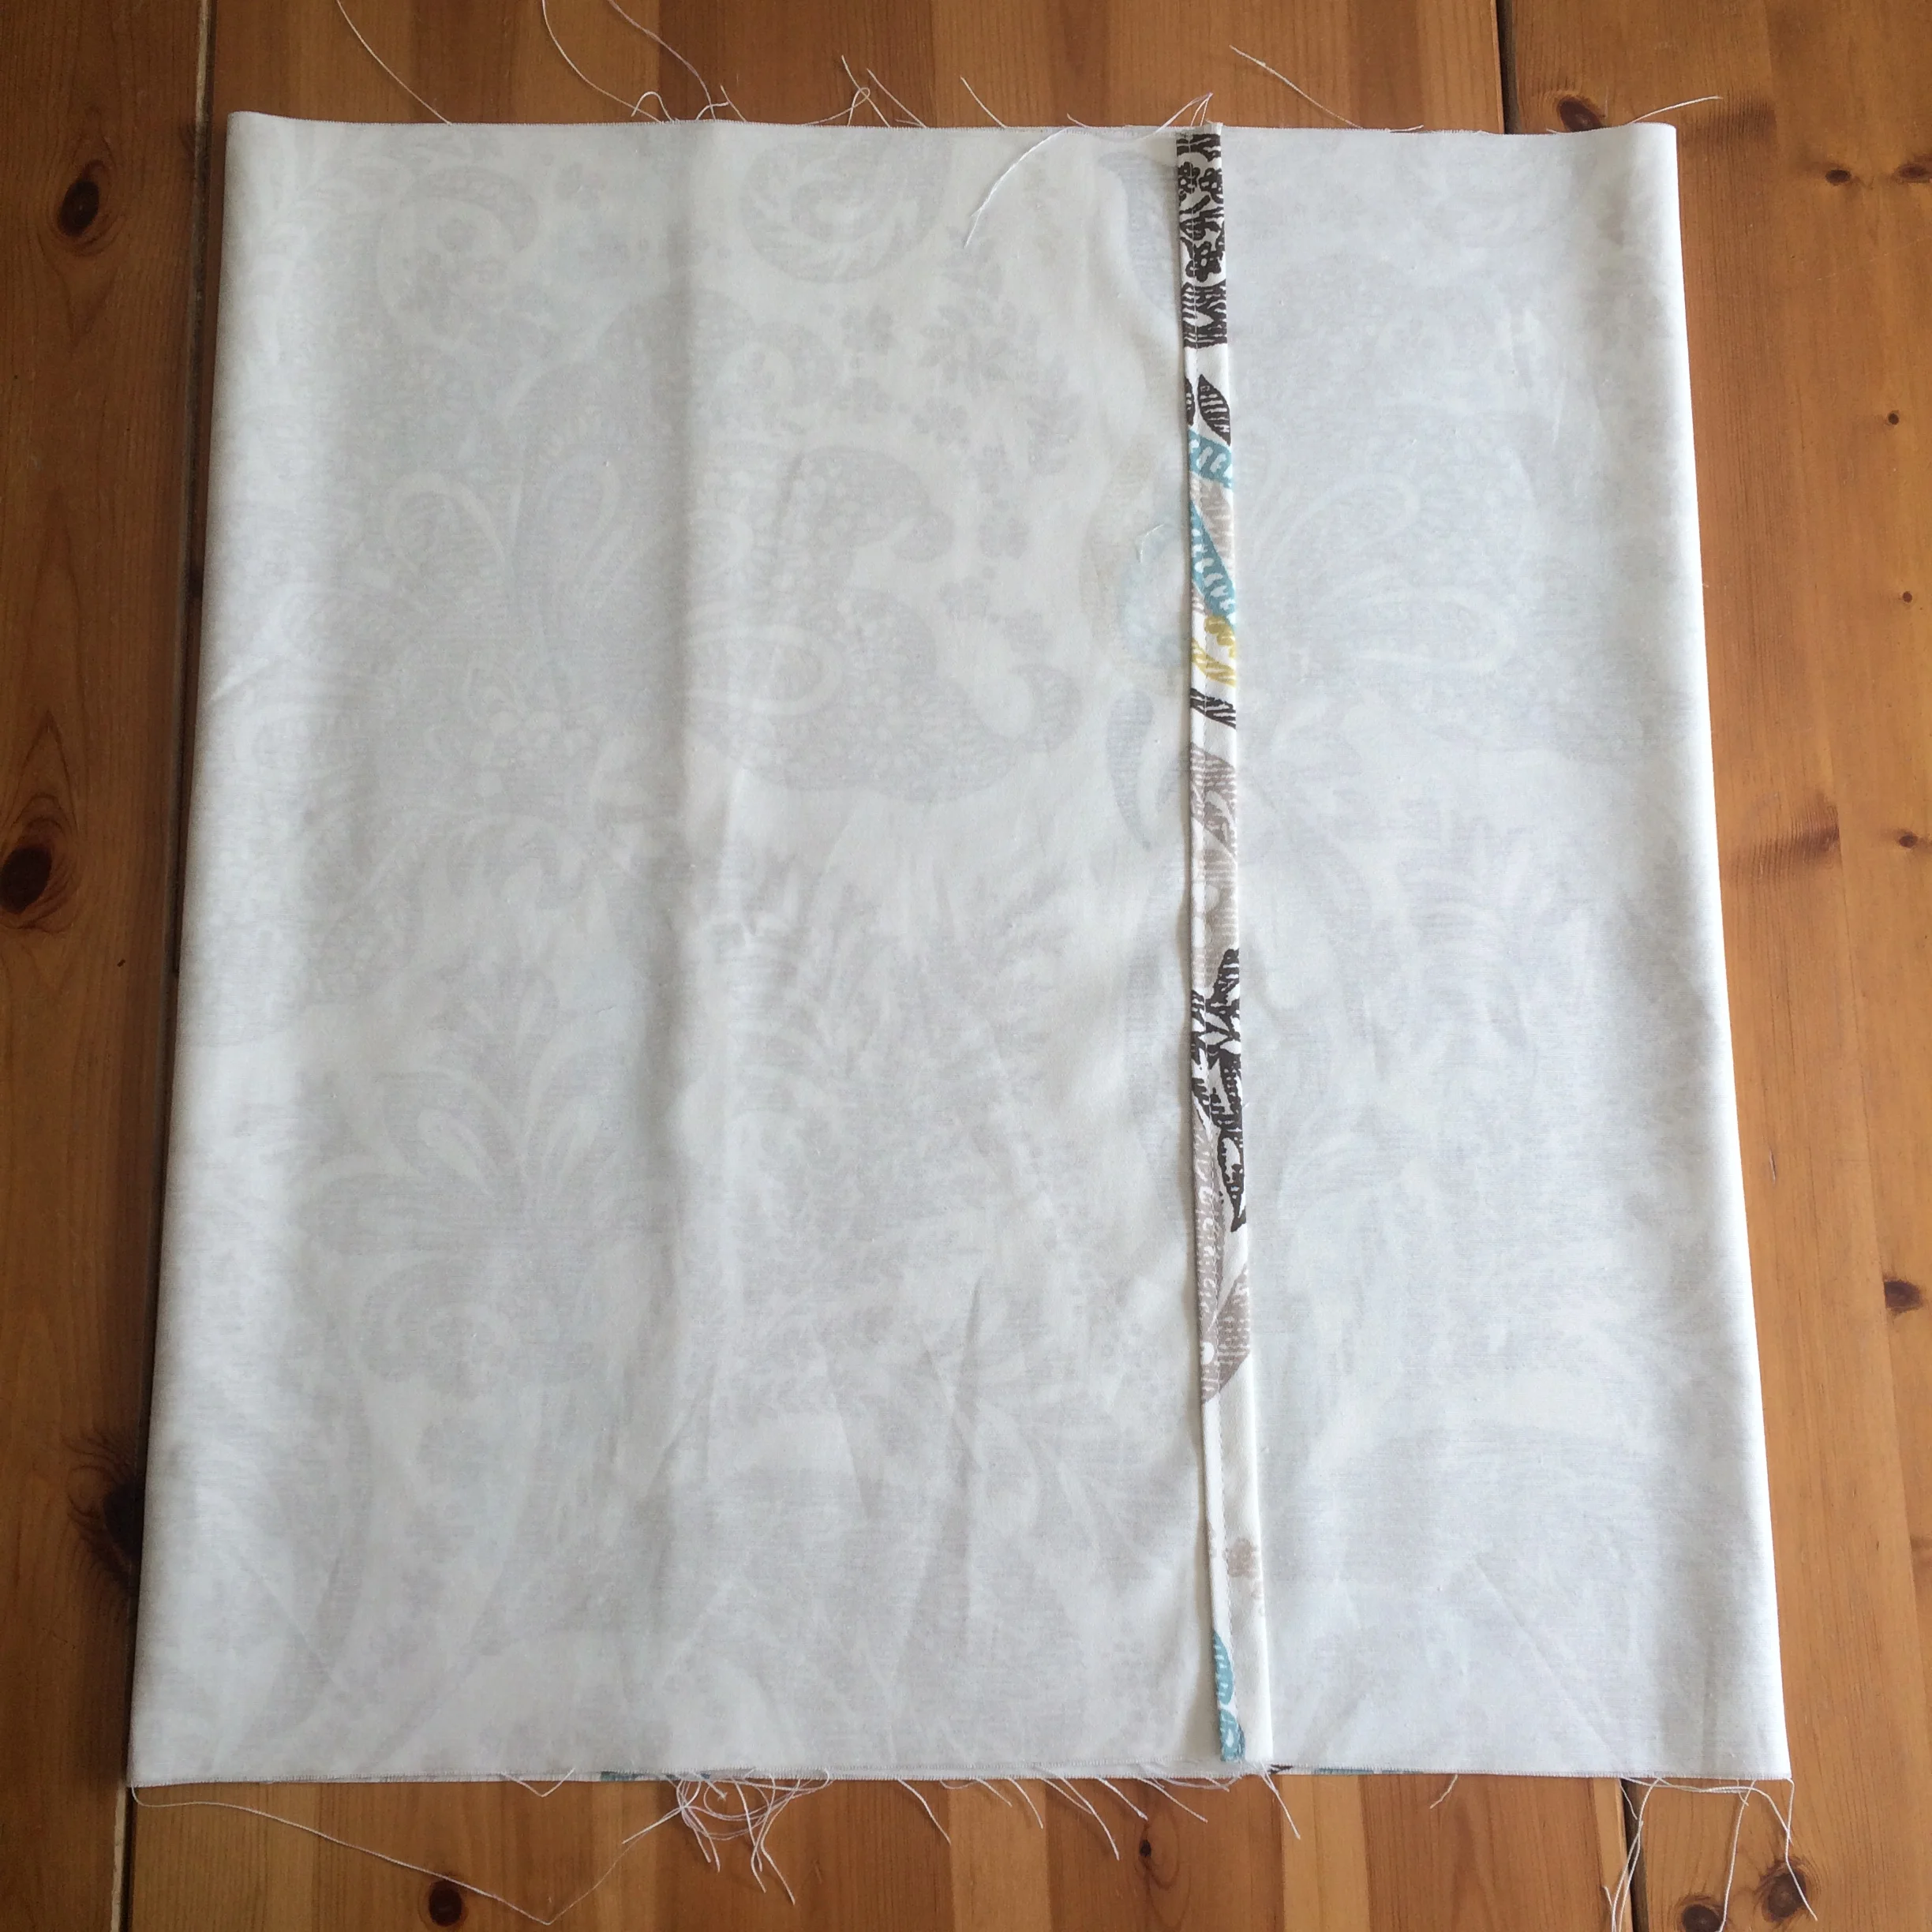
Align the edges of your fabric and pin in place securely, ready to sew.
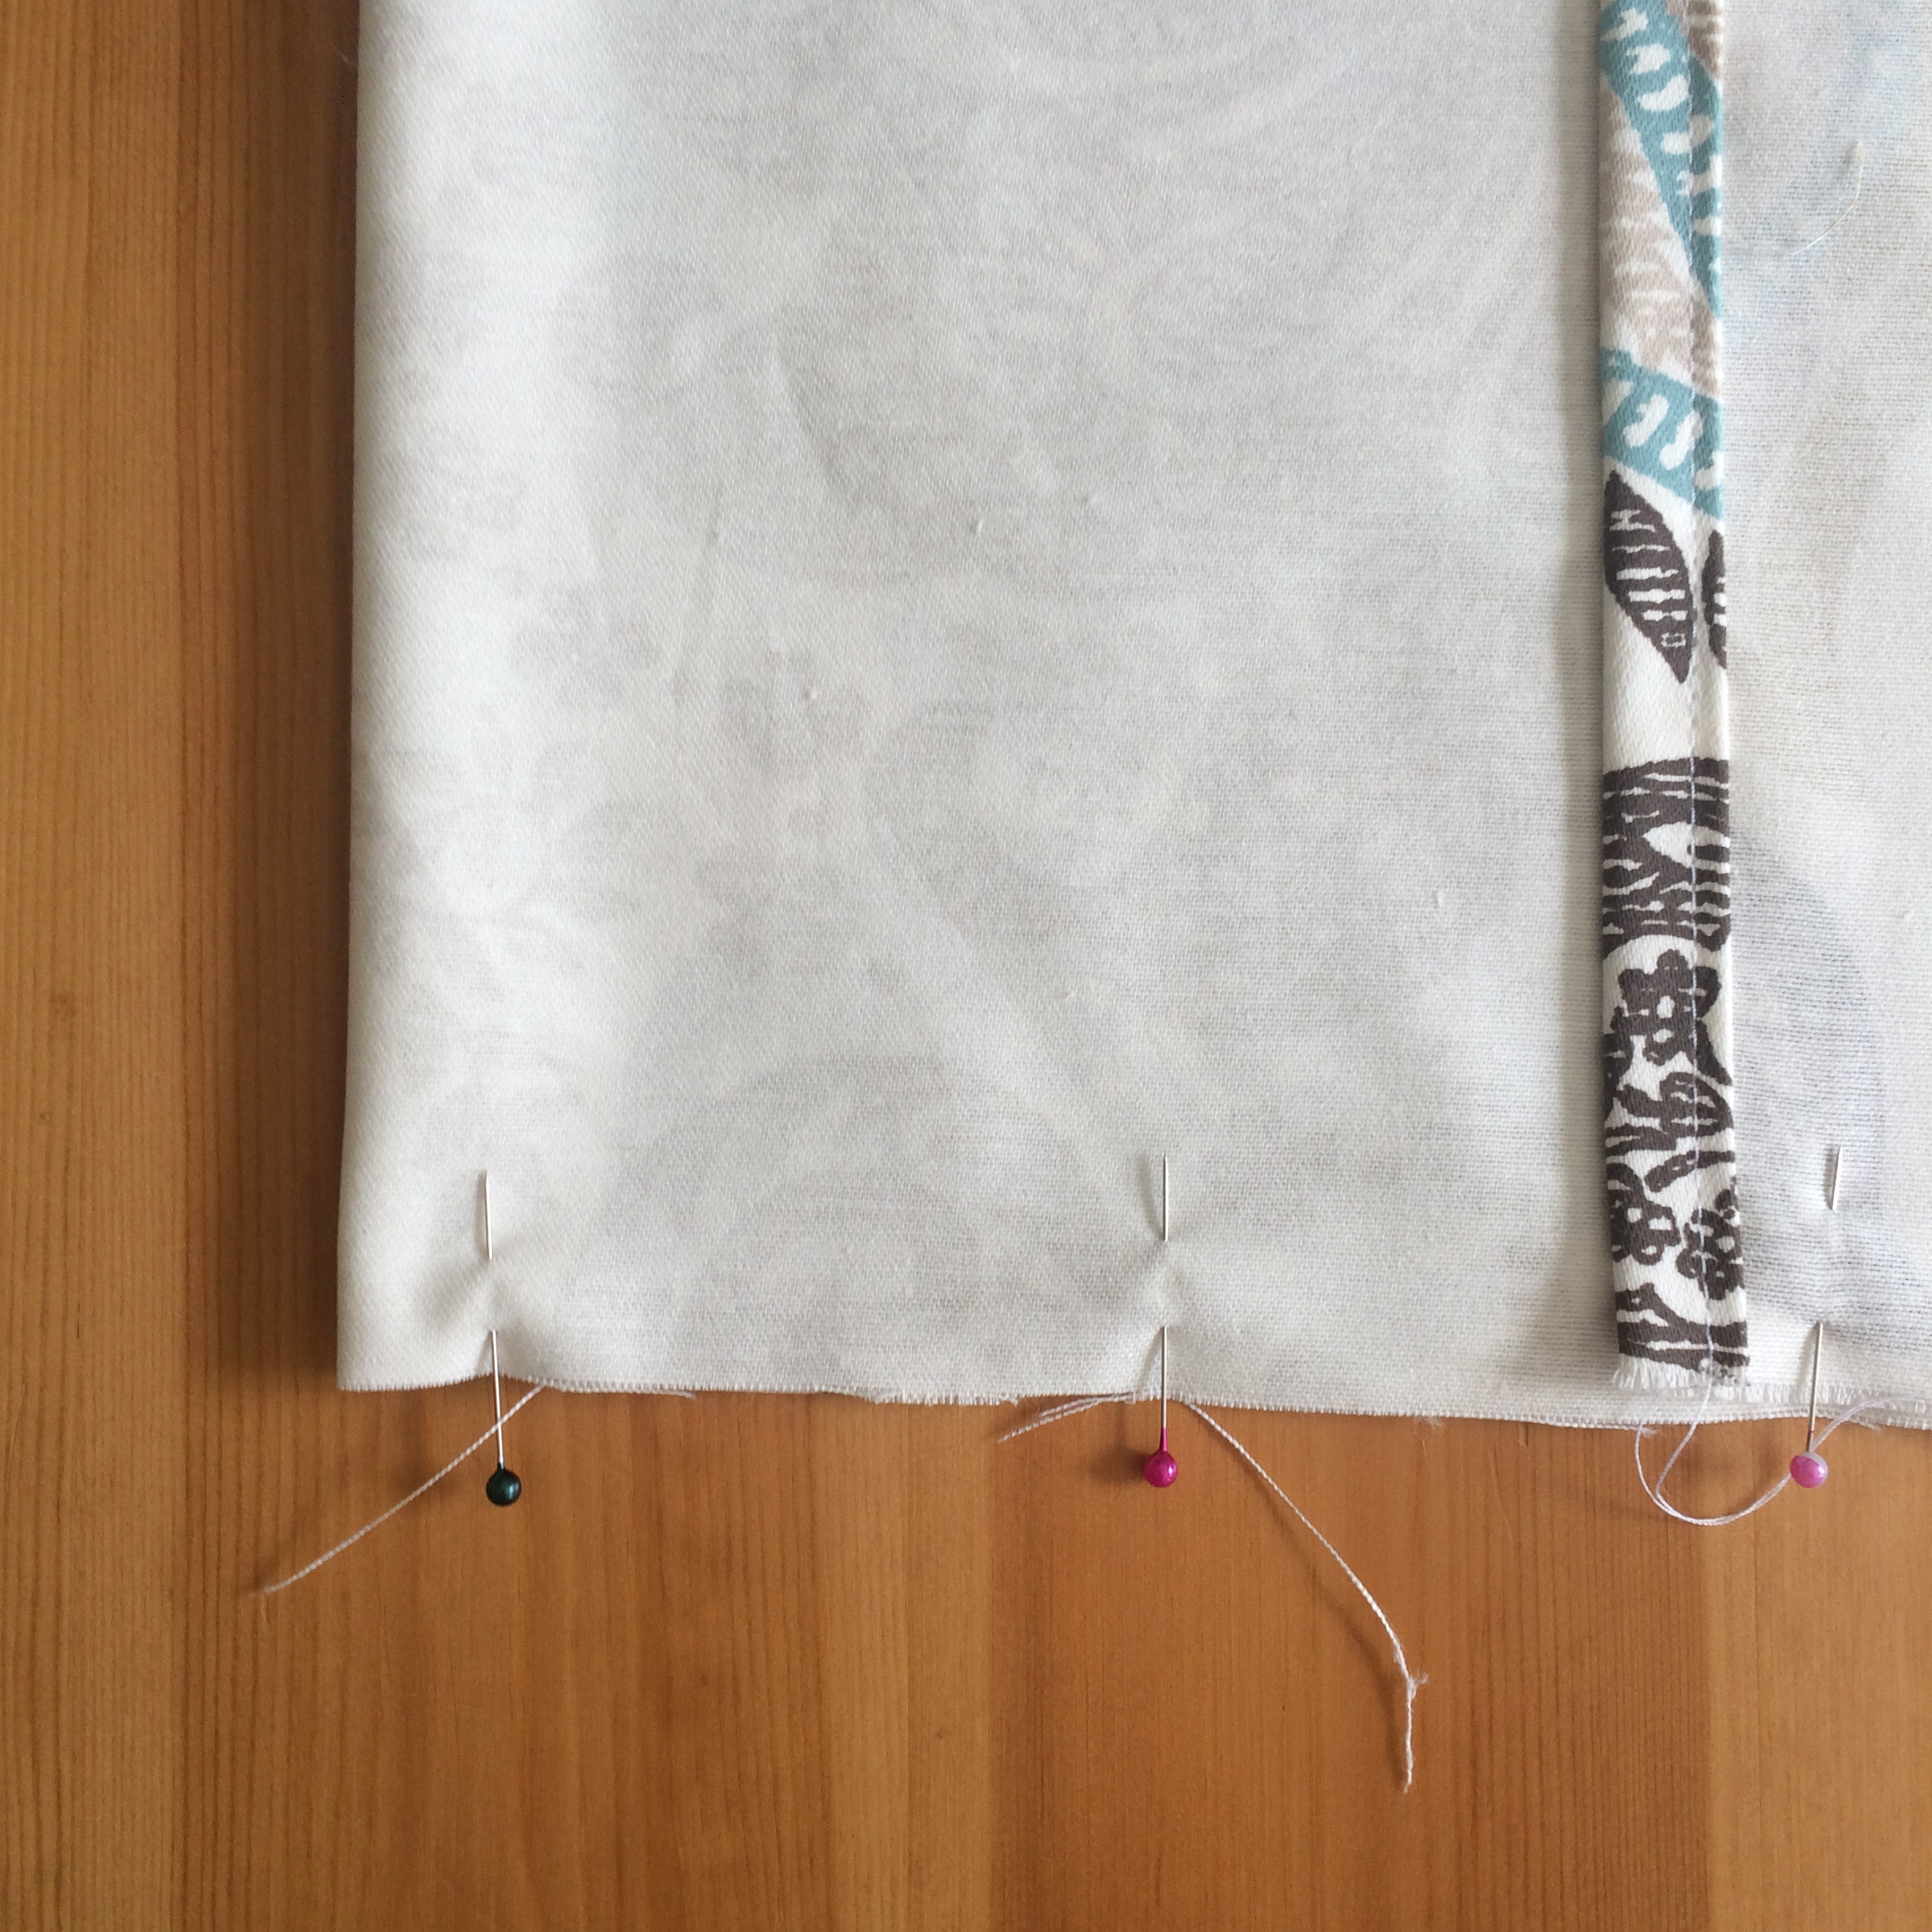

Sew along the long edges using a ½” seam, focus on the very edges of the fabric and the join between the two over-lapping ends to ensure a really secure seam. I use the reverse function on my sewing machine to stitch over the edges several times.


Step 4 – Finishing
Turn your cushion cover right side out and press. Make sure to really turn out the corners so they are nice and square.


That’s it! Your cushion is finished and ready to display proudly! You can really make this project your own; why not try adding some buttons to the reverse to secure the opening and add some colour?