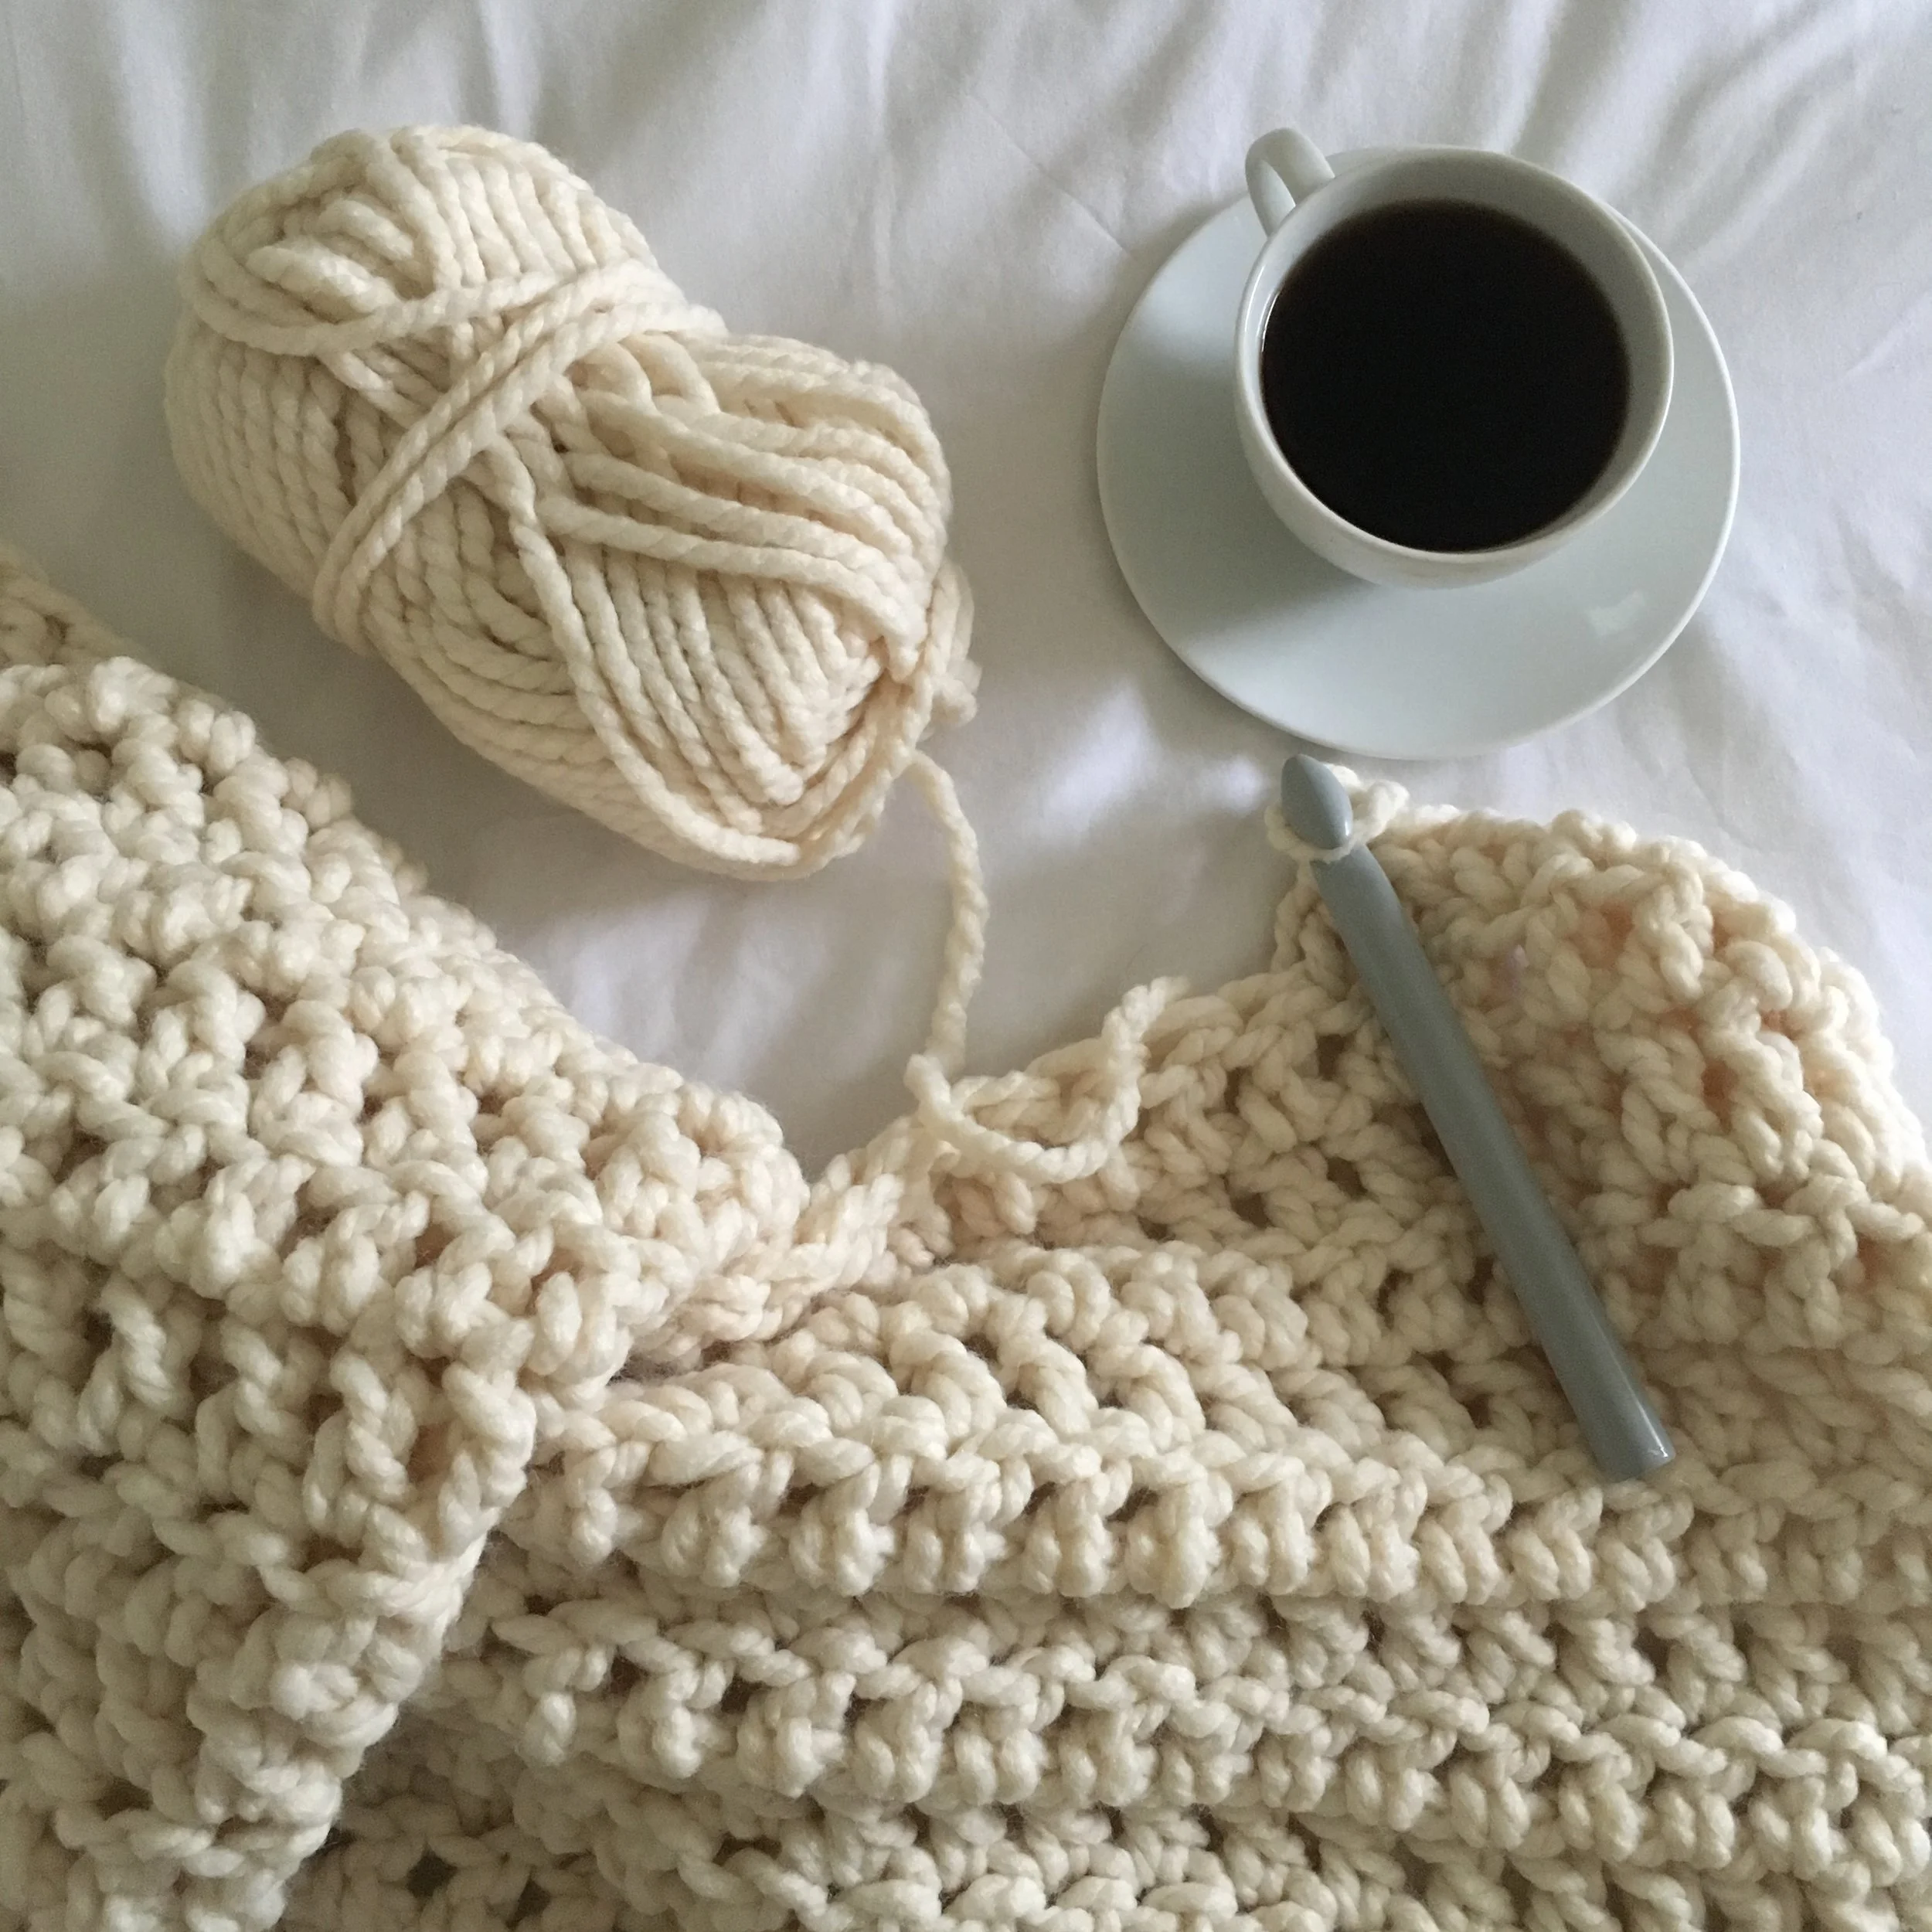
Super chunky wool and a big crochet hook make this crochet throw a speedy project perfect for beginners.
A treble crochet is an essential stitch for any crocheter’s repertoire, this pattern is simple and easy to master.
You can download this pattern for free from my shop here.
You will need:
· Small throw - 11 x 100g balls
· Large throw - 17 x 100g balls
· 15mm crochet hook
Tension & Sizes
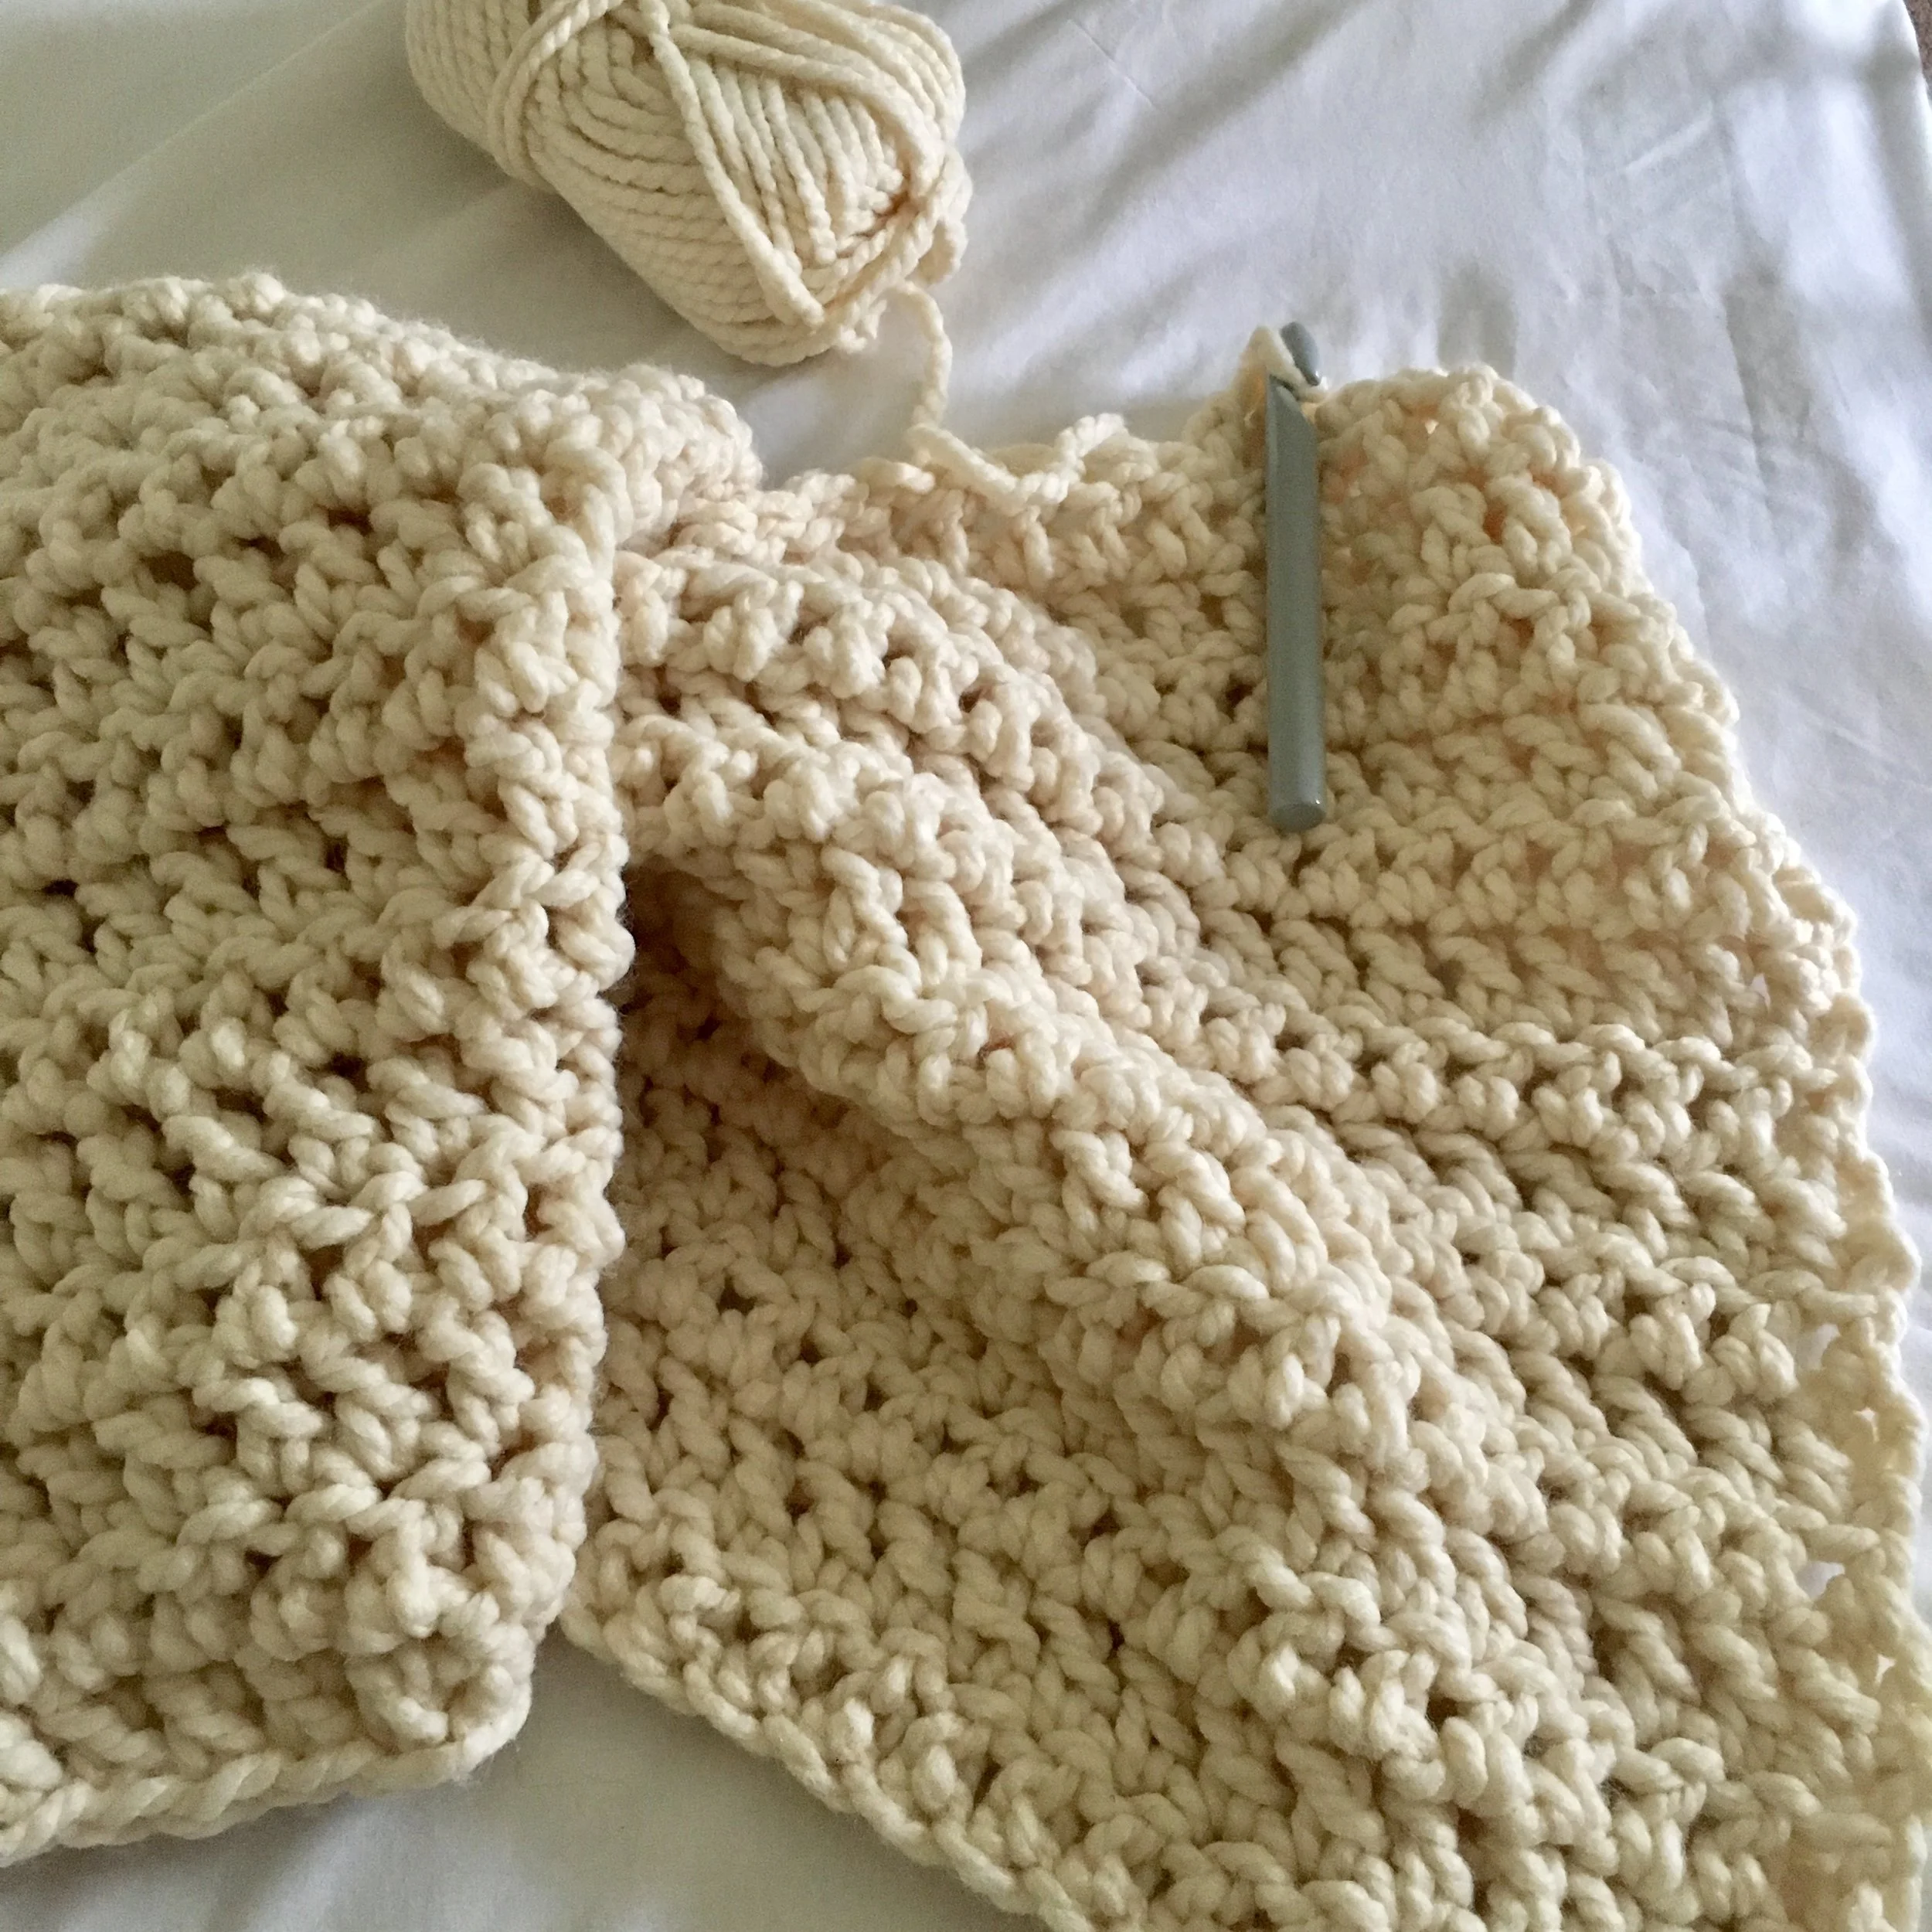
The super chunky stitches are very large, you should have approximately 4 stitches and 3 rows in a 4” (10cm) square.
The blanket pictured measures 50” (125cm) across and 40” (100cm) long. You can alter the size of your throw by working more or fewer rows and/or by adding more stitches as indicated in the pattern. The pattern gives instructions for a small throw (40” x 50”) first with the large throw (50” x 60”) instructions in brackets.
Abbreviations
St - stitch(es)
Ch - chain
Tcr - treble crochet
Pattern
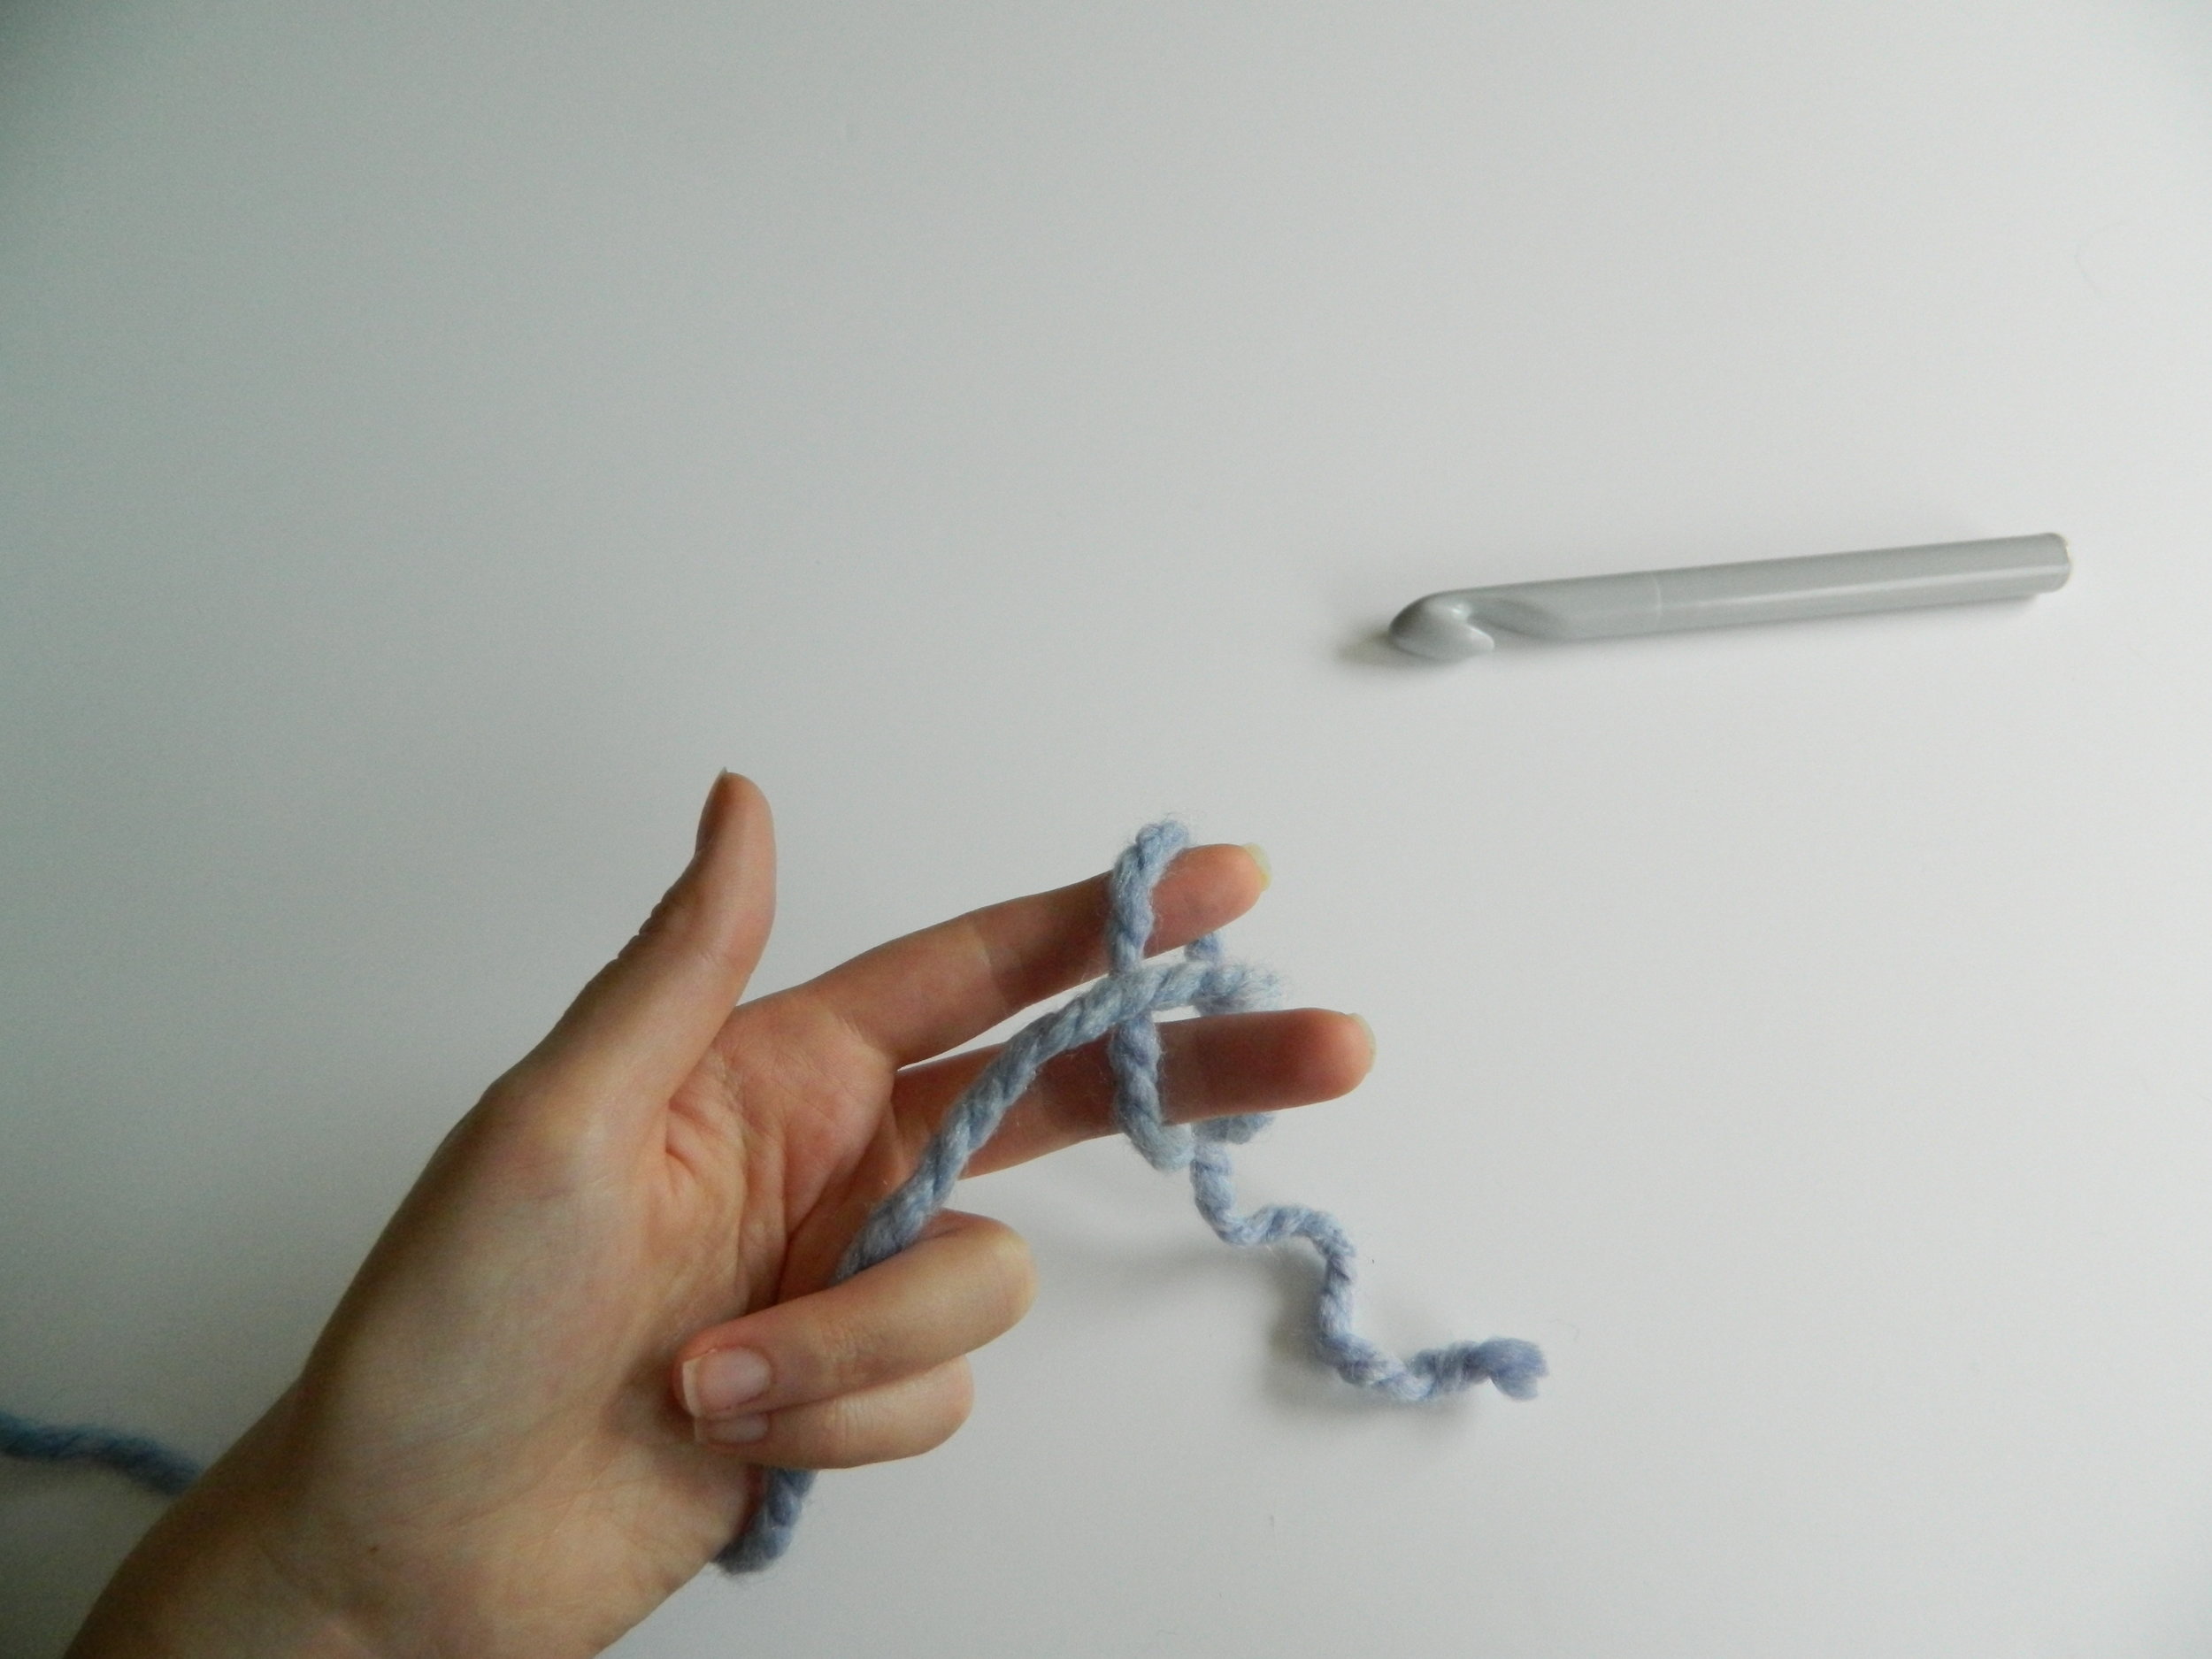
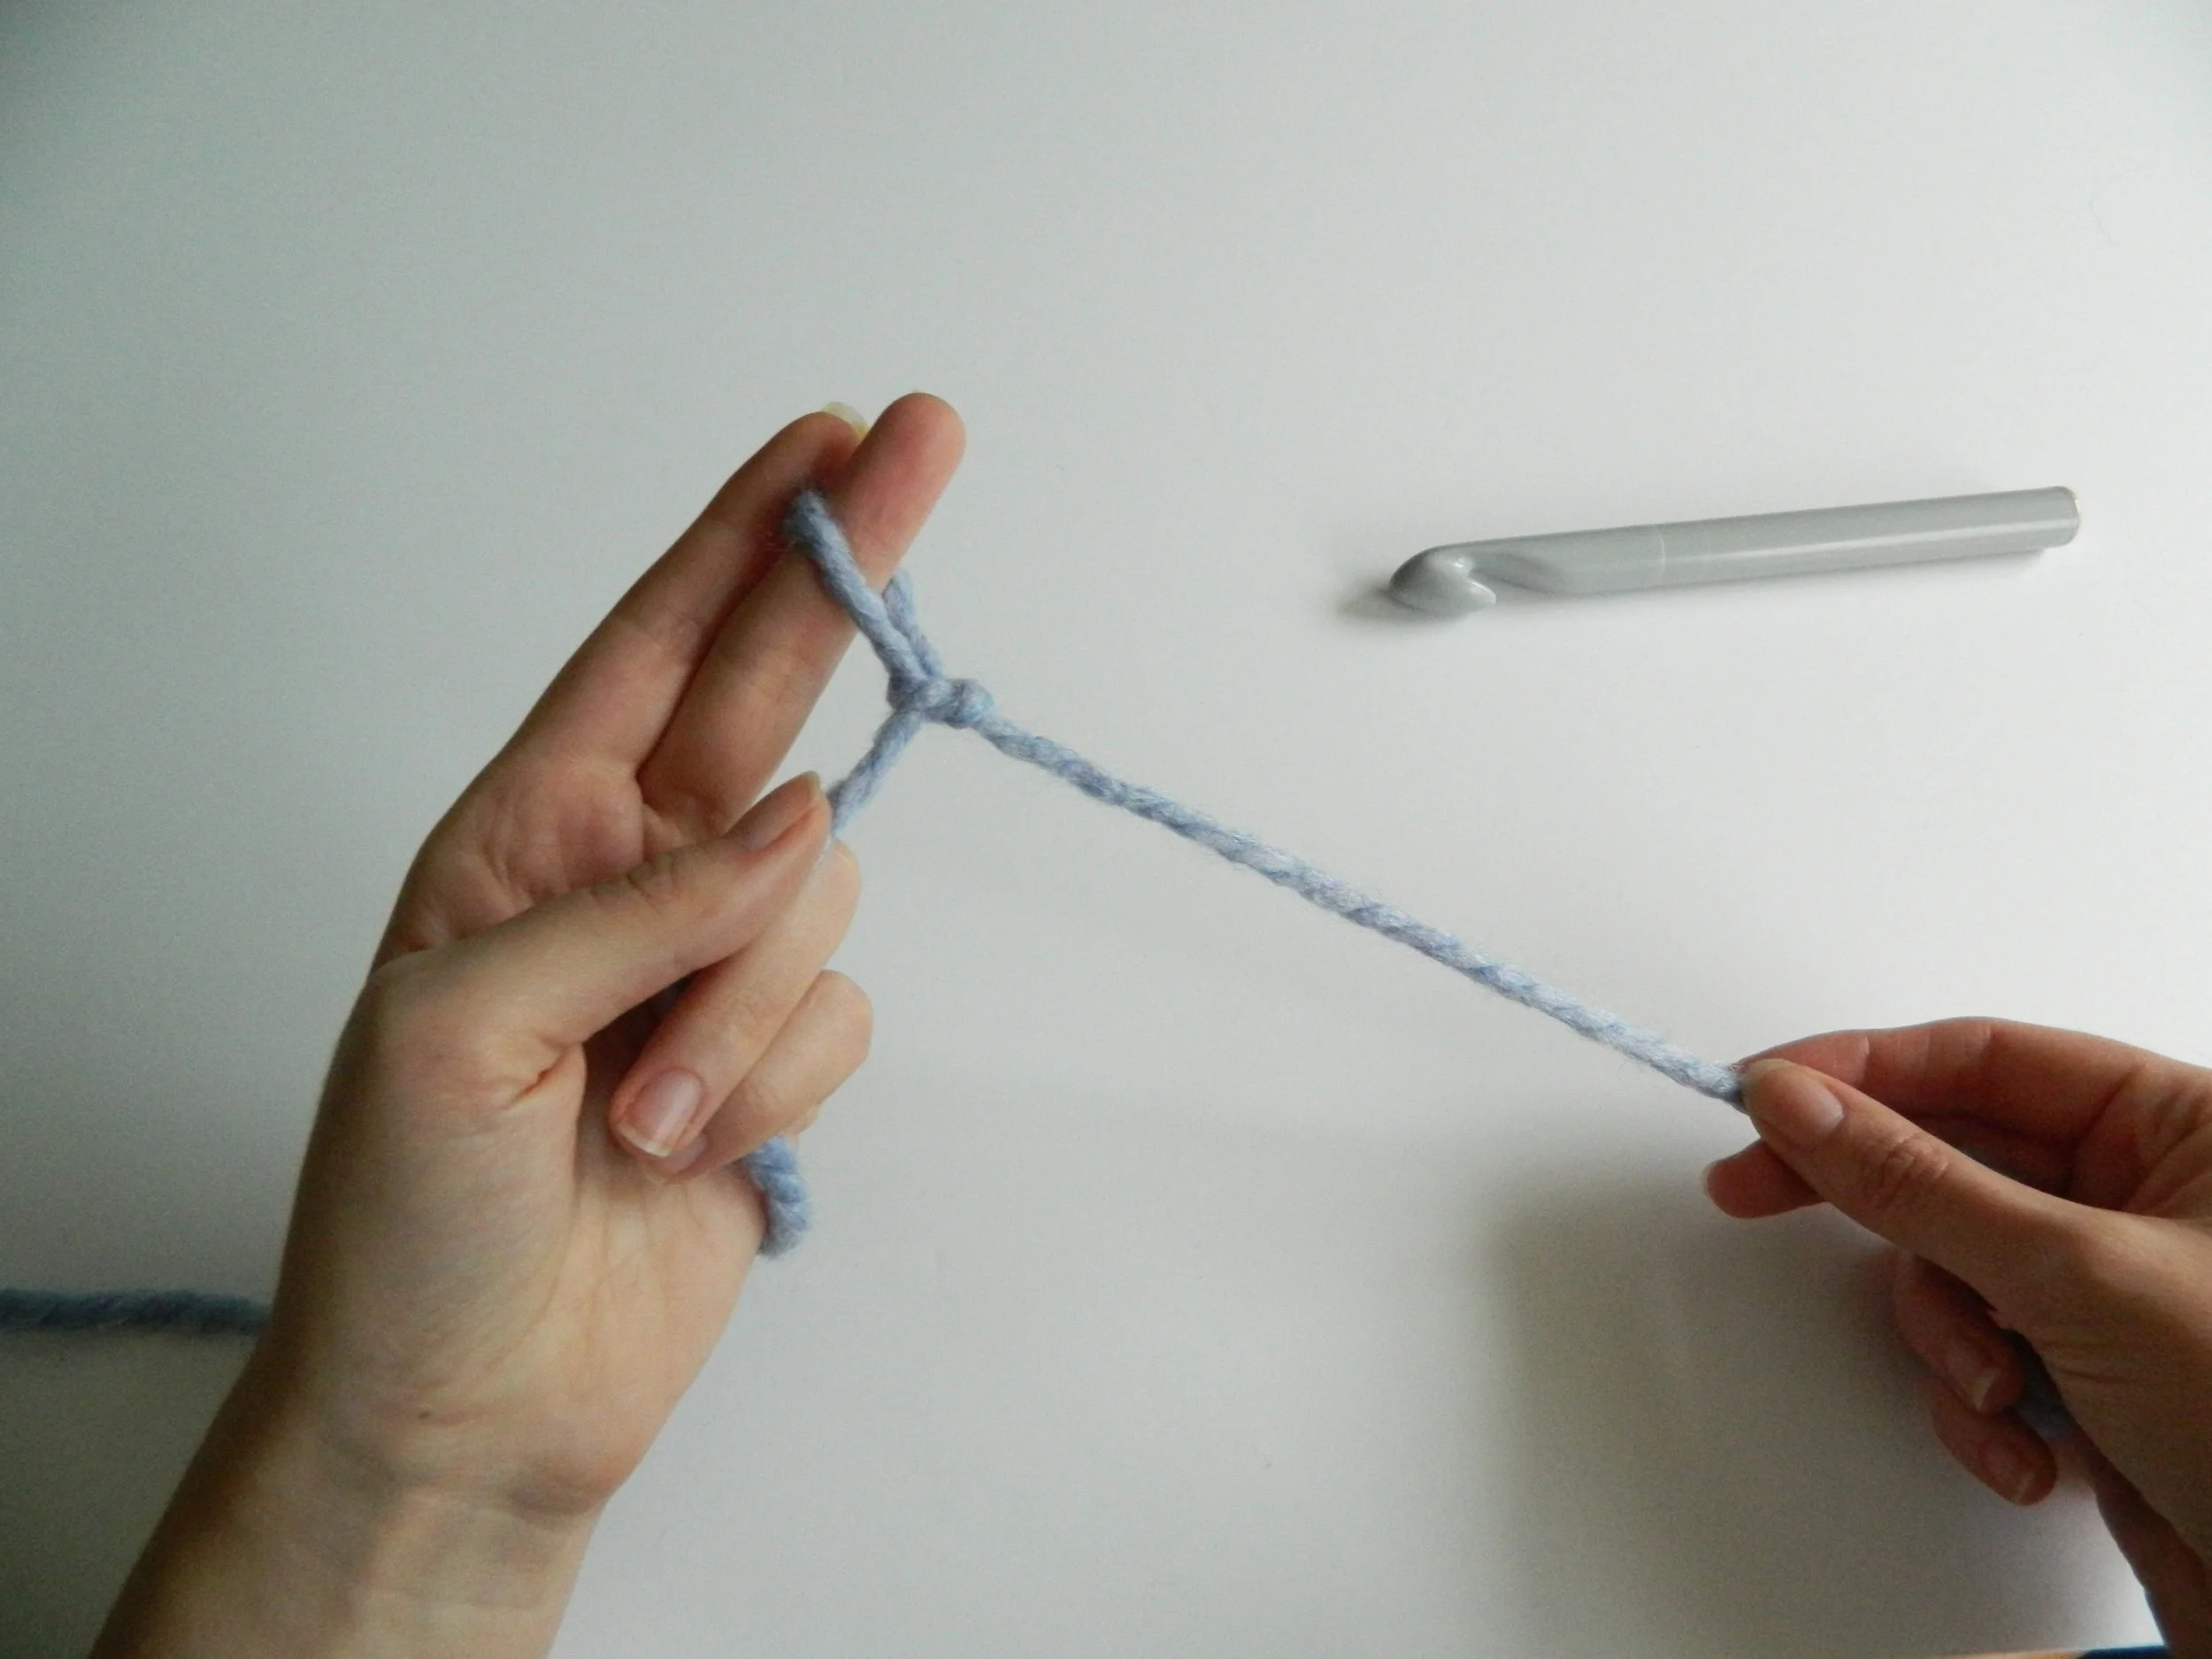
Step 1: Create a slip knot and place this onto your crochet hook ready to begin.

1.1

1.2
1.3

1.4
1.5

1.6
Wrap your yarn around your index and middle fingers (1.1), slip the left strand over the right and hold between your two fingers (1.2), slip the top strand over the middle strand and hold under your middle finger (1.3), your slip loop will now be hooked on your middle finger (1.4), place this loop onto your crochet hook and pull tight (1.5).
Step 2: Chain 44(56), this is the foundation row of stitches into which you will work your next row.

2.1

2.2
2.3
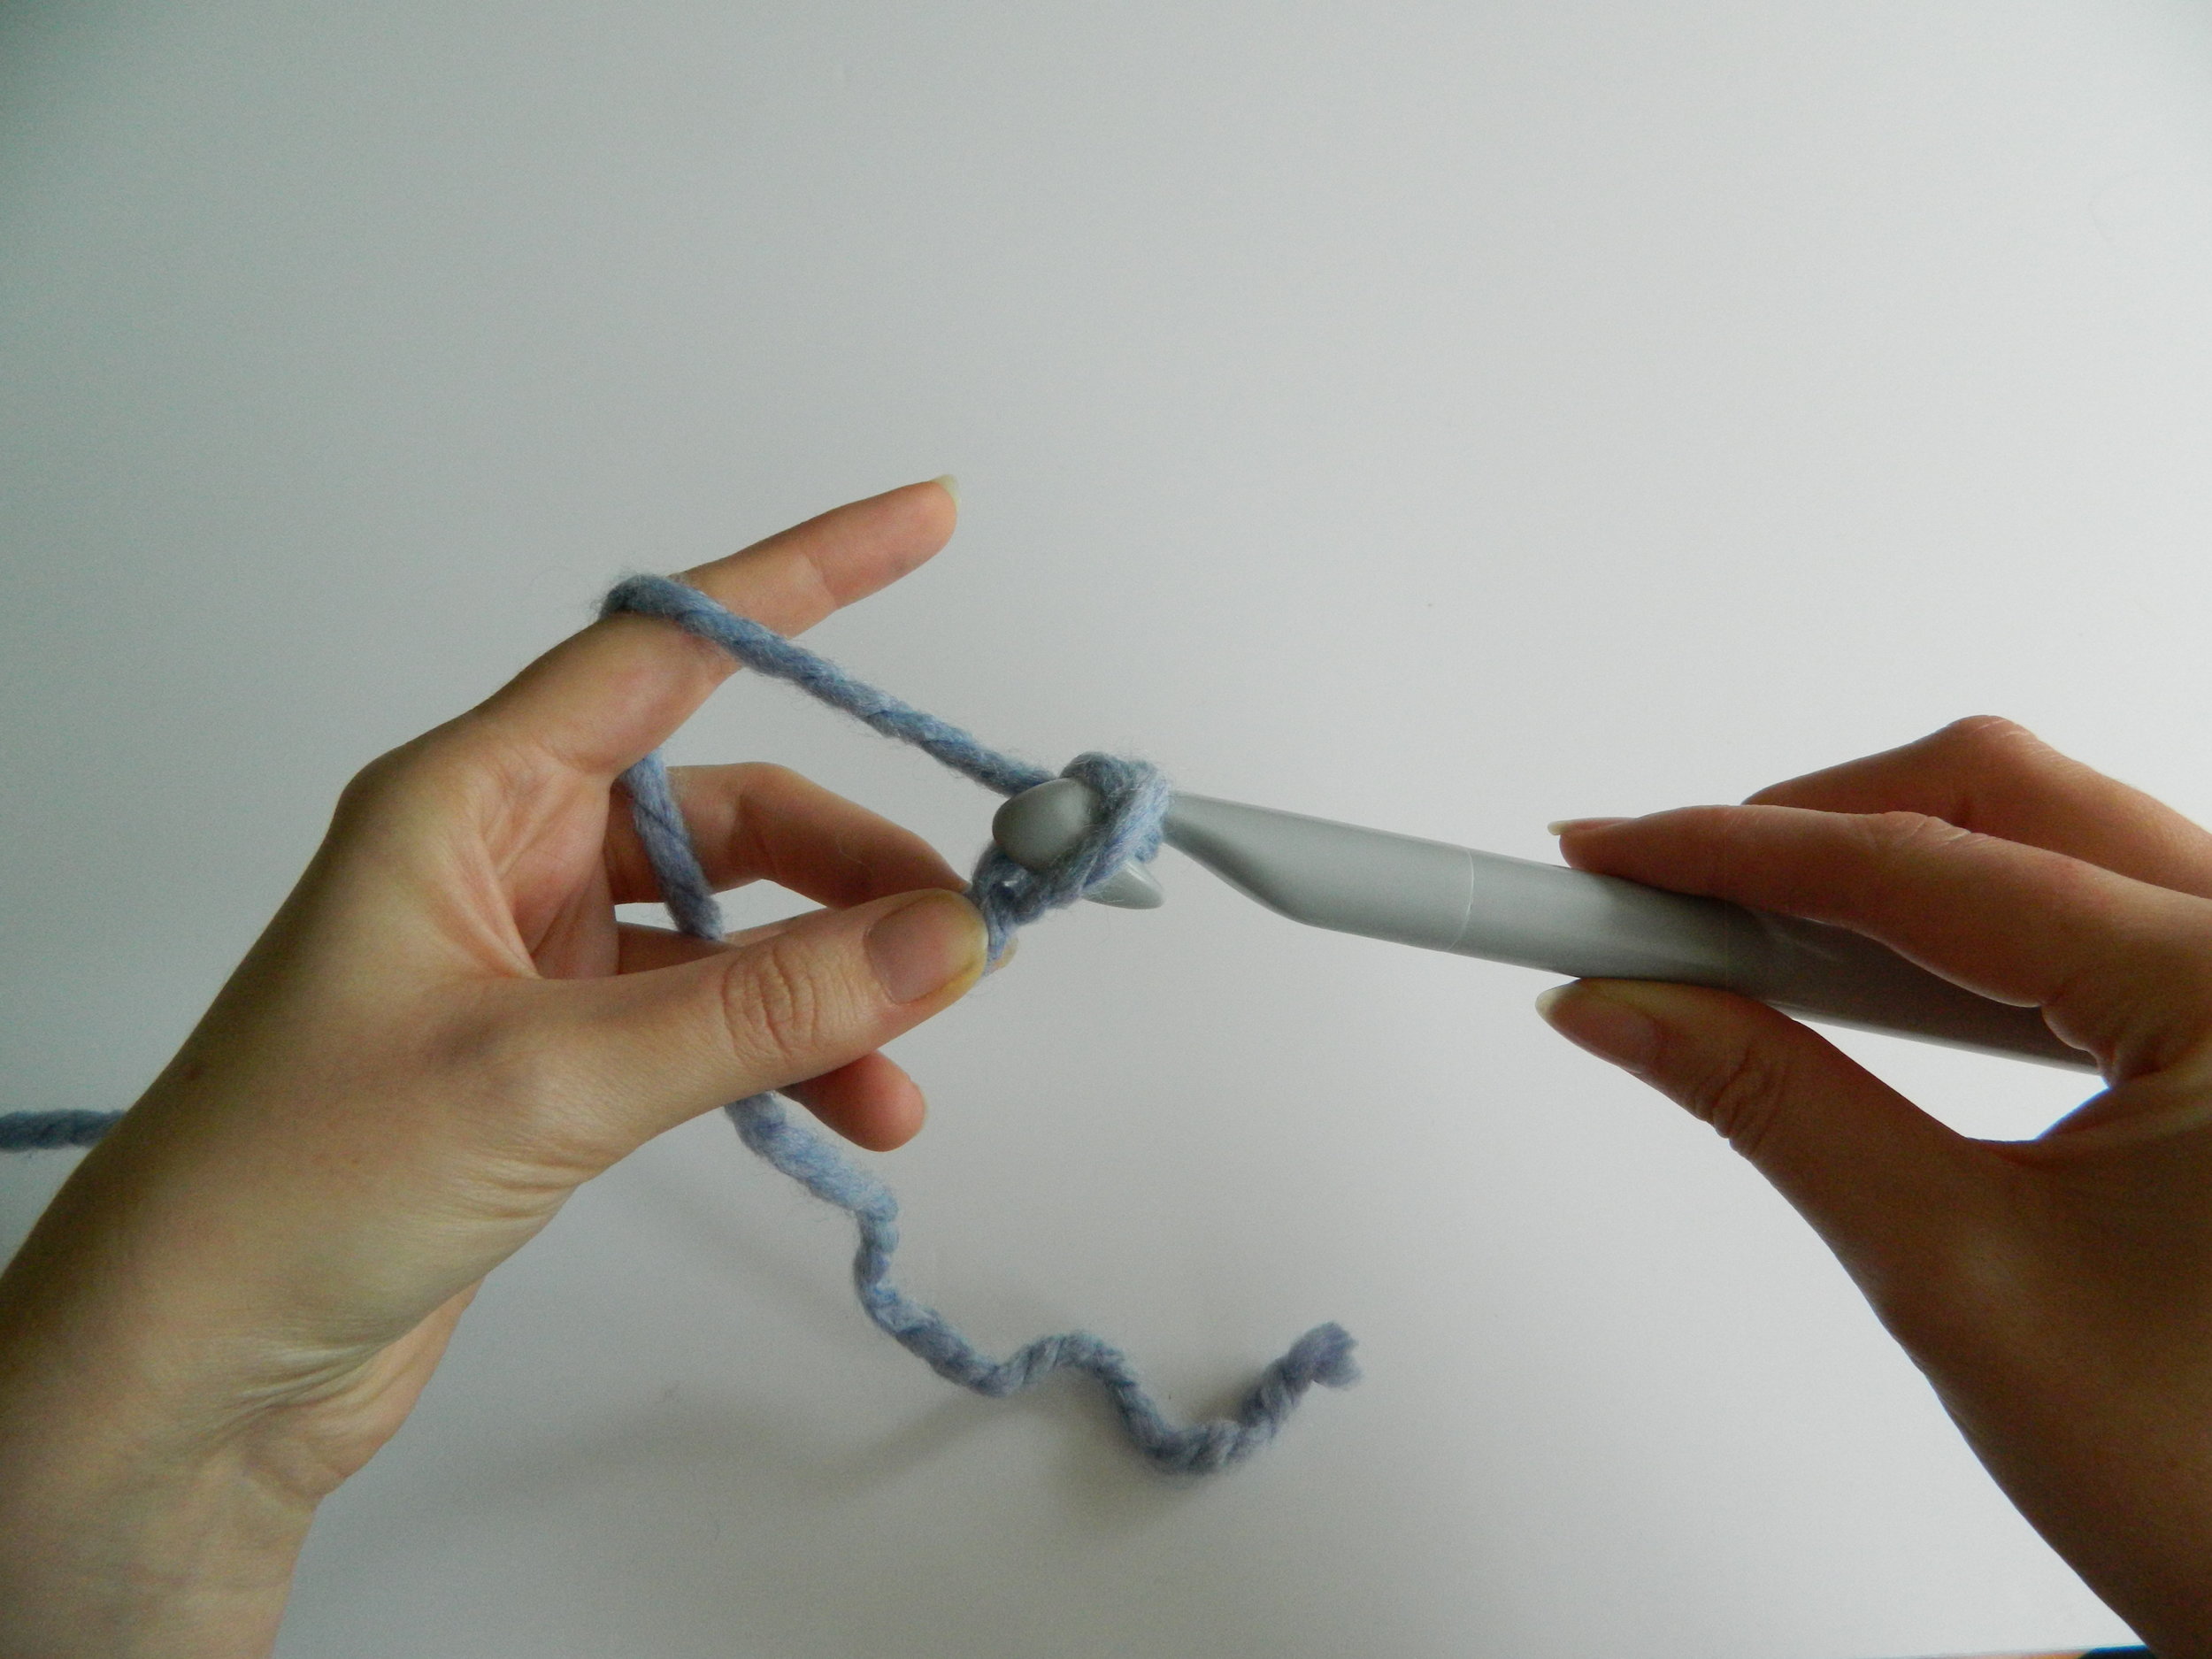
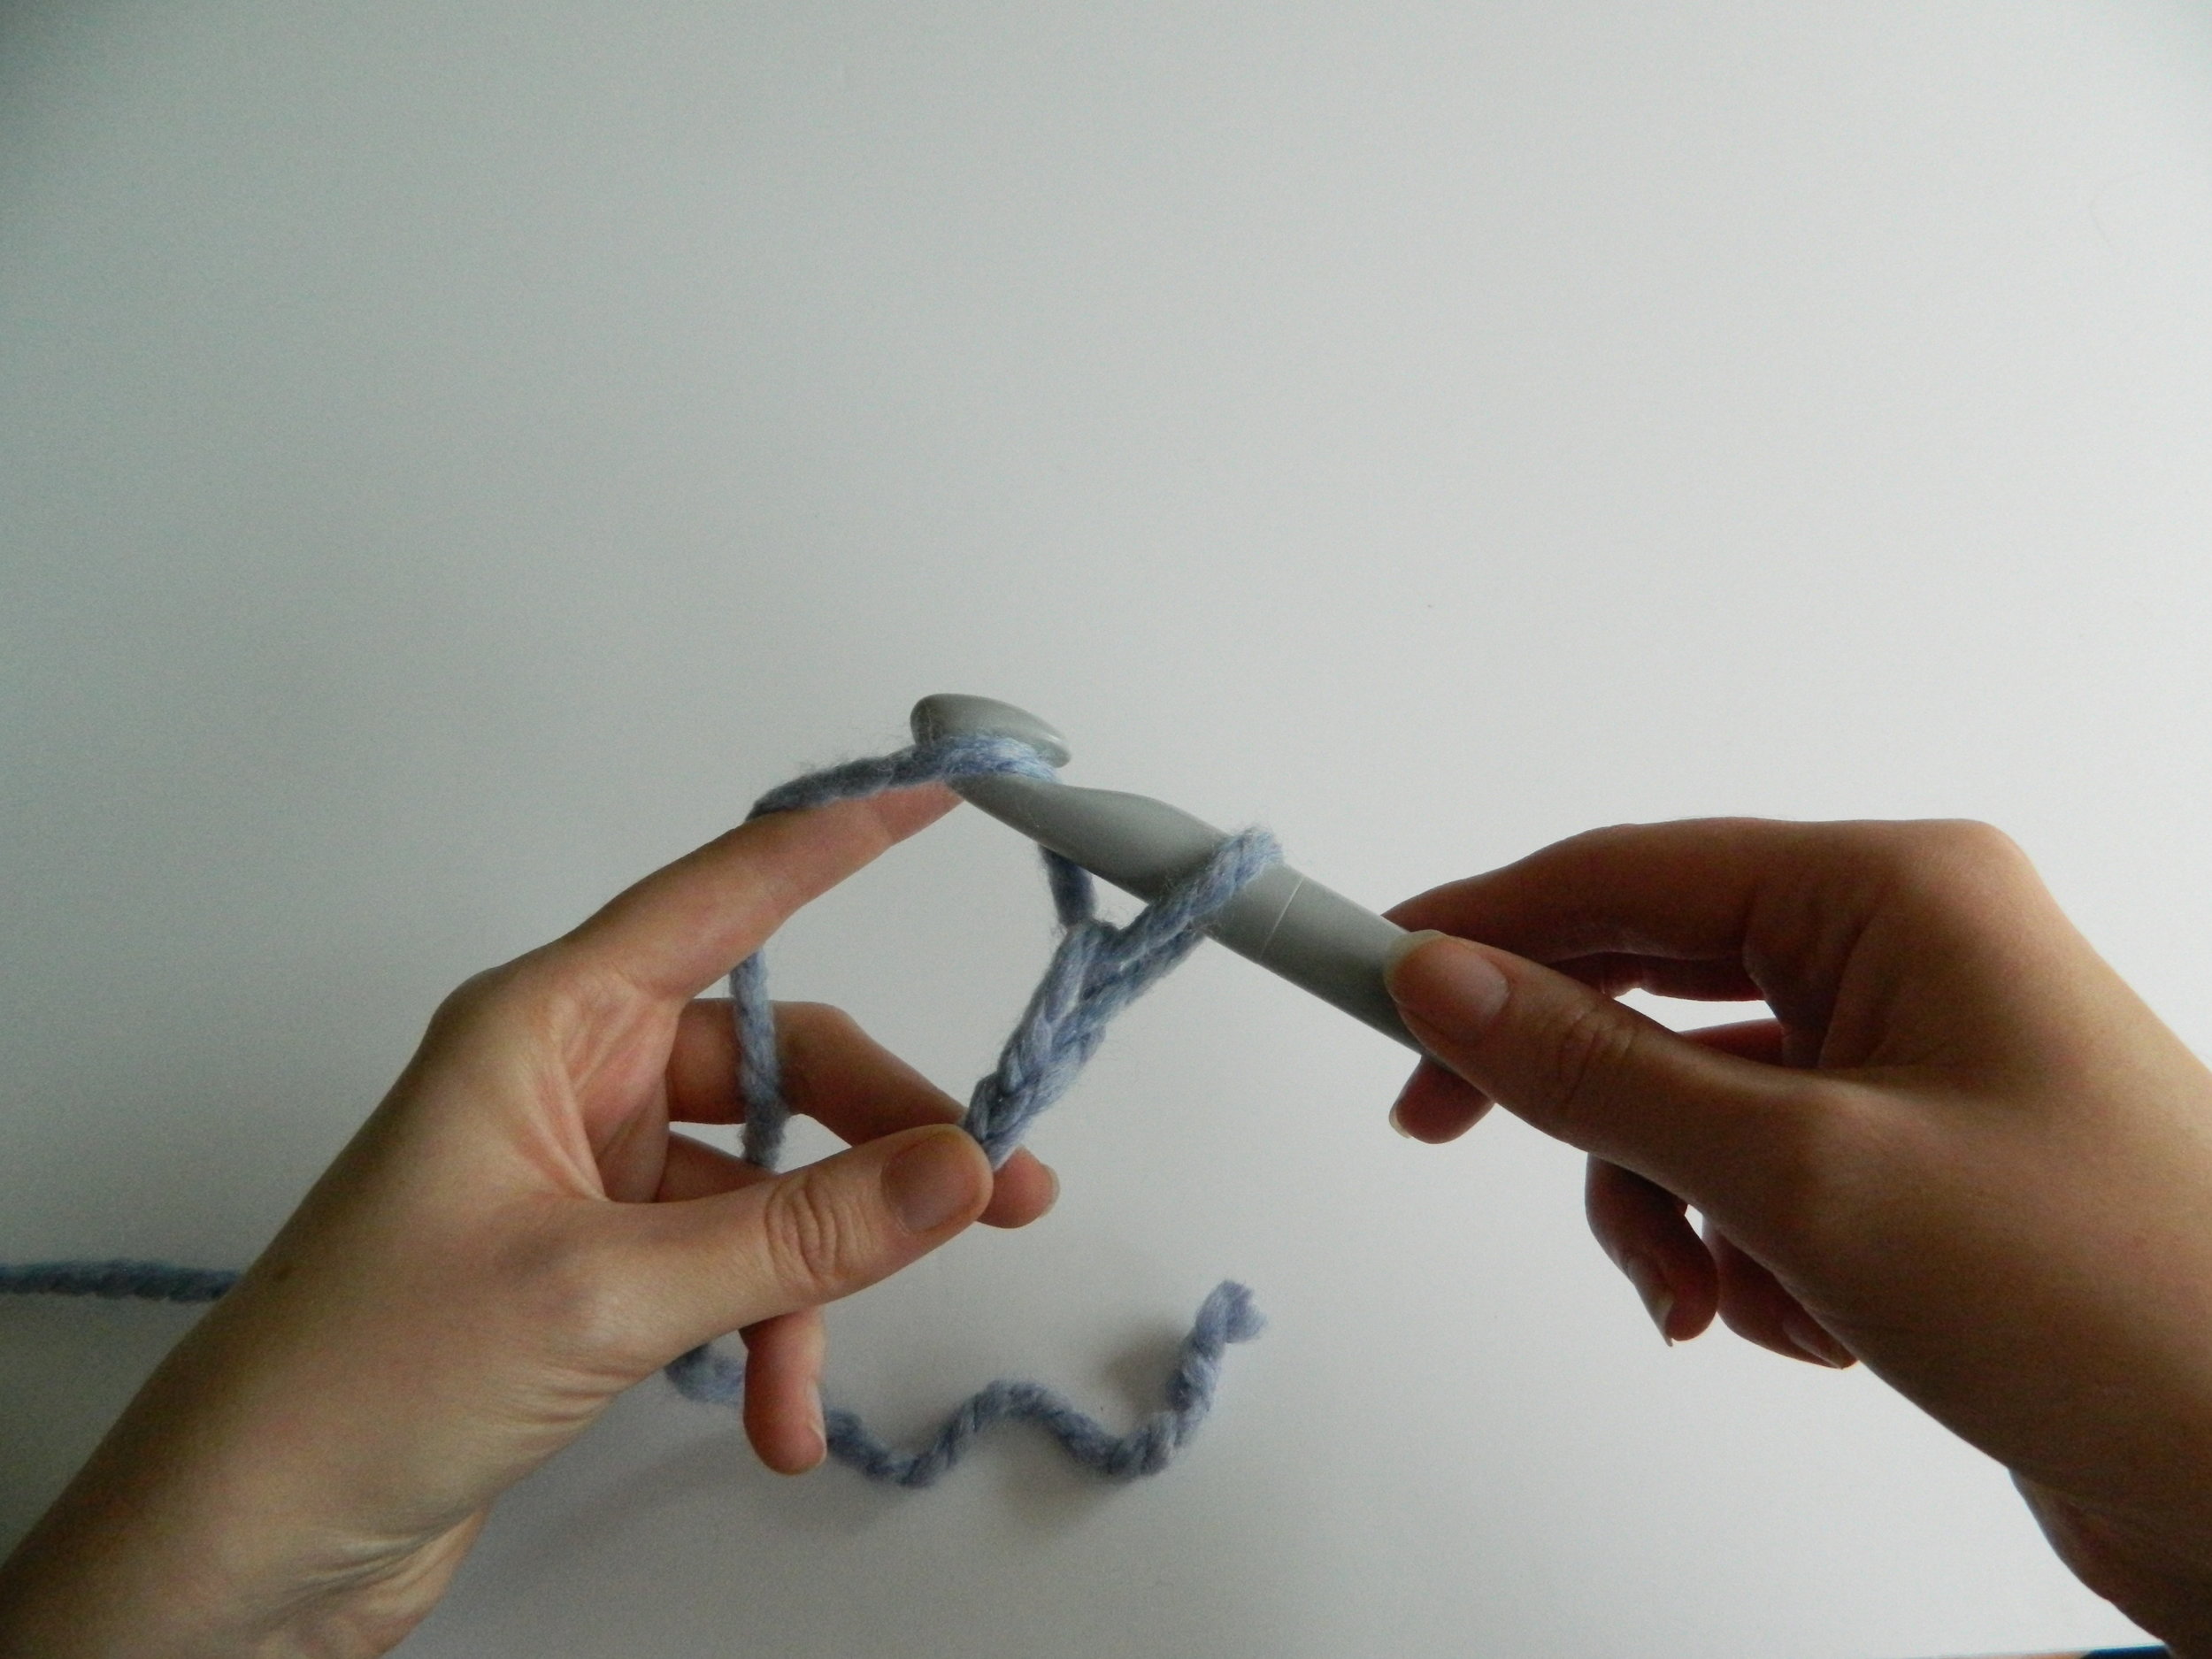
Hold your hook in your right hand and your yarn with your left, wind the yarn between your fingers to give you a good grip on the yarn (2.1 - 2.2). Hook your yarn with the hook and pull this through the loop on the hook (2.2 - 2.3).

2.4
2.5
2.6
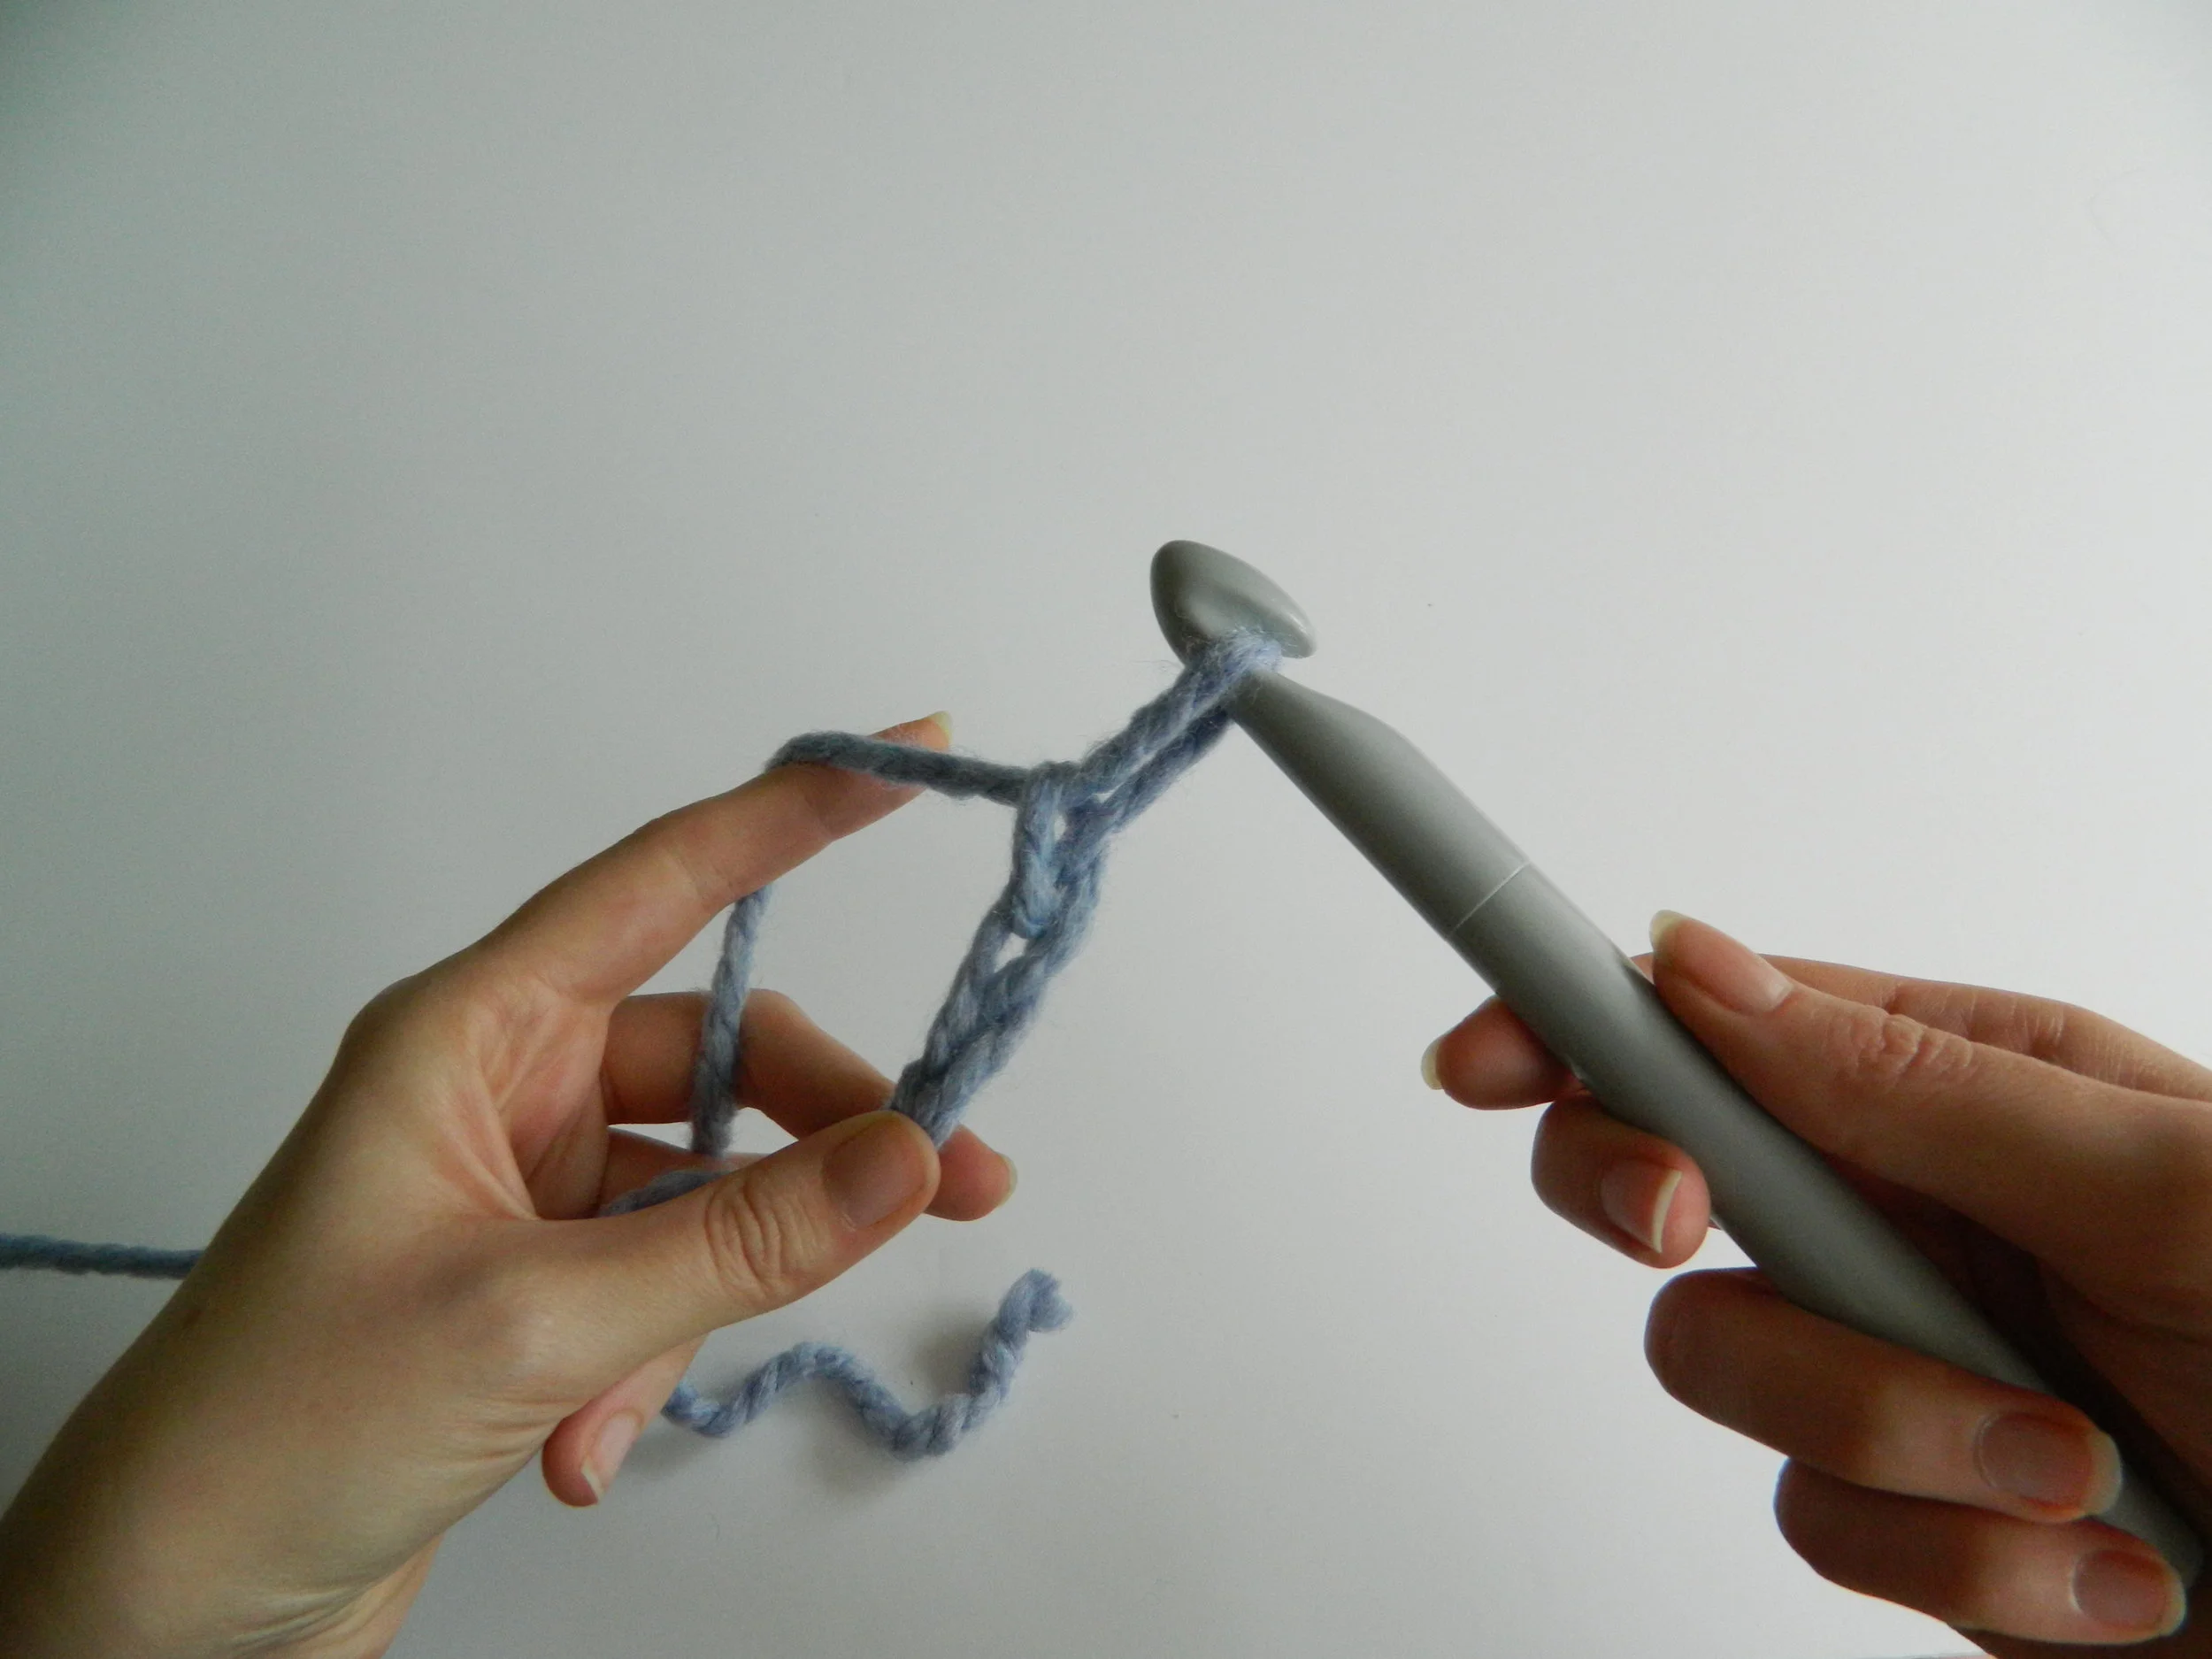
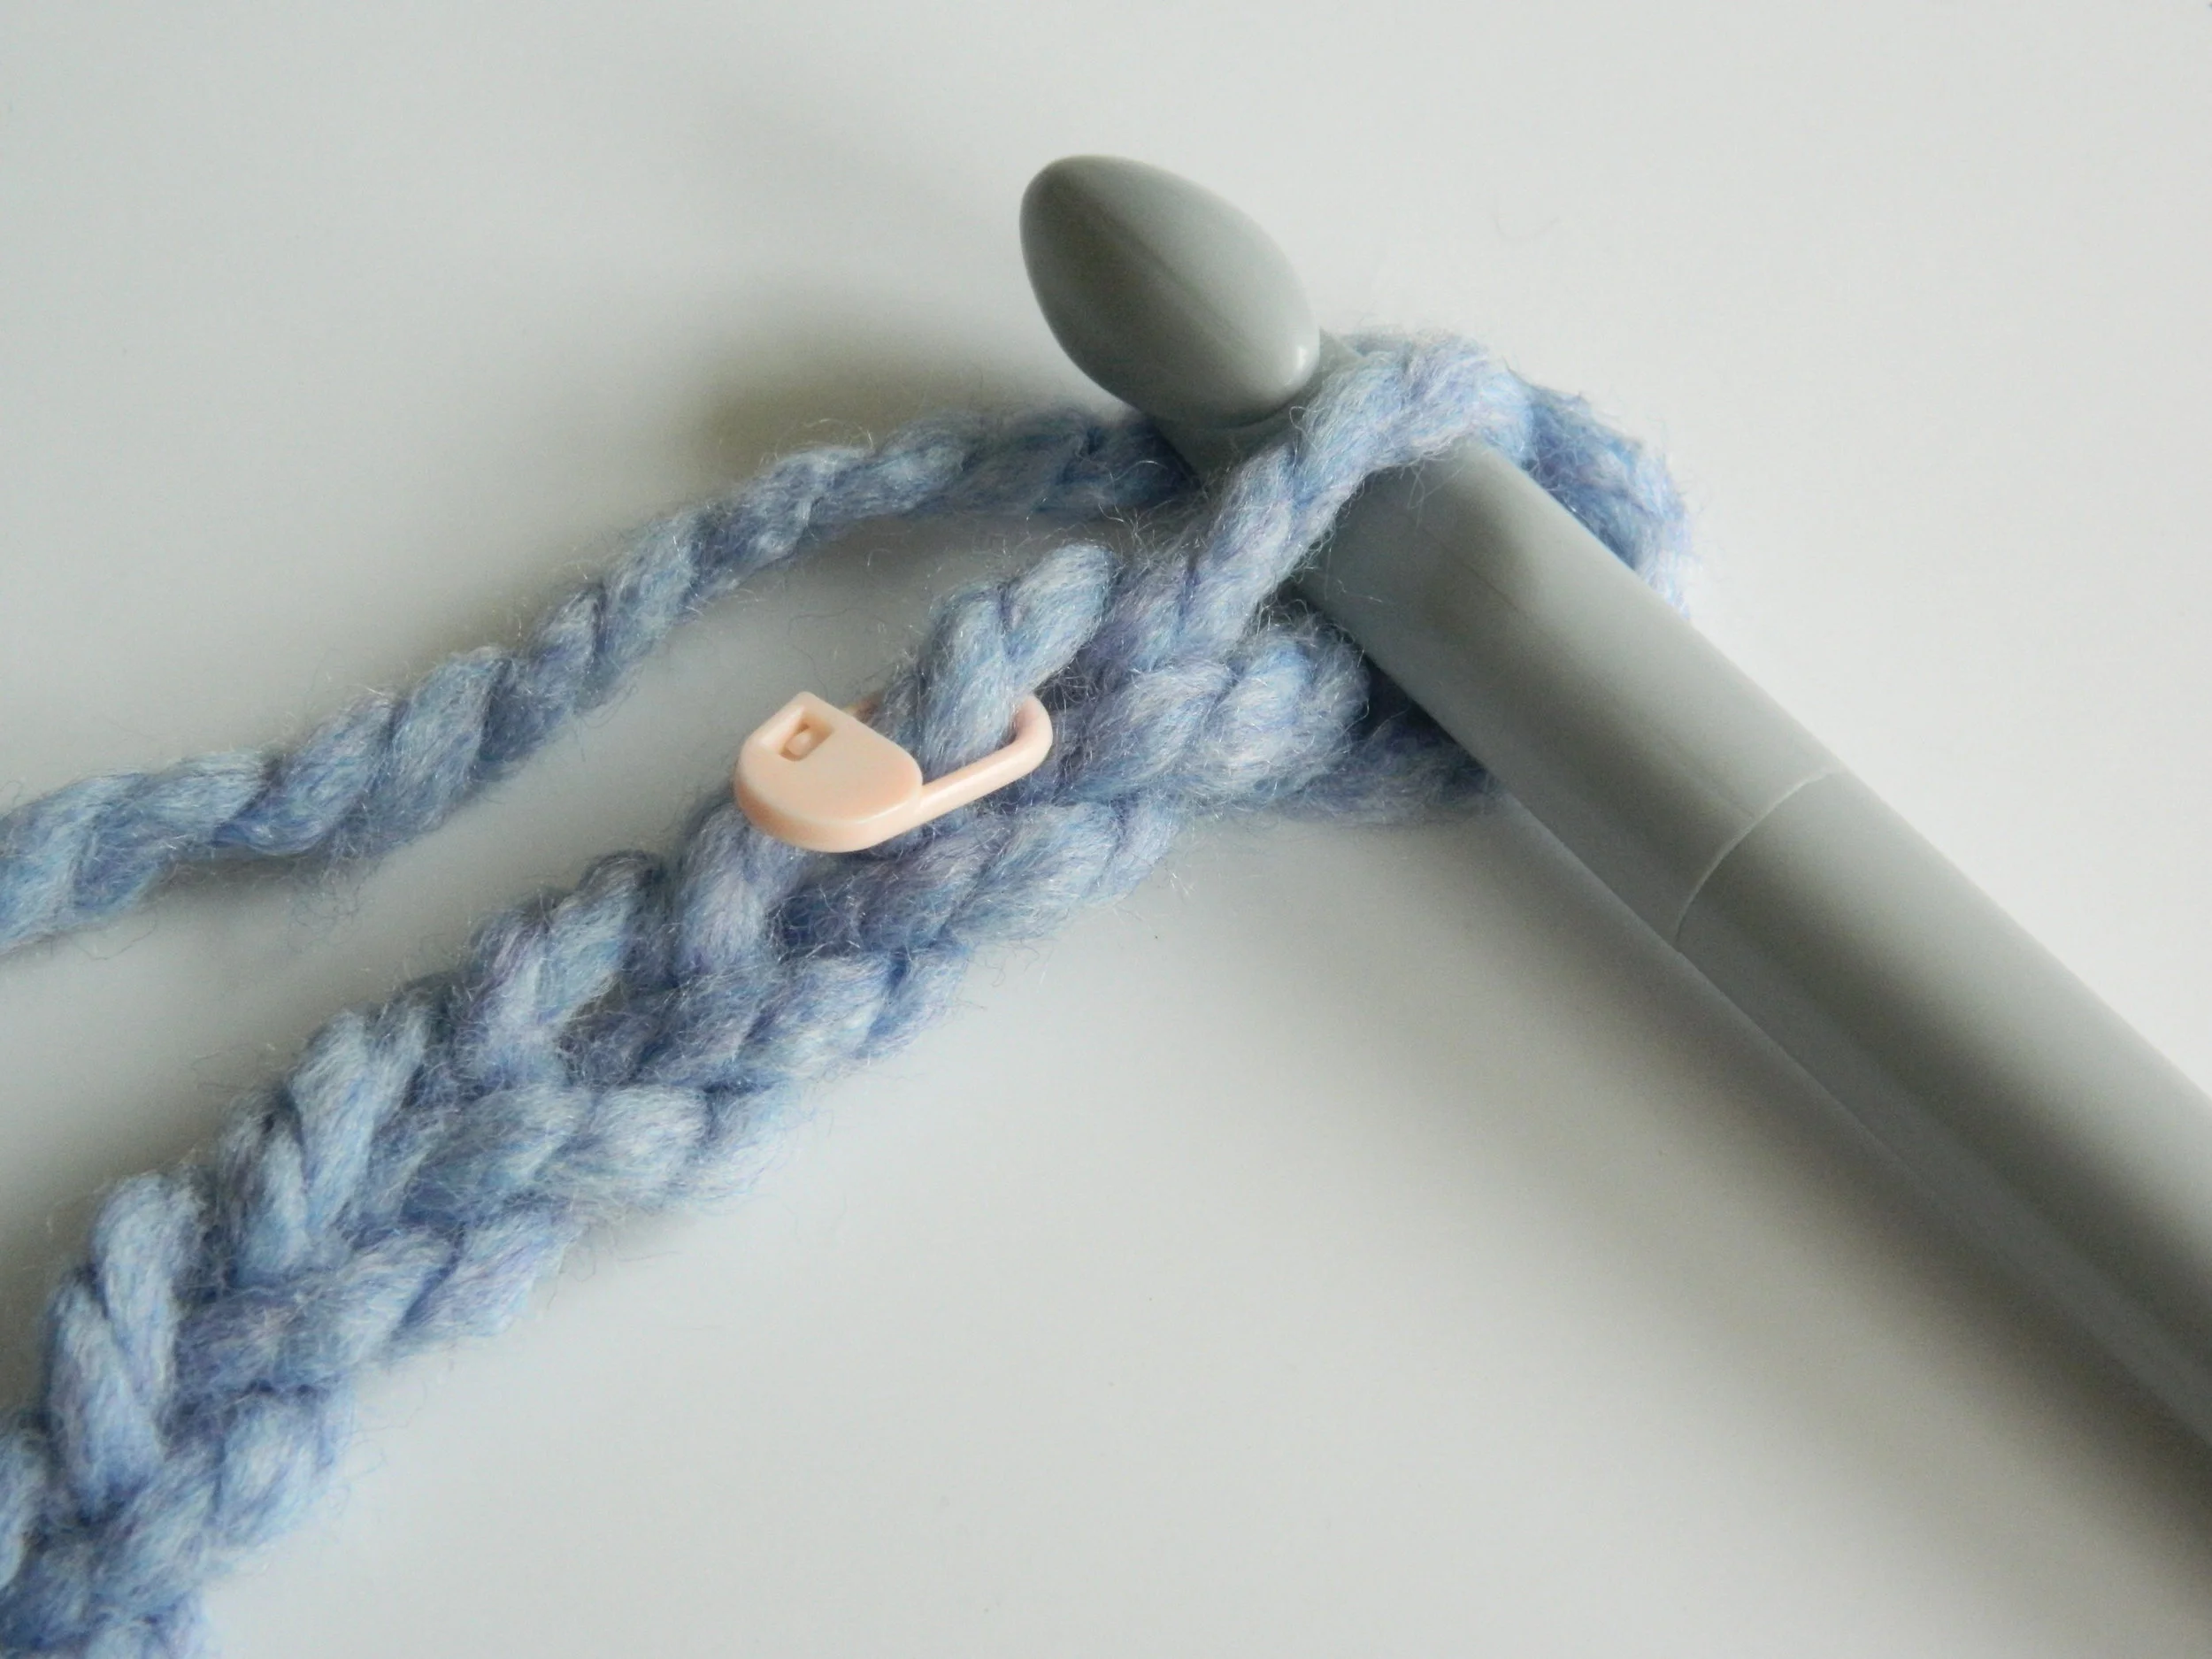
Repeat this process until you have your desired number of stitches. Place a stitch marker on your final chain to help keep your place (2.7).
2.7
Step 3: Ch 2 to create the height of your first stitch. Now, work one tcr into the first stitch and every stitch to the end of the row.
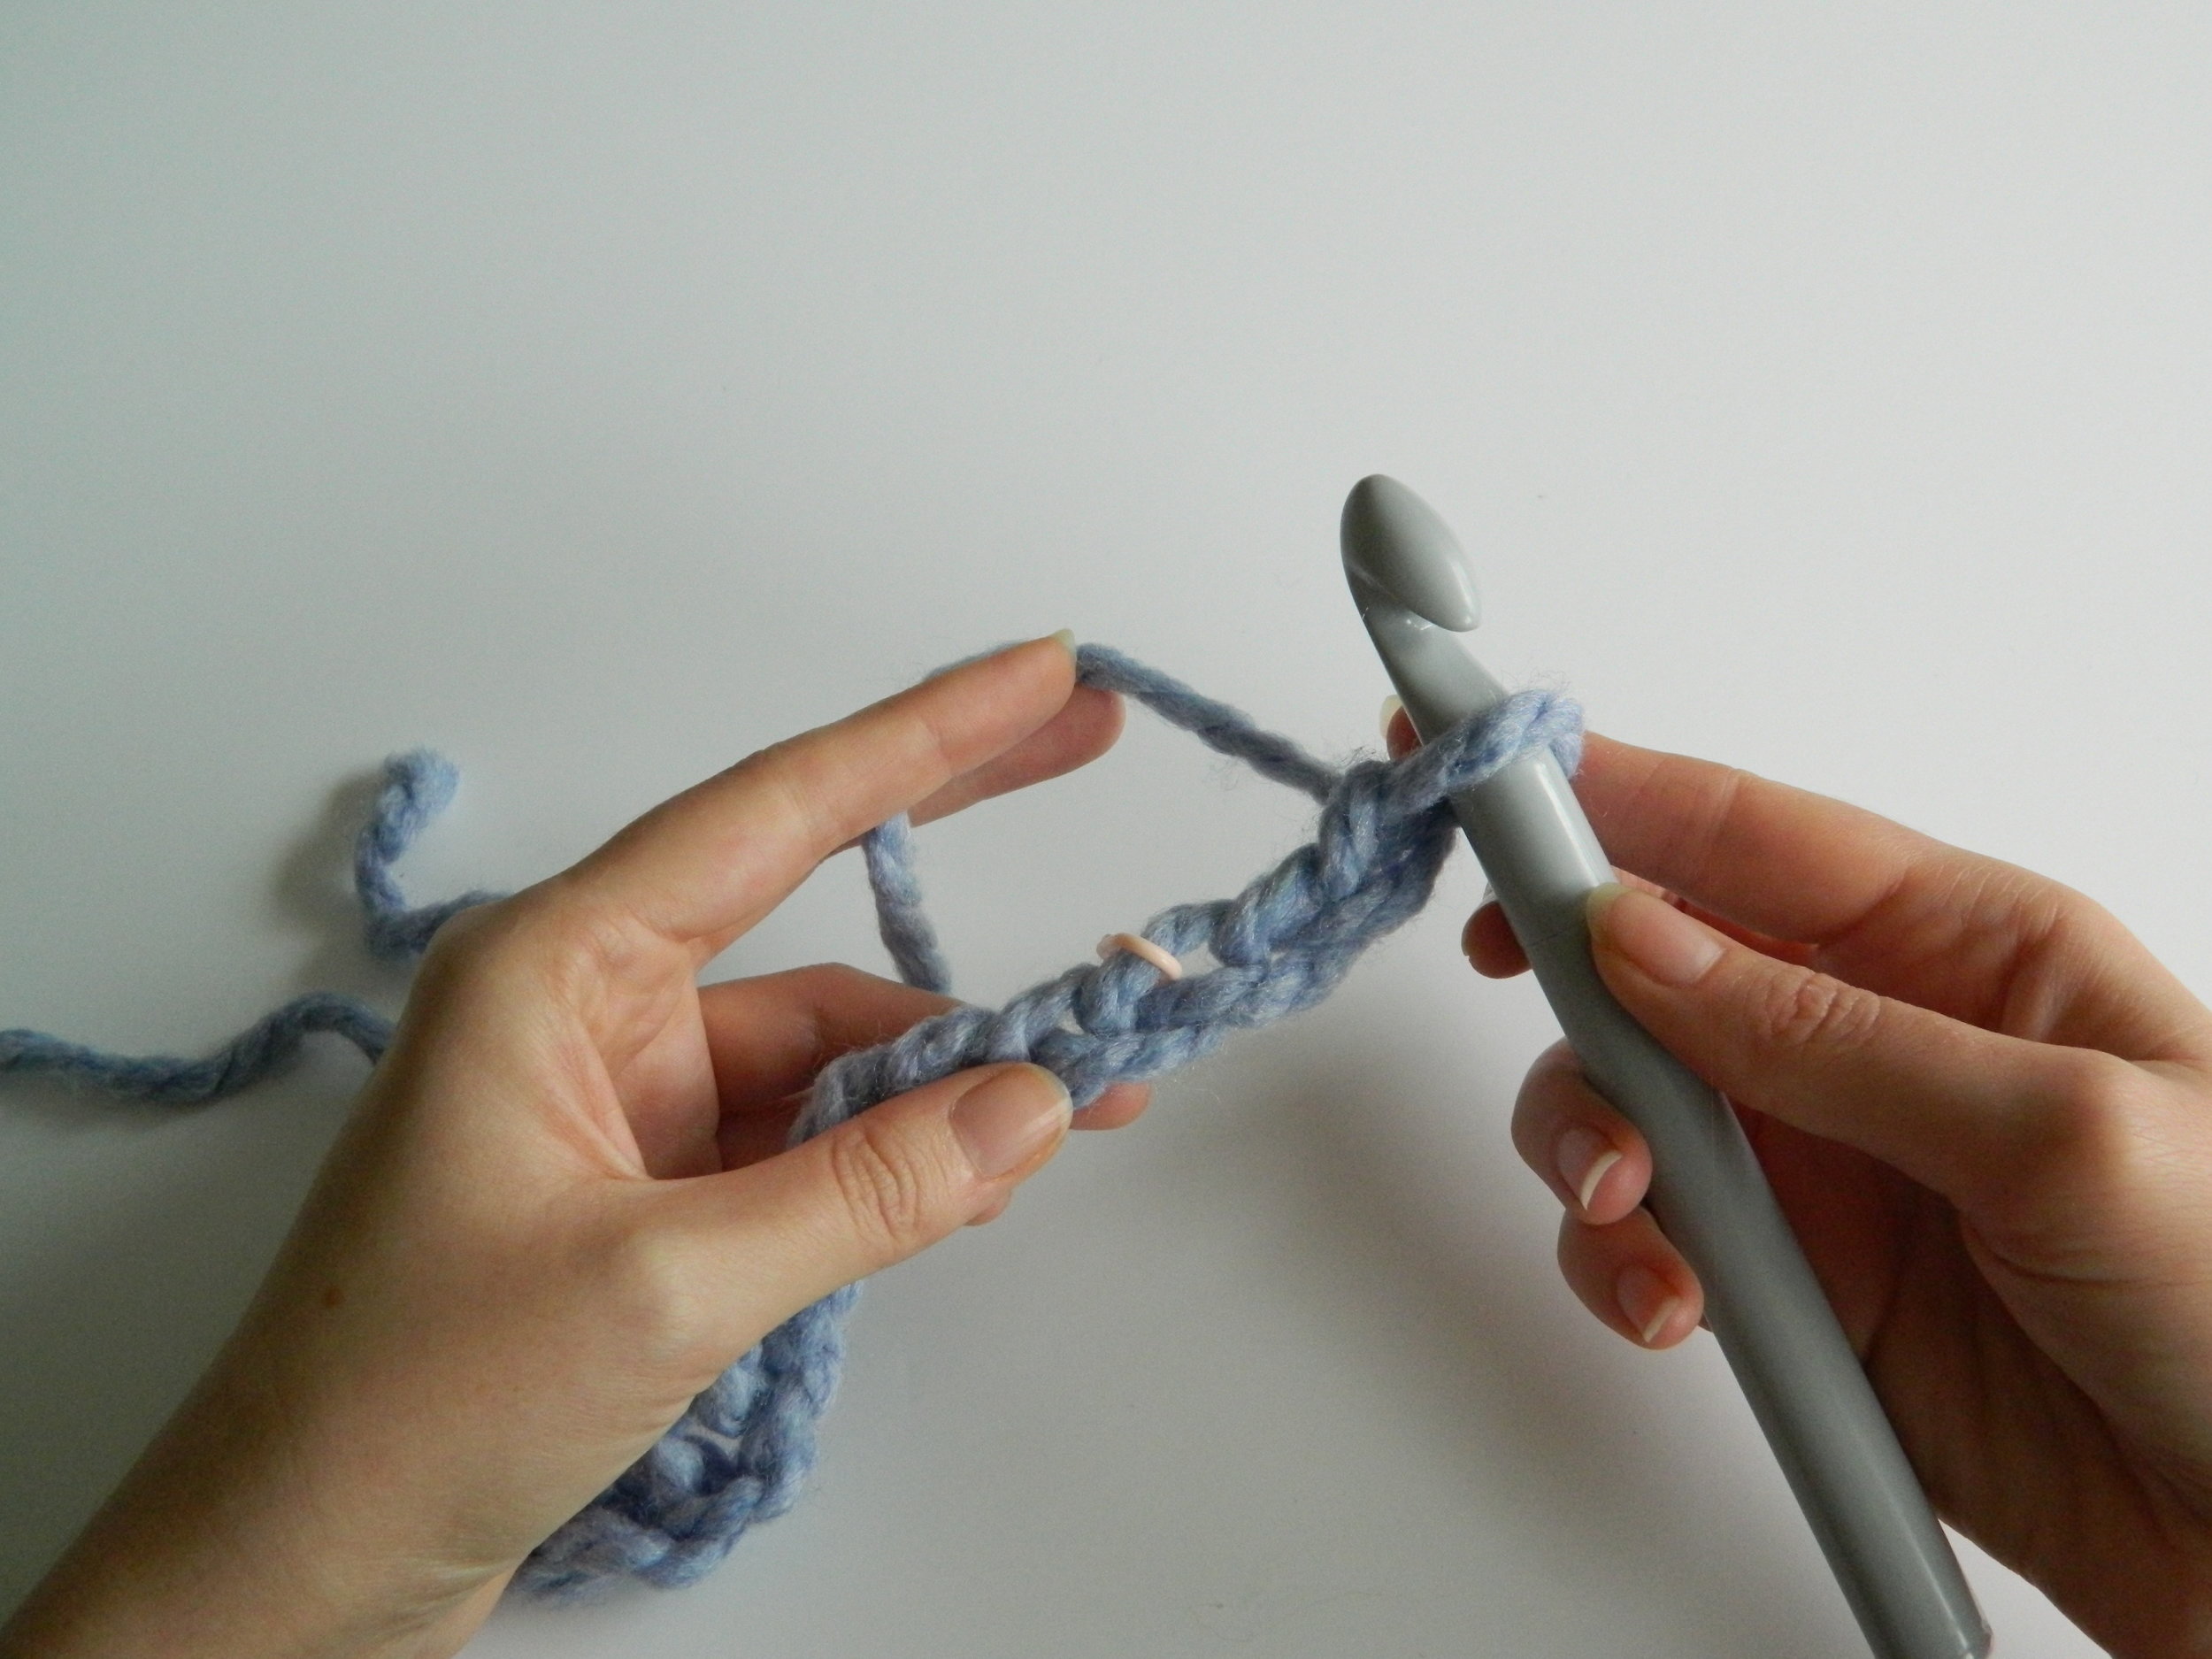
3.1

3.2

3.3

3.4

3.5
3.6
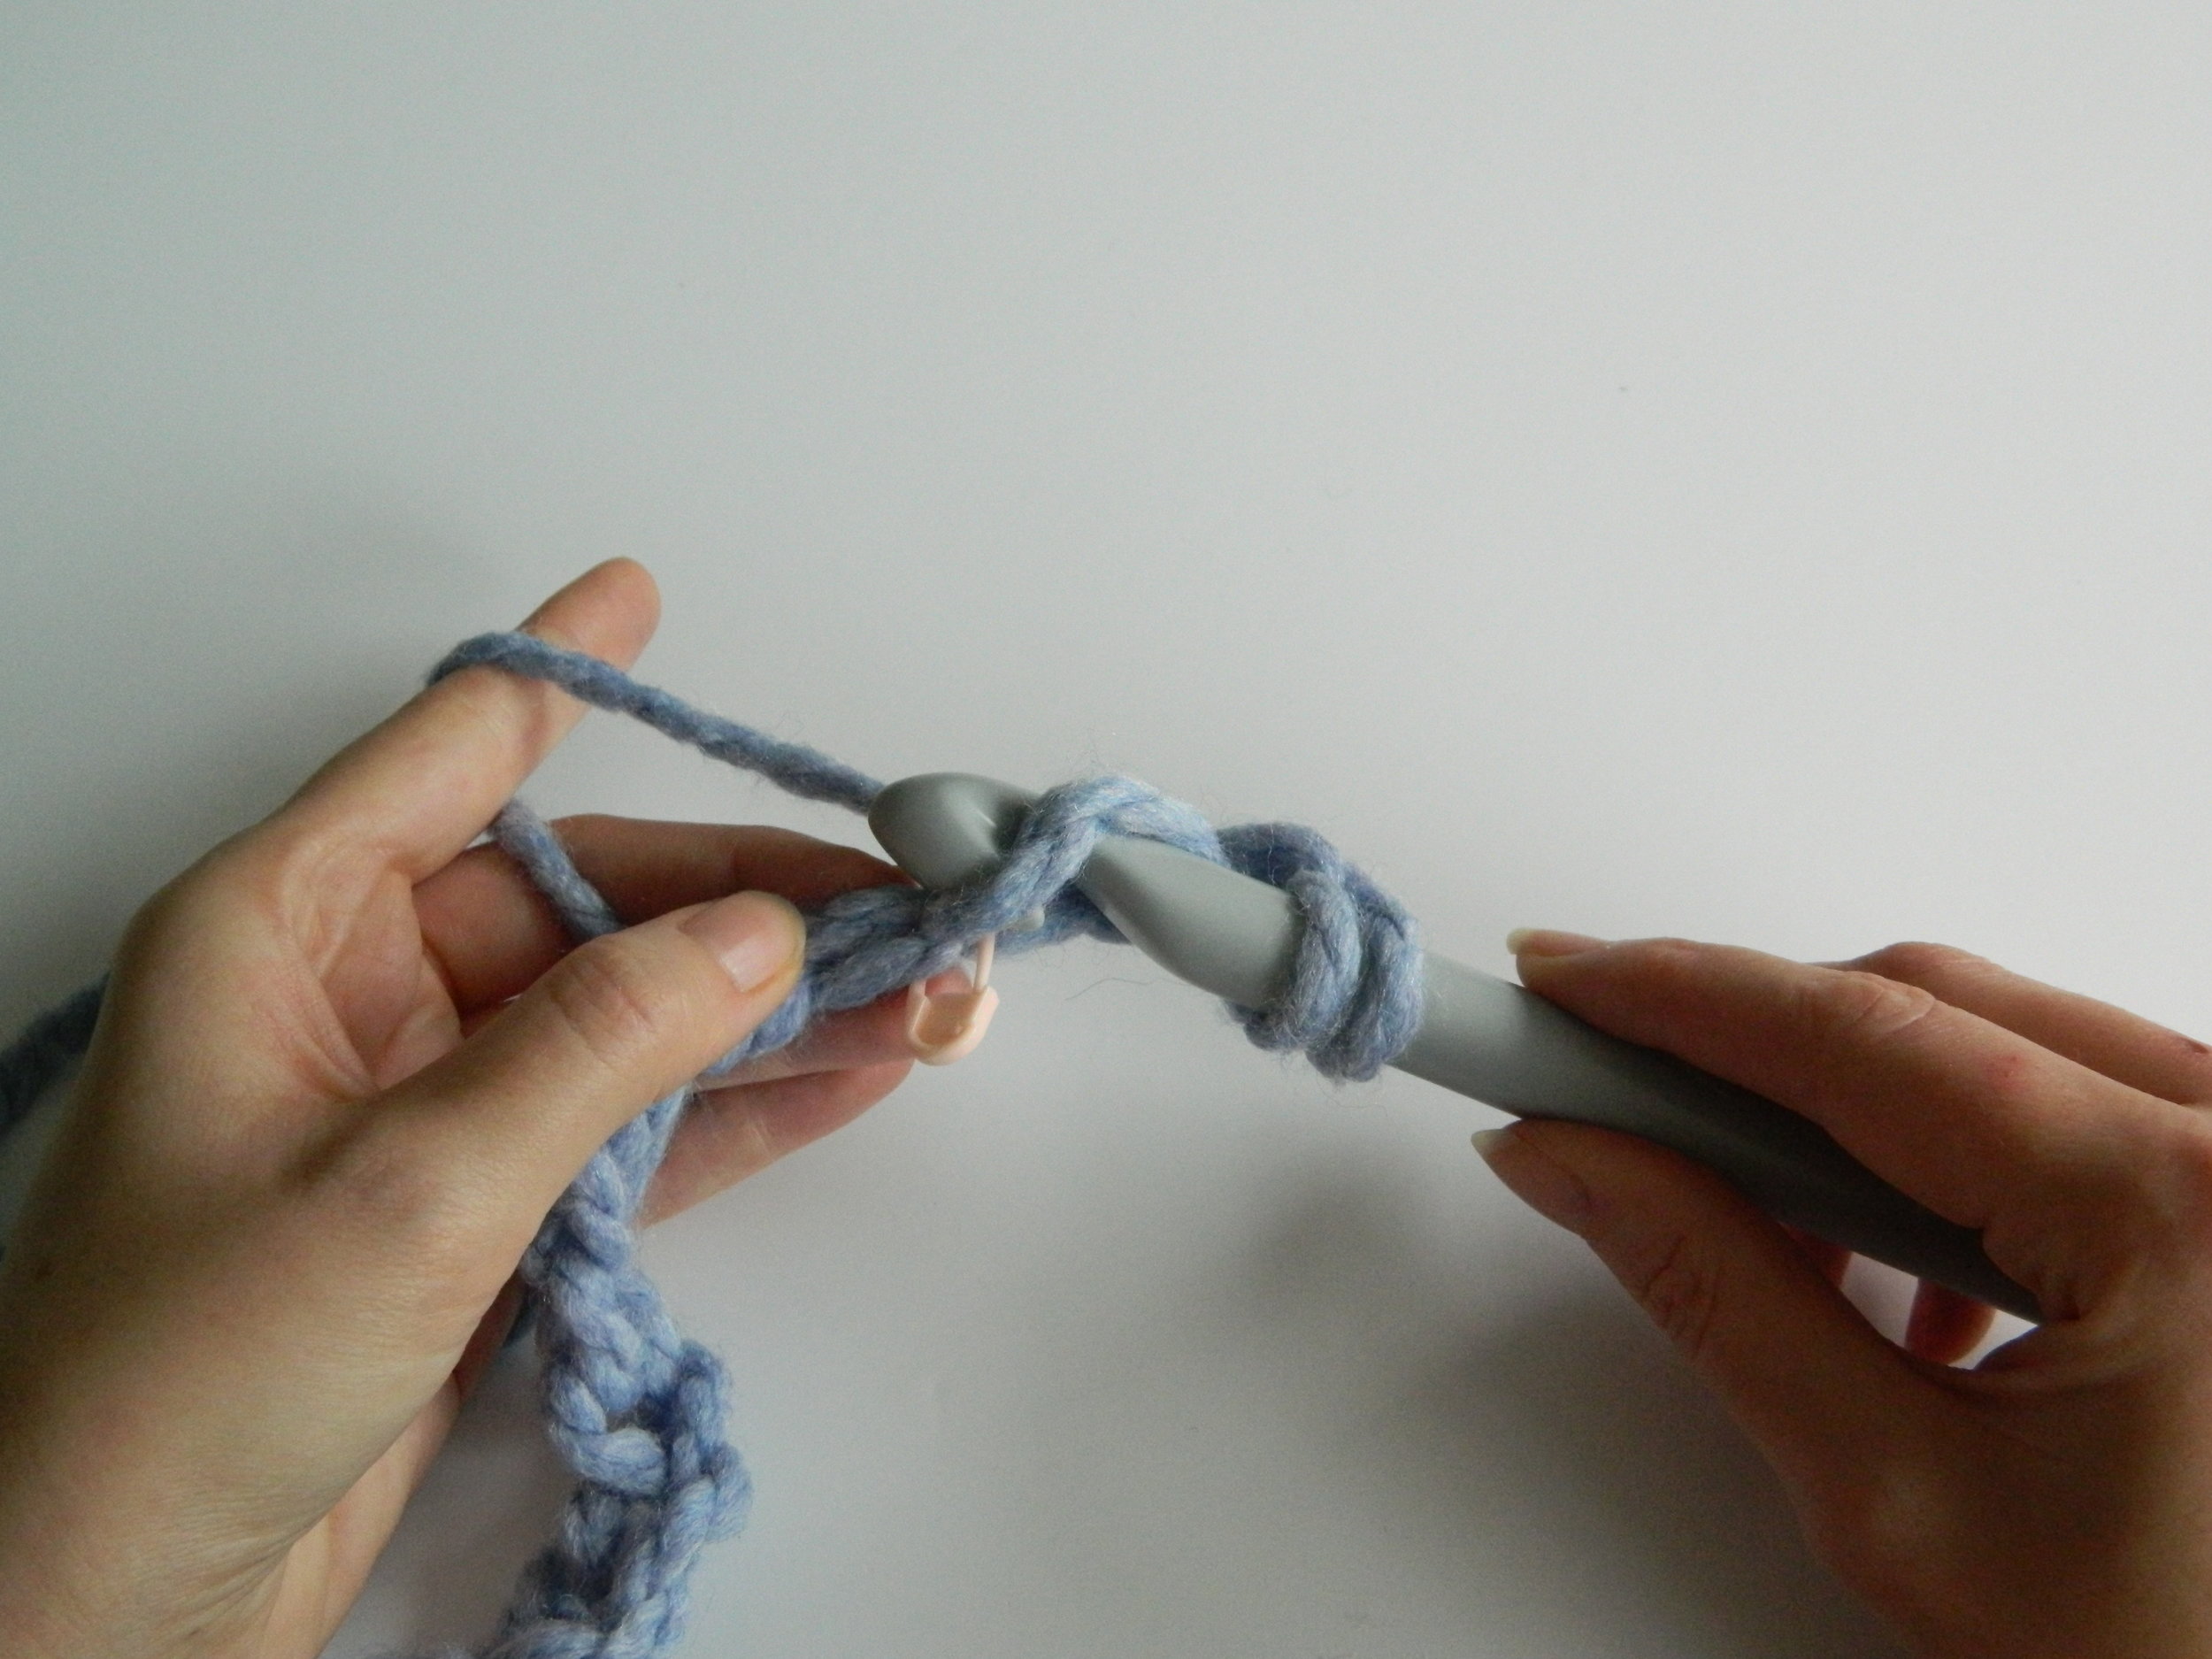
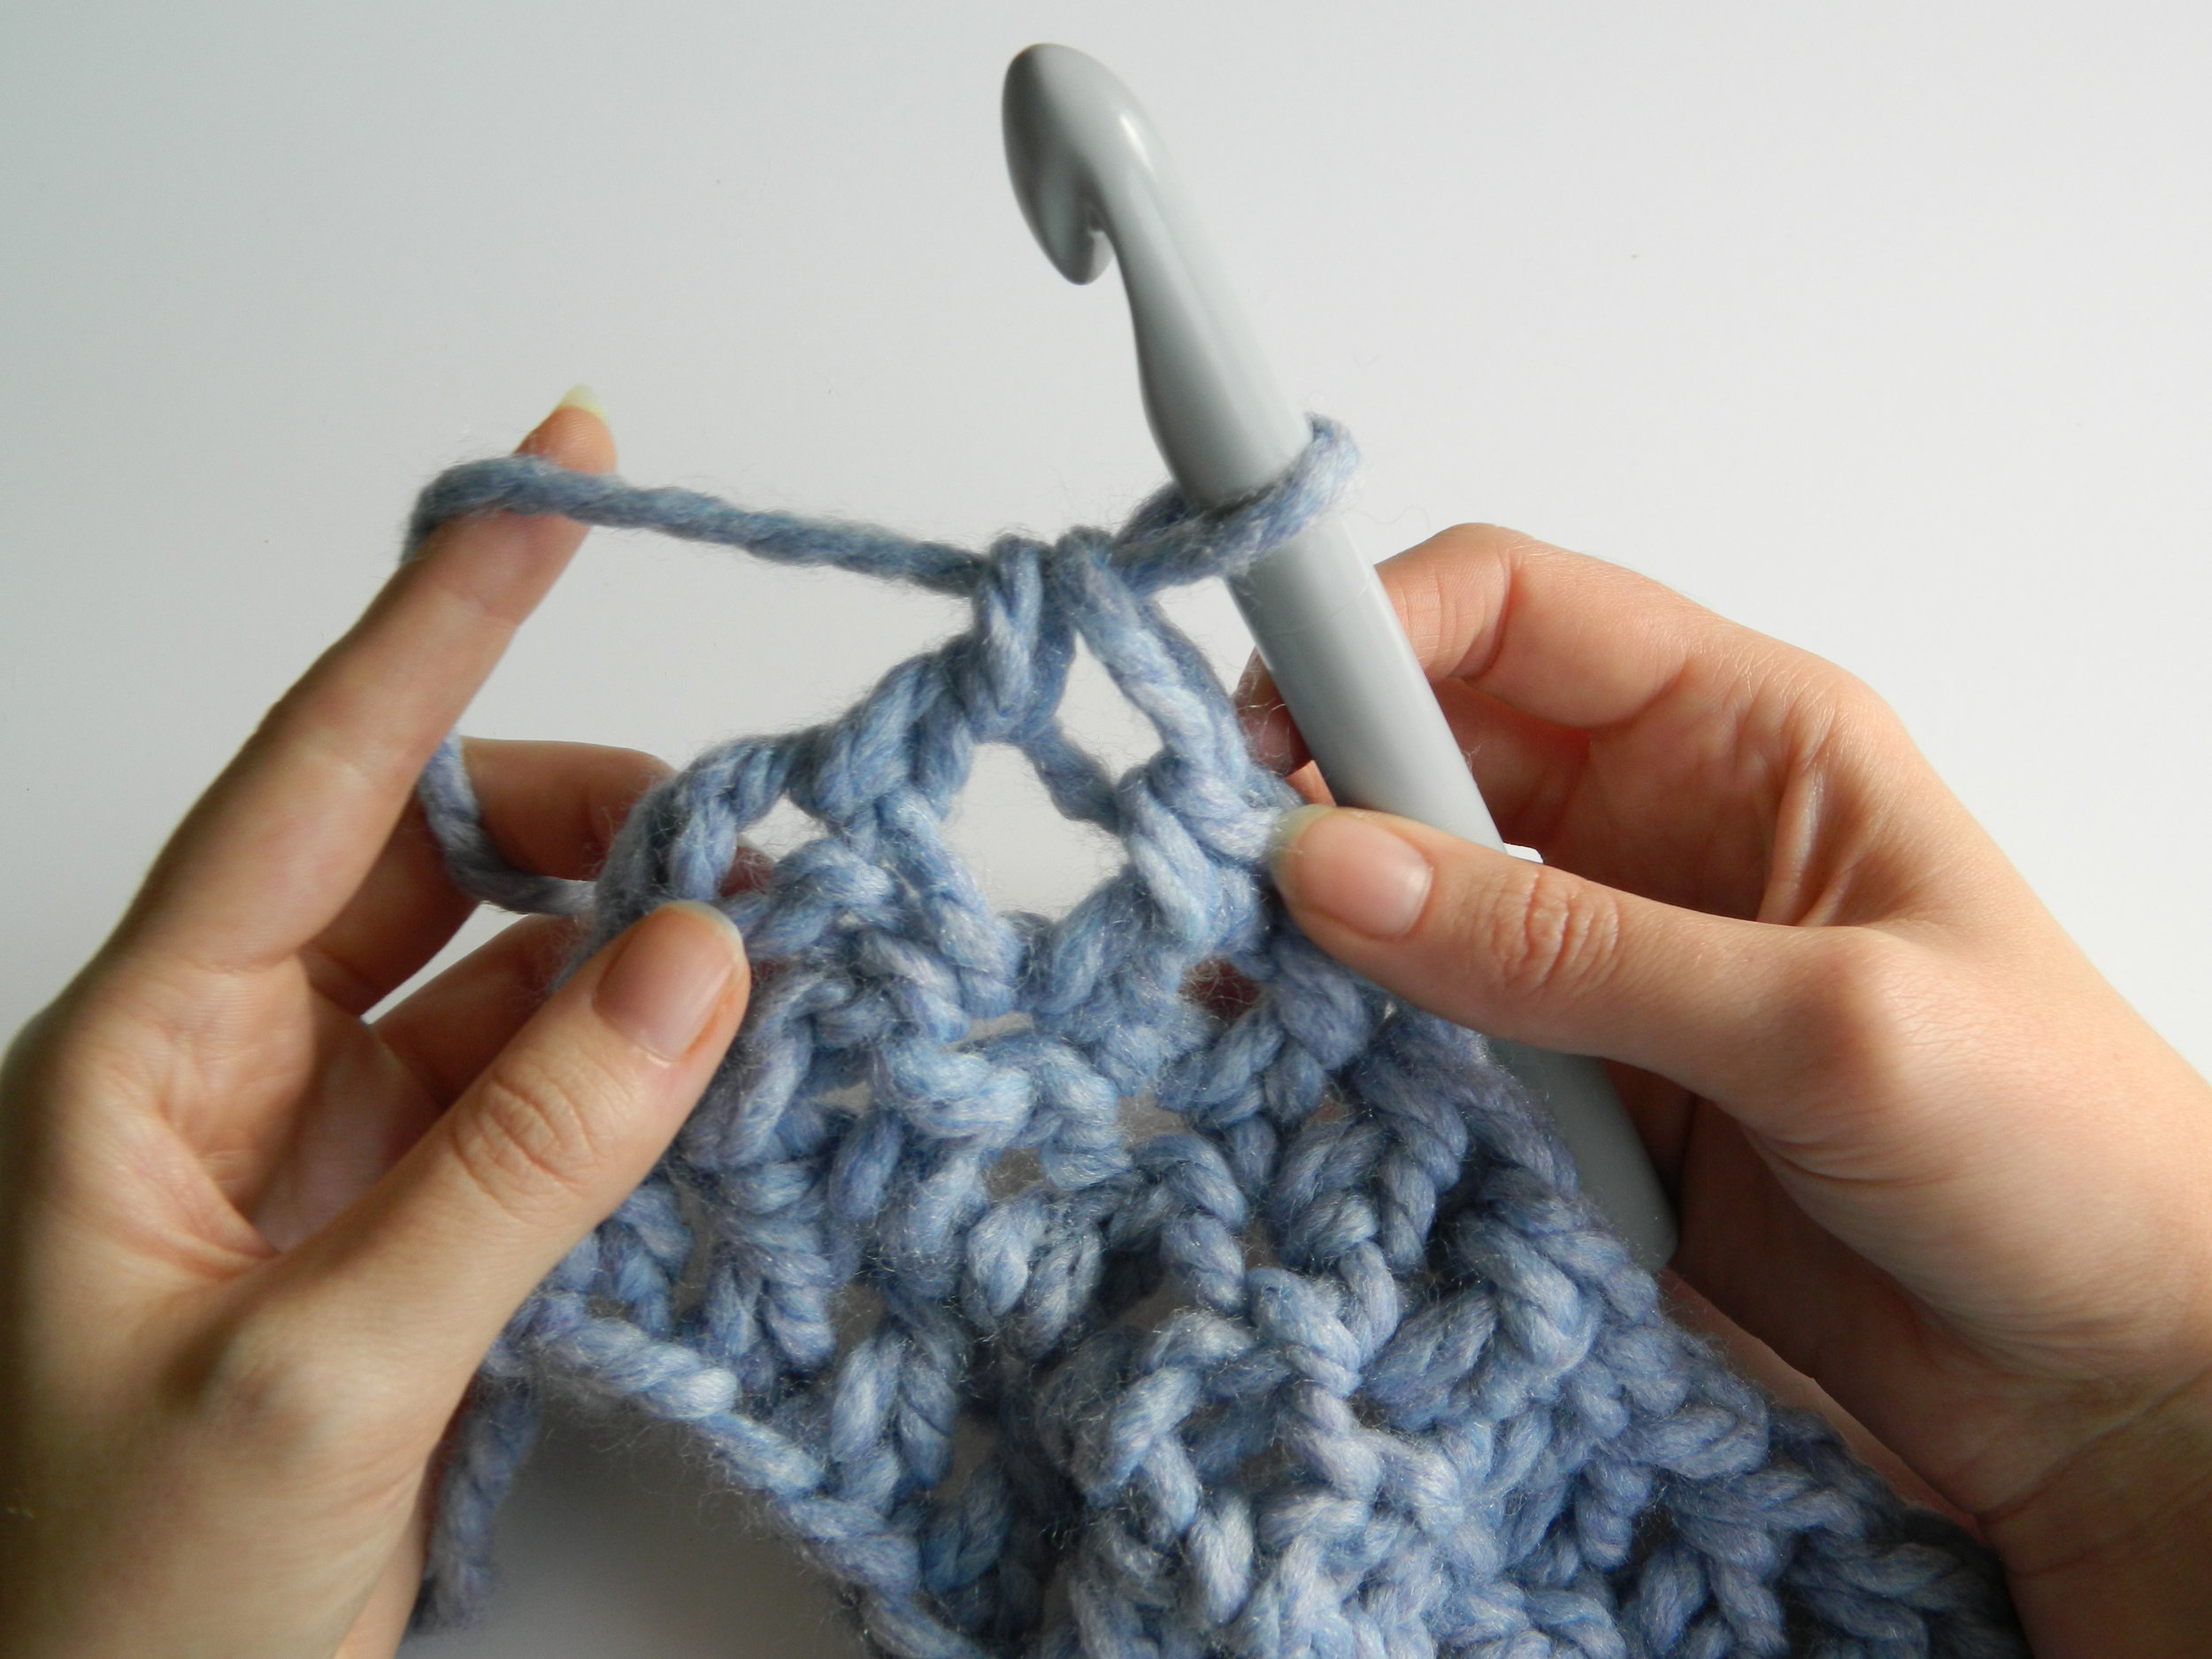
To create a tcr wrap your yarn around your hook (3.3), insert your hook into the stitch (3.4), wrap your yarn around your hook (3.5) and pull back through the stitch (3.6).

3.7

3.8
3.9
You will now have three strands of yarn on the hook (3.7). Wrap your yarn around your hook and pull this through the first two strands of yarn on your hook (3.8), wrap your yarn around your hook and pull this through the last two strands of yarn on your hook, you will now have one stitch remaining on your hook and your tcr is complete (3.9).
At the end of the row you should have a ch 2 and 44(56) trc.
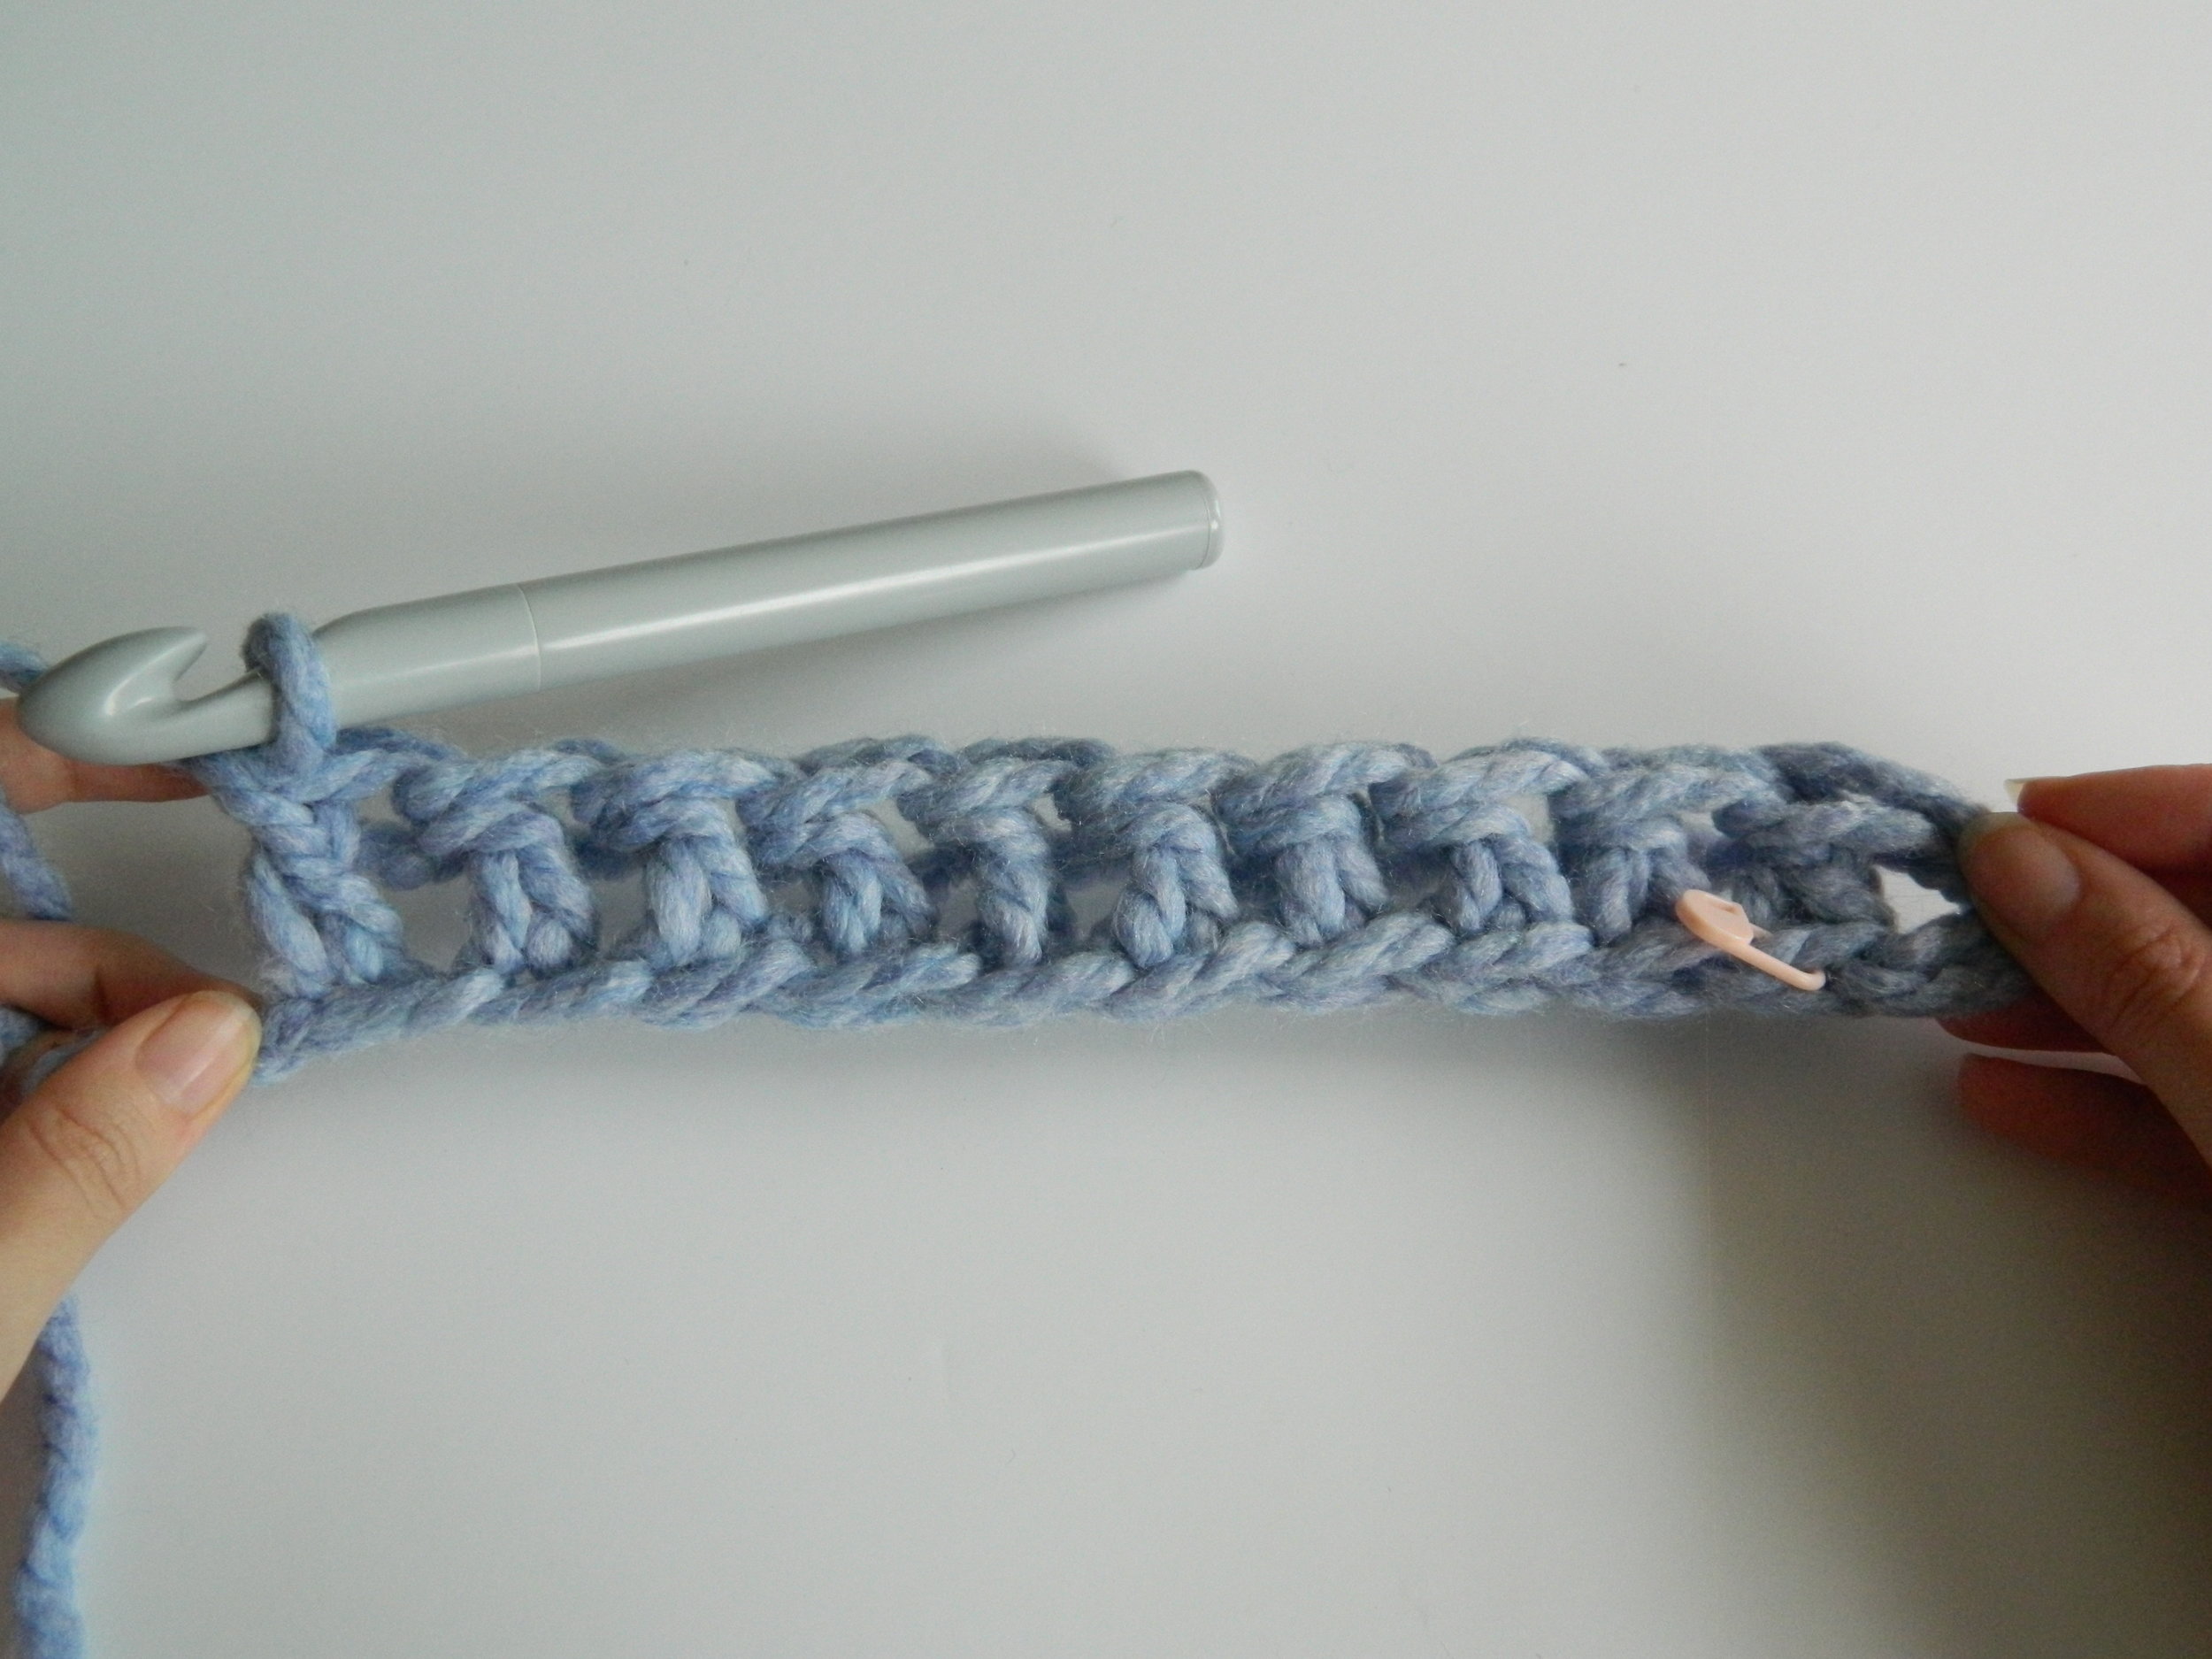
3.10
To maintain your work make sure to count your stitches regularly, it is easy to miss a stitch, particularly at the end of a row. You can see from image 3.11 that we have a ch 2 on the far right and 10 tcr starting with the stitch marker on the bottom right.

3.11

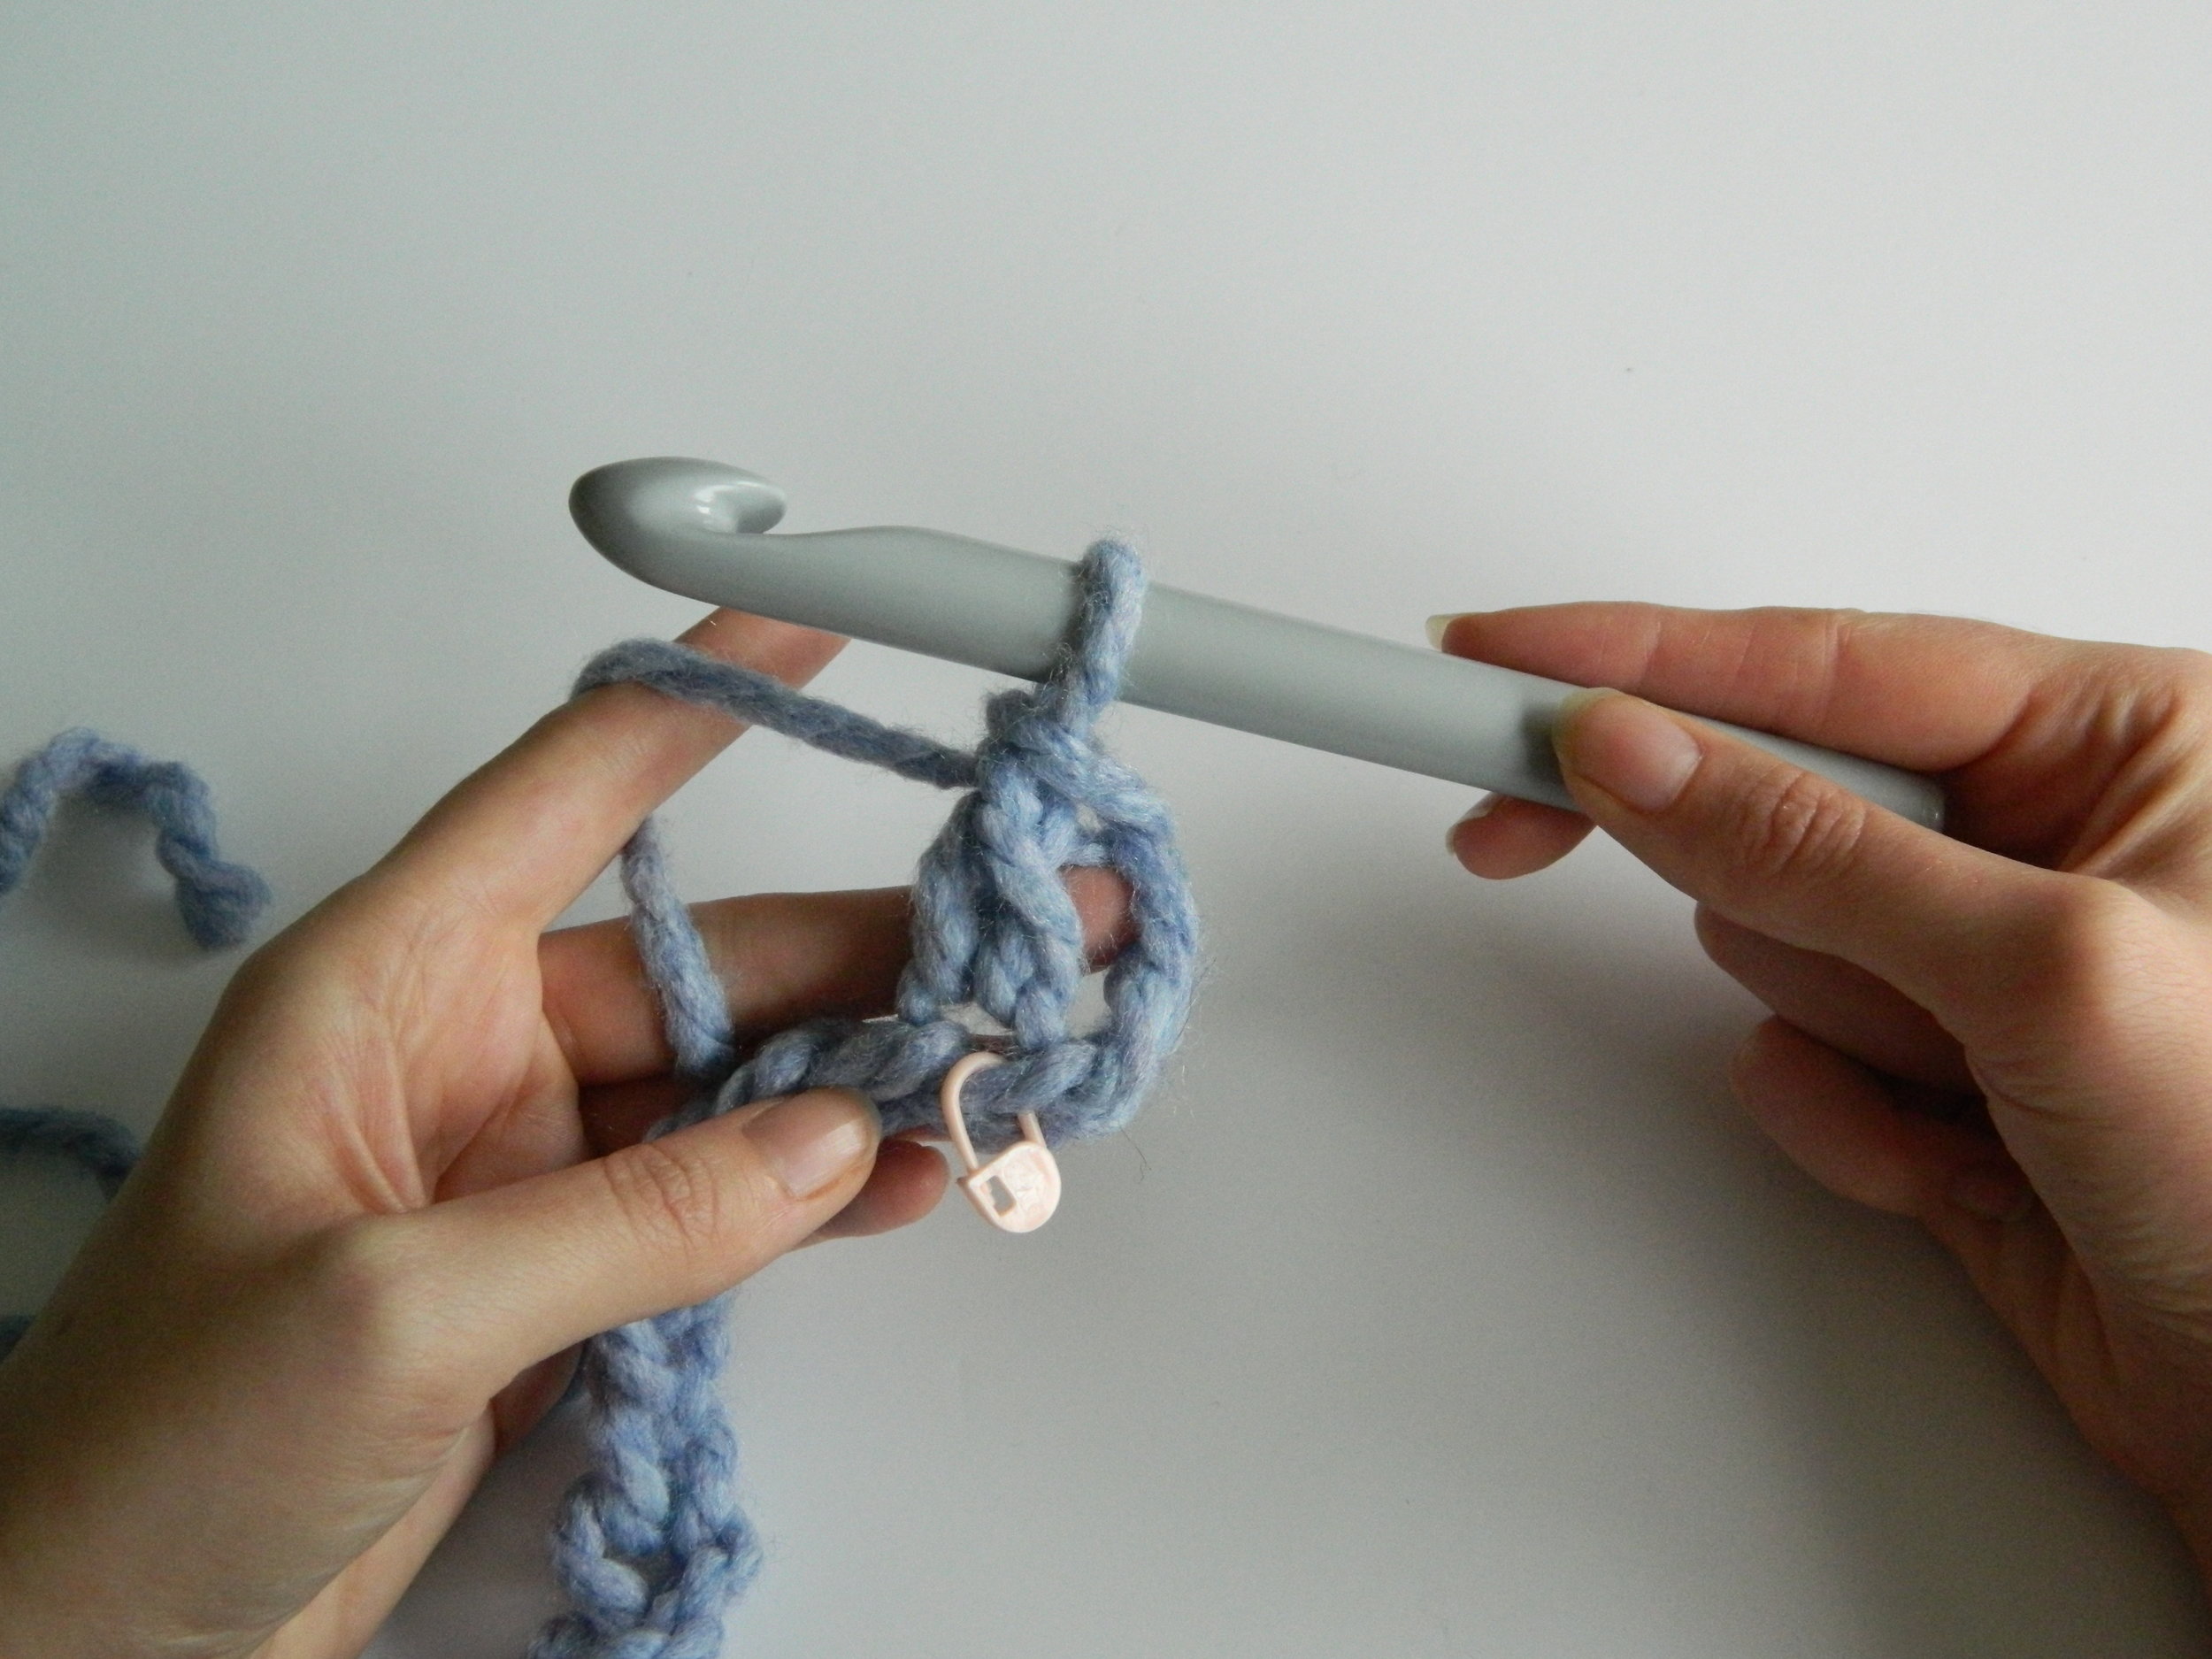
3.12

3.13
To begin your next row ch 2 to get the height of your row (3.11). Locate the top of the first stitch of the row below (3.12), this is where you will insert your hook for your first stitch (3.13).
Follow Steps 3.3 - 3.9 to create tcr in each stitch to the end of the row. The final stitch will differ slightly in its placement to that of the foundation row.

3.14

3.15
3.16
Work until you have one stitch left to work, look at the row below to locate the ch 2 and first tcr of the row below (3.14).
Rather than going into the top of the tcr as usual, insert your hook into the ch 2 (3.15), complete your tcr as usual.
This will keep the edges of your work neat and straight and will help you to keep the correct number of stitches per row. You will notice a slightly larger gap between the last two tcr (3.16).
Continue to work in this manner, starting each row with ch 2 then working in tcr, until you have reached your desired length.

Step 4: When you have completed your final stitch cut your yarn leaving a 8” (20cm) tail, thread this tail through the final stitch to secure it. Using your blunt needle weave in all of the loose ends.