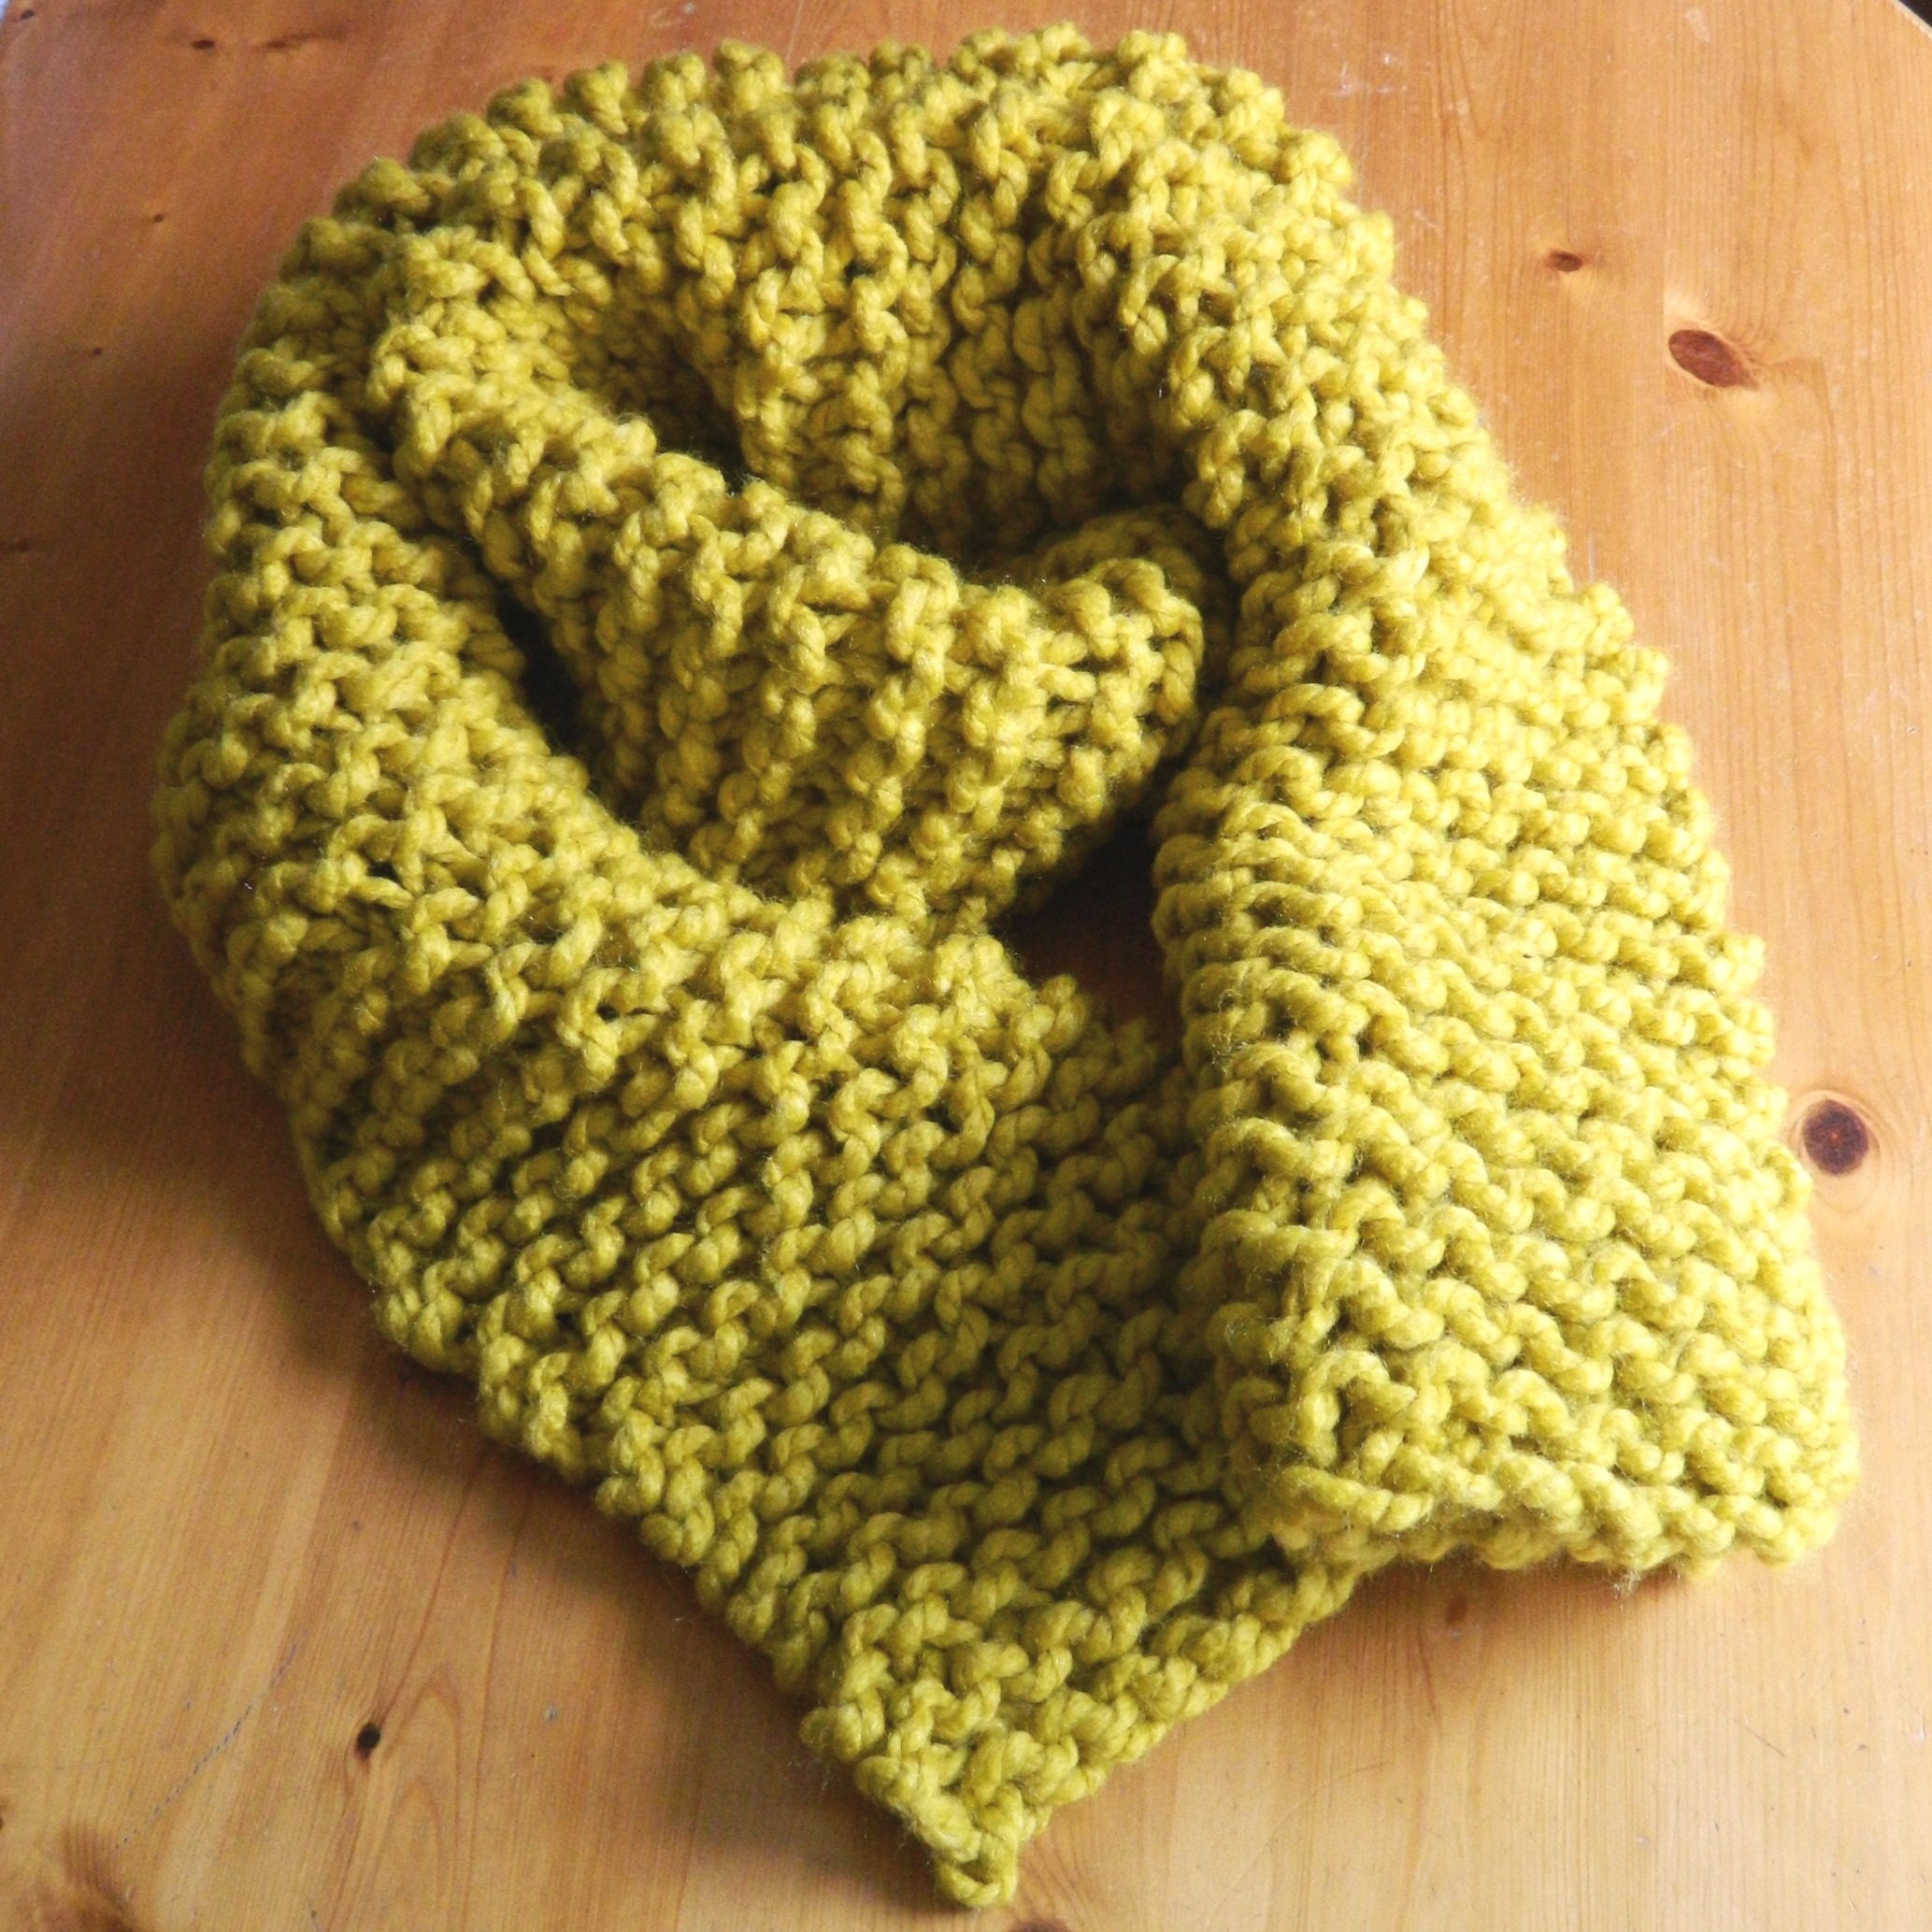
This scarf is probably the simplest knitting project to complete. To master the Garter Stitch Scarf you will need to use a basic knit stitch and join several balls of wool, weaving in the ends of wool as you knit.
Using extra chunky yarn makes this project quick to build. This great statement piece for your wardrobe will keep you warm and cosy all winter. This scarf makes a perfect gift as it can be completed in an evening or weekend.
The scarf pictured is 9” x 80” (23cm x 203cm) which is long enough to wrap around the neck twice or to tie around the collar of a coat. As a general guide a scarf for an adult should be equal in length to their height.
Following the pattern below will produce a 9” x 80” (23cm x 203cm) scarf, if you would like to increase the size you can a) add extra rows which will make the scarf longer, b) add extra stitches to make the scarf wider. The pattern indicates where to add extra rows and stitches to alter the size.
You can download a free PDF version of this pattern here.
You will need:
· Chunky wool – I used Cygnet Seriously Chunky Wool – 4 x 100g balls*
· 12mm knitting needles
· Crochet hook / large blunt needle for weaving in the ends
* If you chose to increases the size of the scarf you will need to increase the amount of wool accordingly
Abbreviations:
St – stitch
K – knit
Gauge
Measuring a 10cm (4”) square of the scarf you should see 6 stitches across and 9 rows. If you find that your working is tighter you can add more stitches until you are happy with the width of the scarf.
Scarf Pattern
Cast on 15 stitches – to make the scarf wider increase the number of stitches here.
Row 1: Knit all stitches
That’s it! Just keep knitting all stitches of every row until you have the desired length.
Cast off all stitches and weave in the ends of wool. NB You will need approximately 50” – 55” to cast off your knitting so make sure to measure before starting to ensure you have enough wool to finish!
Alterations & Inspirations
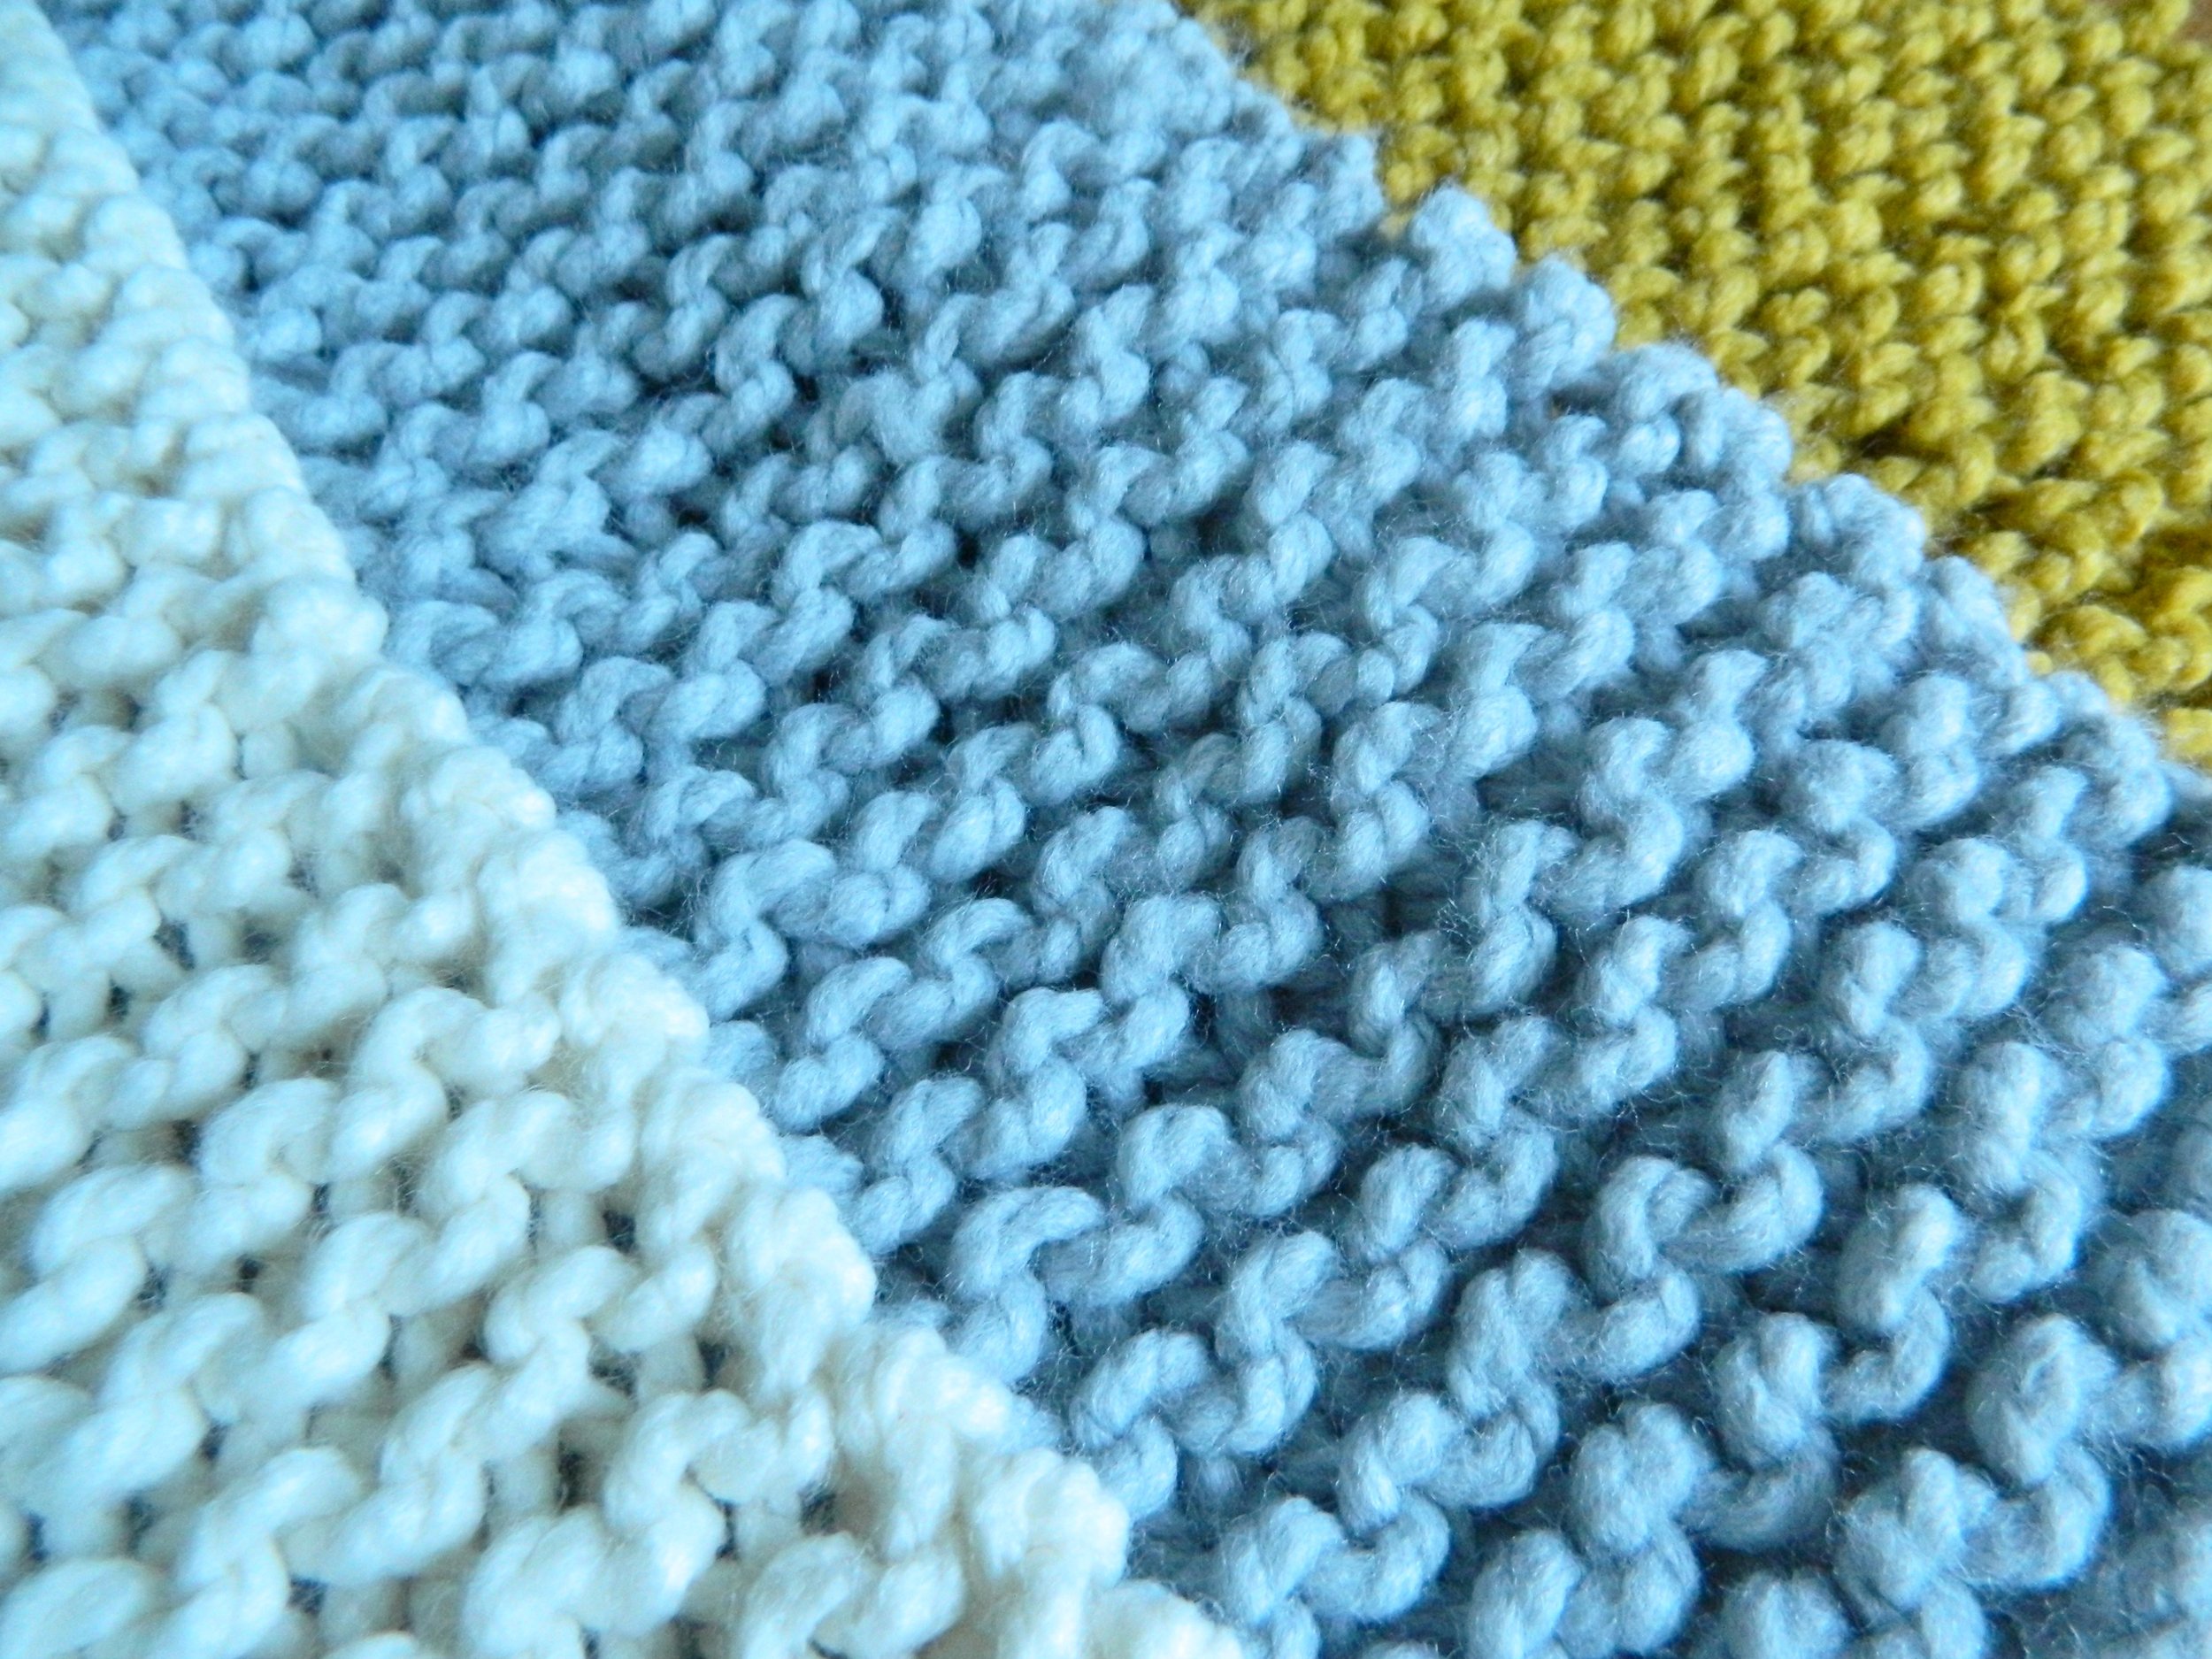
The garter stitch is a knitting staple and is a great stitch to use for a range of products. The garter stitch gives a stretchy feel and stops the edges of your work from curling up. You can use this stitch with any wool and for a great range of projects.
Changing Colour & Joining a New Ball
When joining two balls of wool it is important to make the smallest join to avoid large knots in your knitting. The easiest way to do this is to join your new wool at the end of a row. This will mean that the join is at the edge of your work which make it easier to hide.
Continue with your first ball of wool until you have ~4” remaining OR you have reached the end of your row with not enough wool remaining to complete the next row.
Take your new ball of wool and begin to knit with this new strand. Once you have knitted 4 or 5 stitches return to your two loose ends of wool. Tie the ends together pulling gently to ensure that the loose stitches are the correct size and tension.
Now that your ends are secure you need to ‘weave in’ your ends. That means taking a needle, or in the case of very chunky wool you can use a crochet hook or your hands, to tuck the loose ends into the surrounding stitches to hide them and to stop them from unravelling.