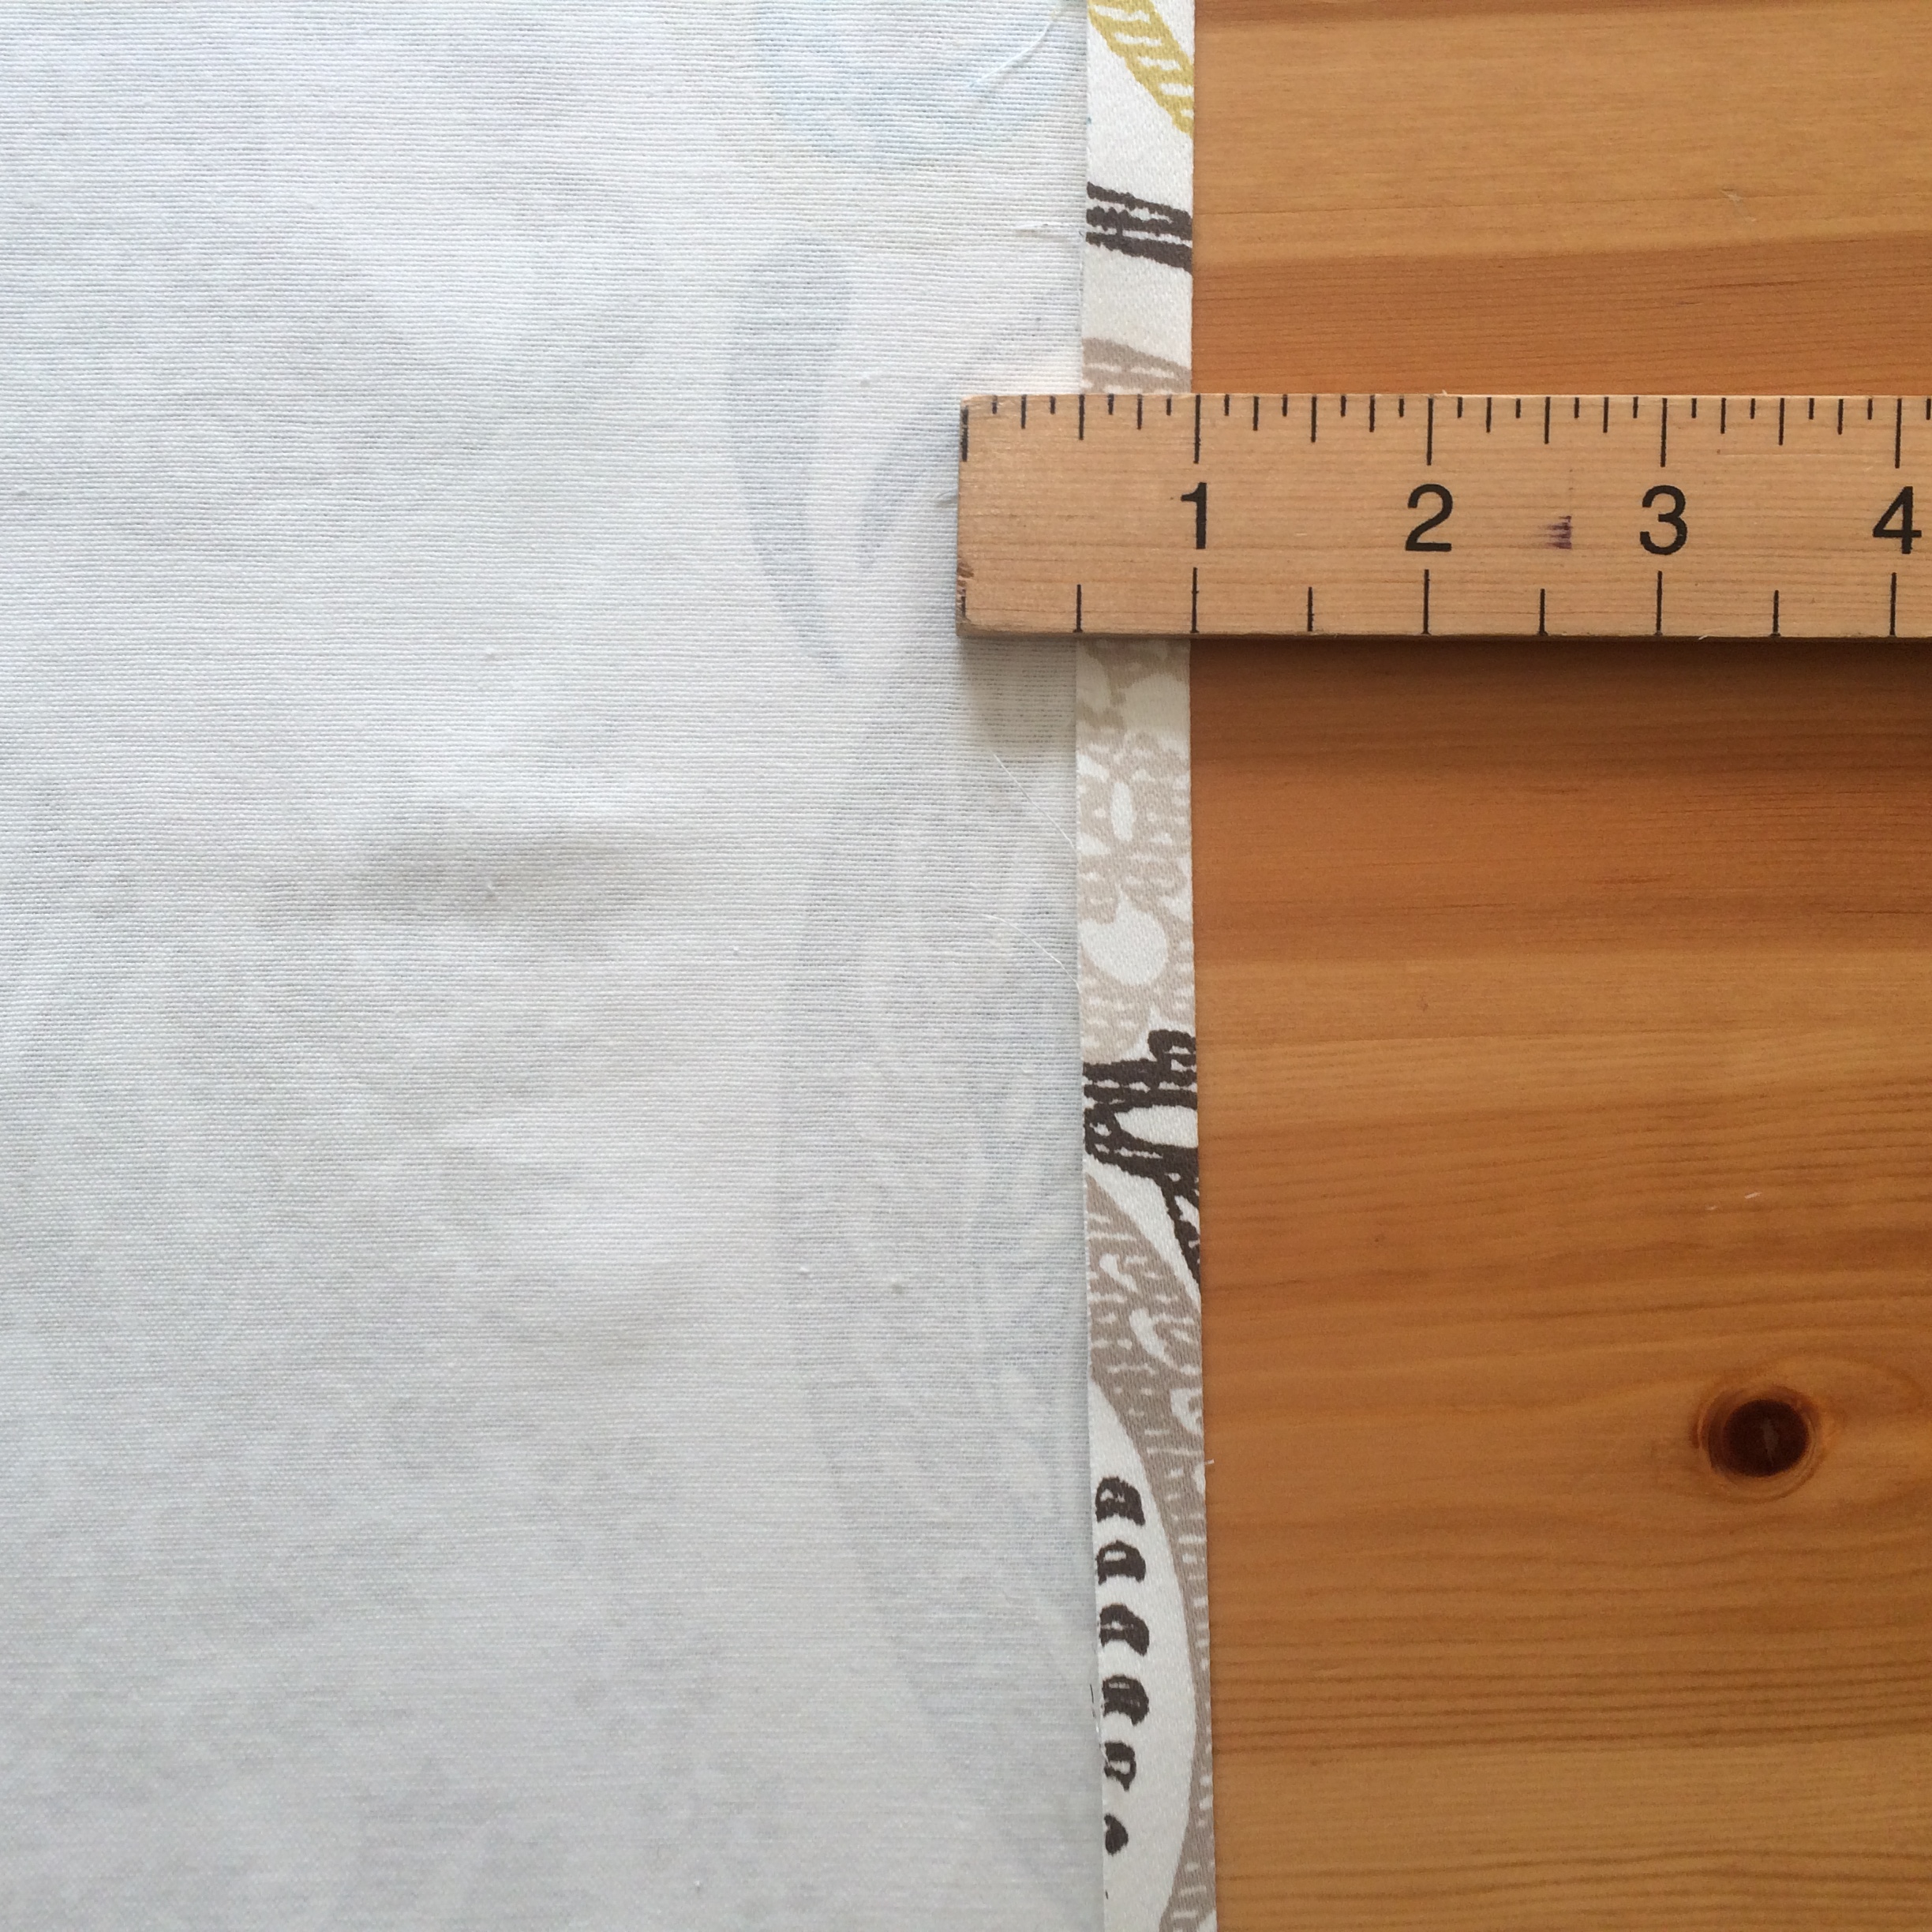
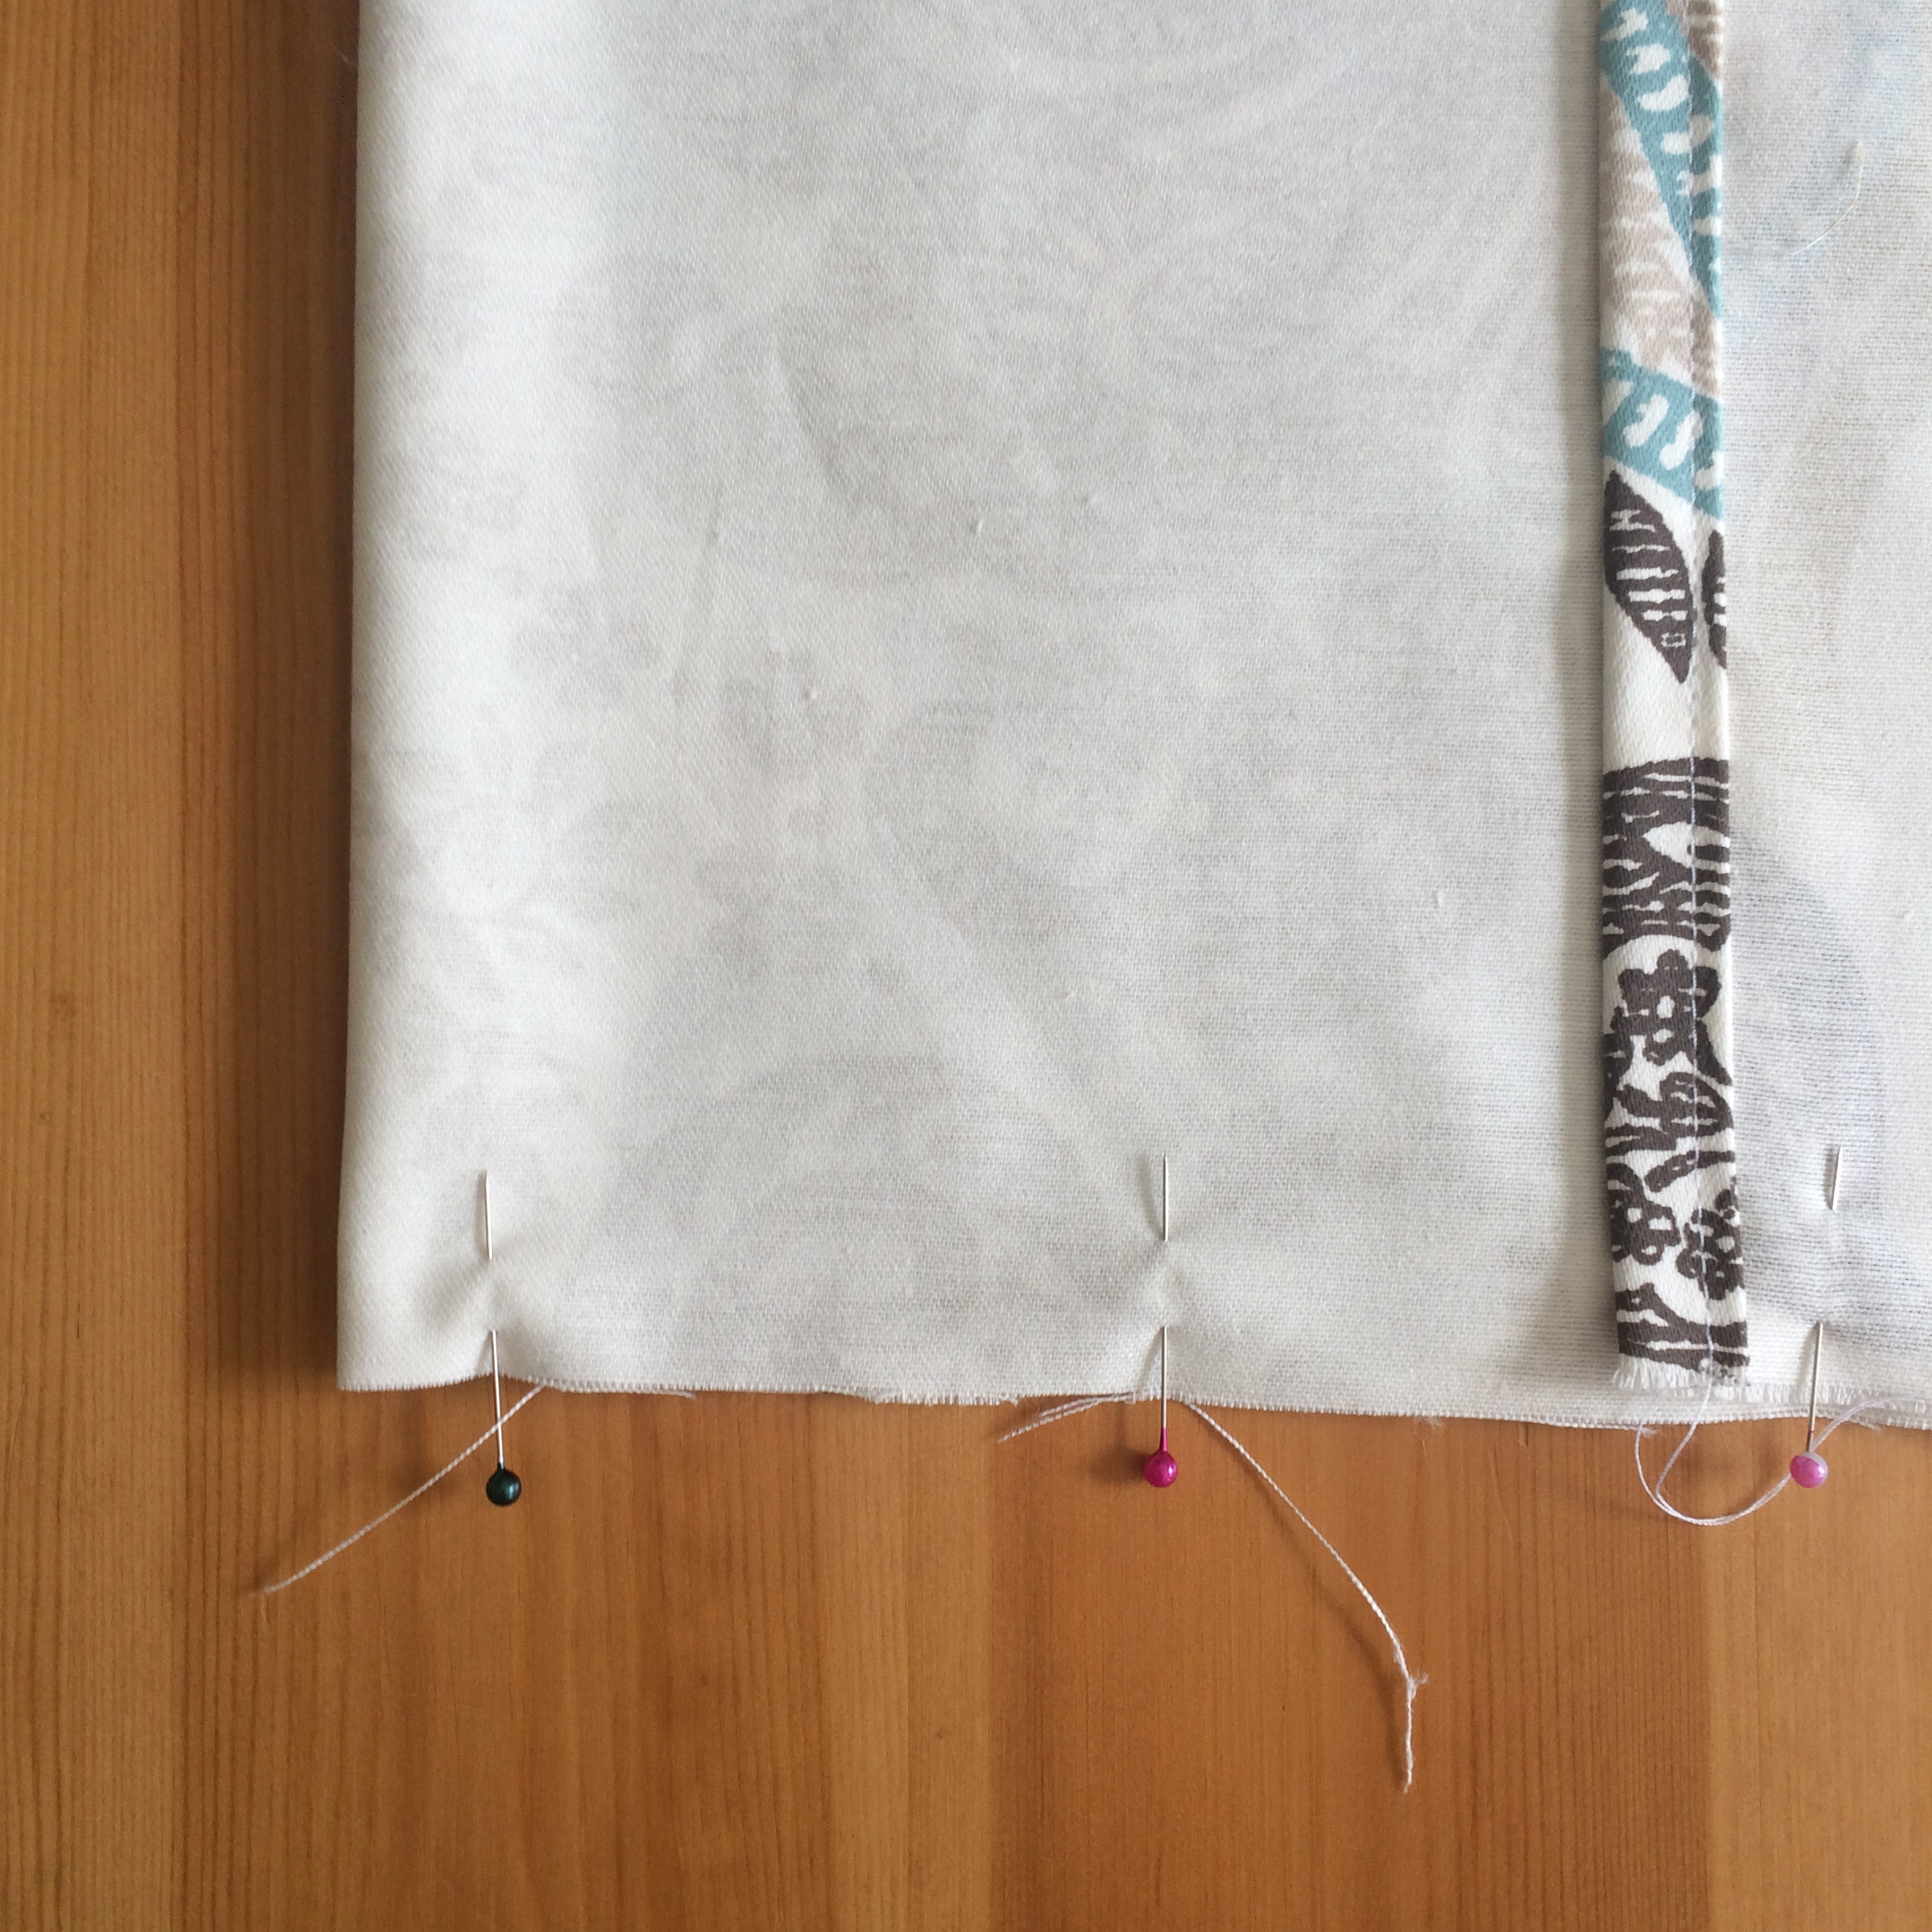
Tools of the trade: fabric, cutter, tape and ruler, and coffee...
Working from home can lead to some blurring of boundaries between home life and work life, especially with a creative business. I have spent the past year turning my hobbies and passions into a job so knowing when my work day ends and my relaxing time begins can be tricky to decide.
My plan for 2019 is to make a plan and stick to it; to focus my energy on those essential projects that will meet the demands of my little shop. All too often my personal passion for creating and helping others to invent their perfect item leaves me working furiously on a series on one-offs while my ‘to do’ list gets ever longer.
This year I am starting as I mean to go on by ticking off those essential items that have been waiting patiently for so long! Last year I made a series of bedding sets which sold out so quickly, I knew straight away that hand made bedding with interesting designs were in demand yet I never quite found time to plan, design, and create a new range.

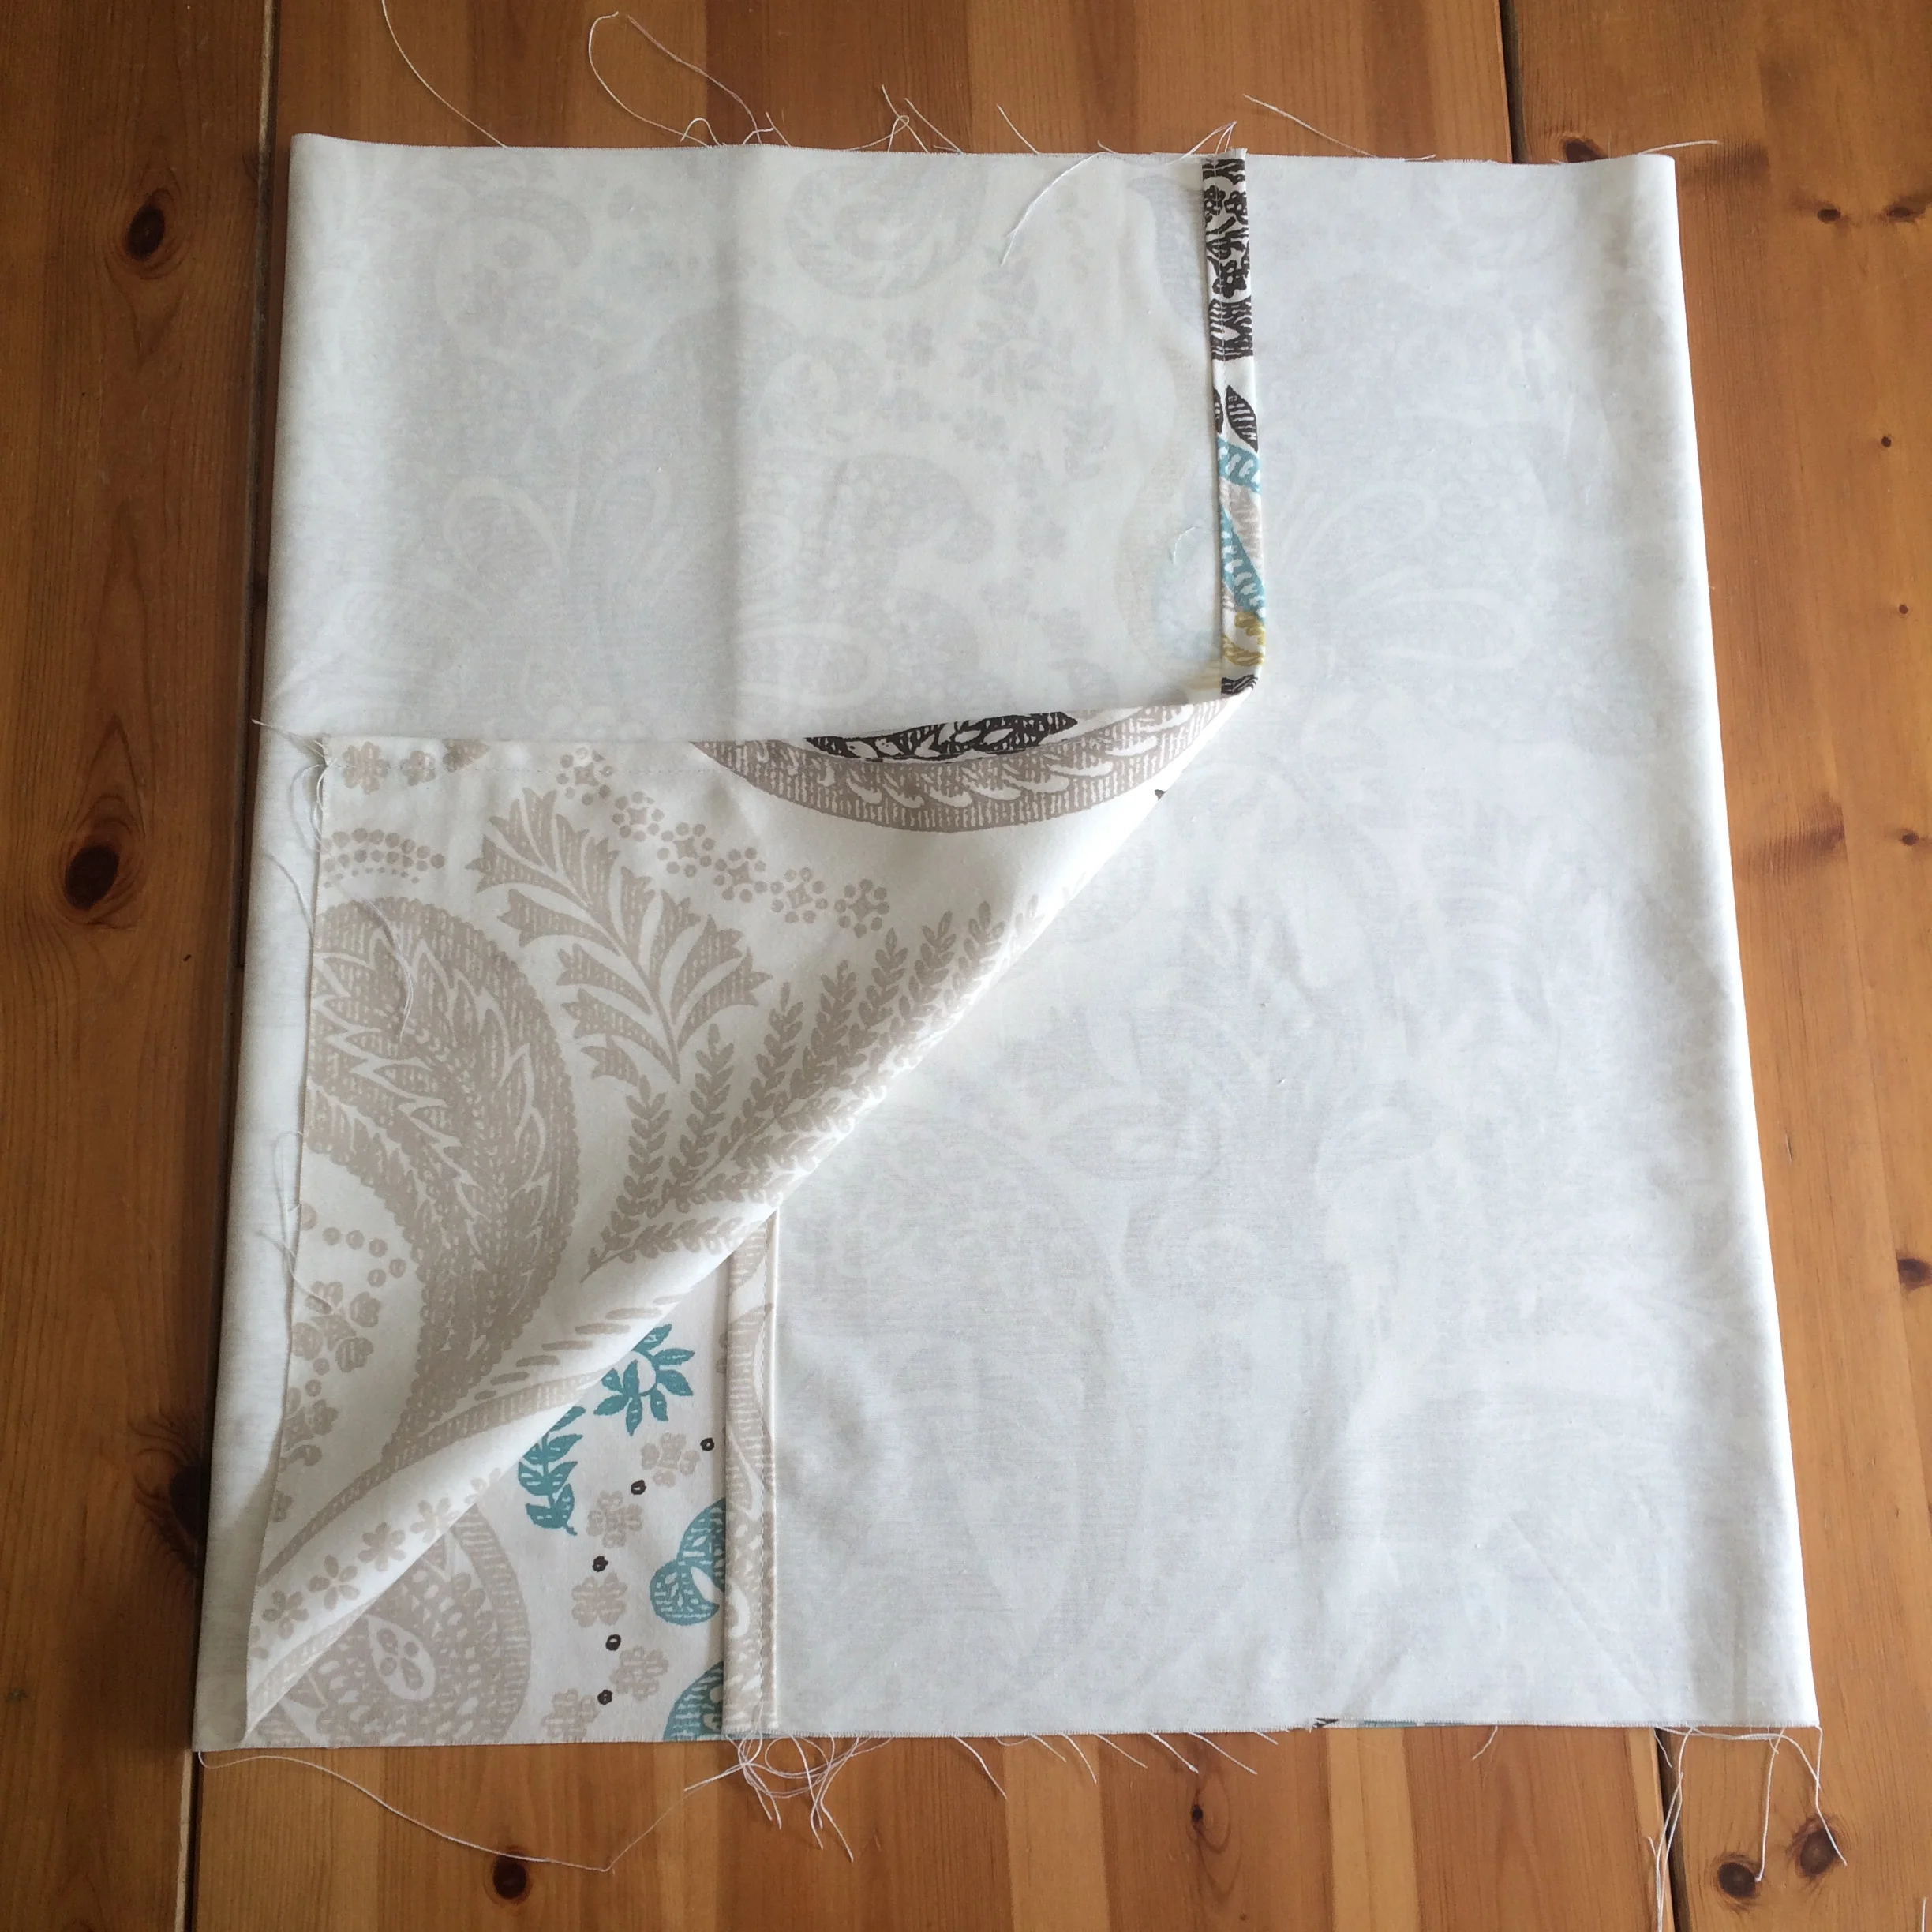
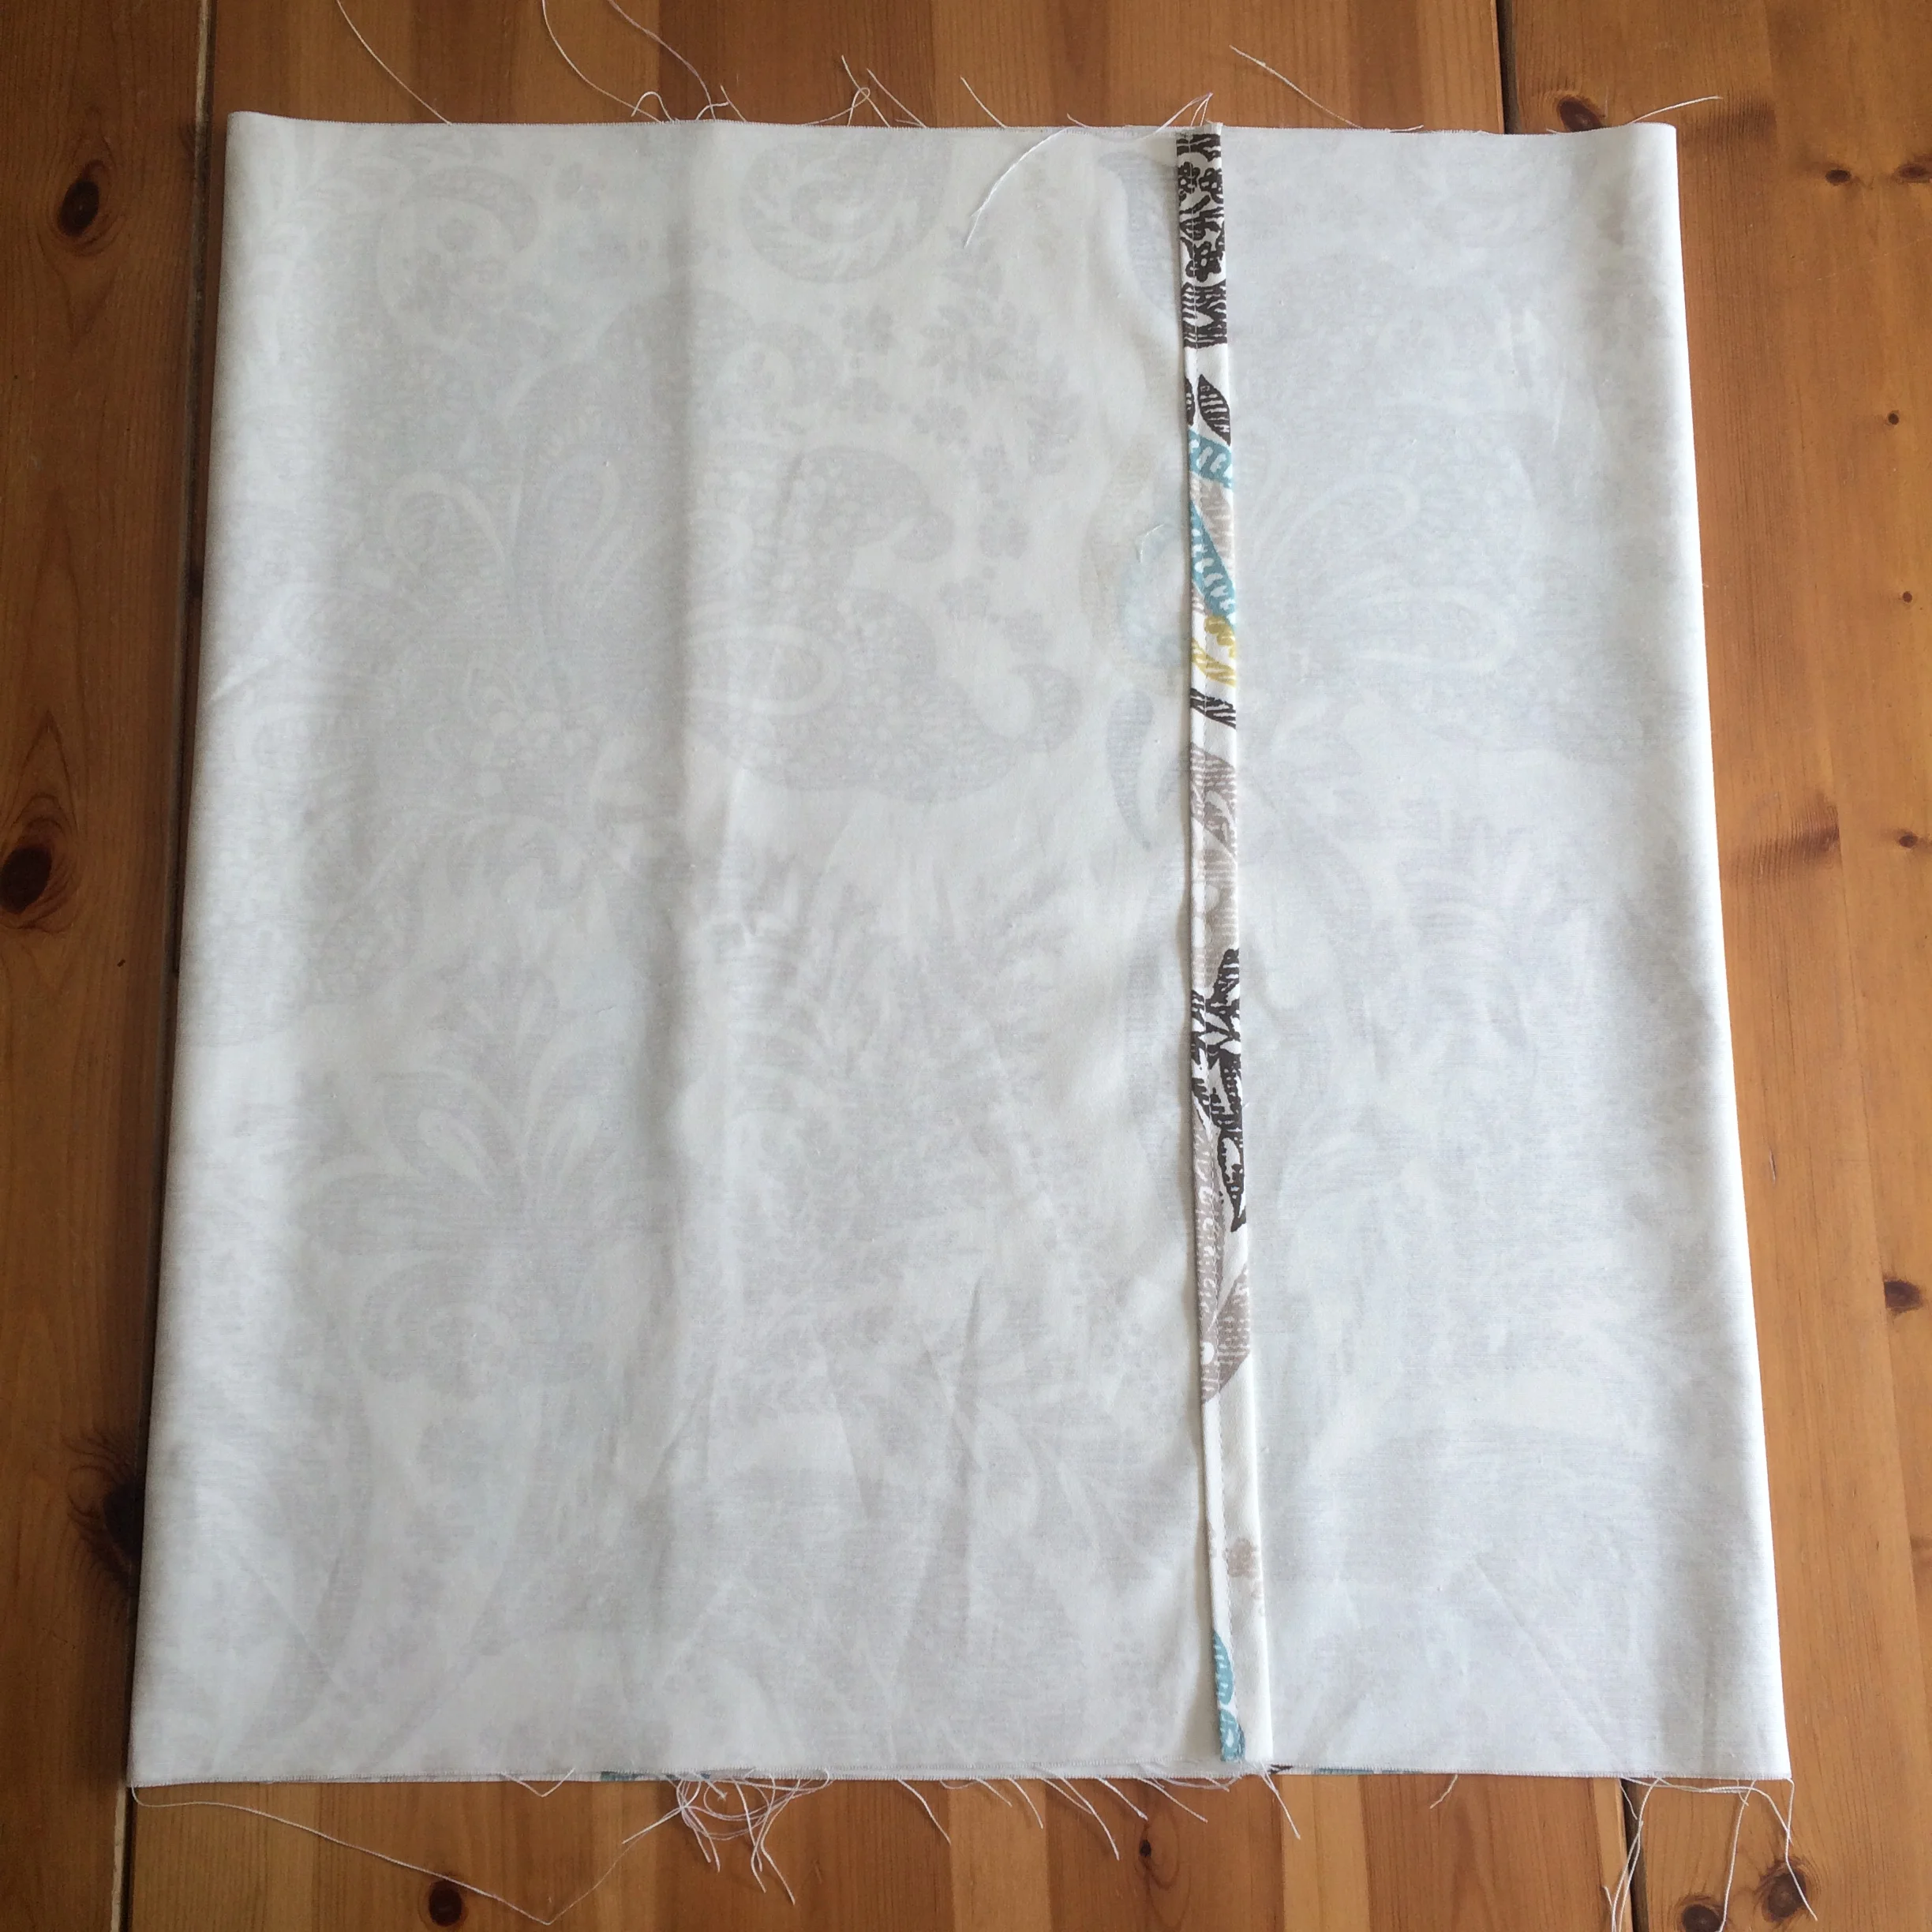
This beautiful grey song birds motif cotton is perfect for the bedroom, I am beginning with a duvet cover set and I will be working on a range of other bedroom textiles to match; bed runners, throw pillows, curtains, etc., all to be added to my ‘Home’ shop in the weeks to come.
Once I have the patterns made and I have tested these patterns I can start the next exciting part of the process - hunting for fabrics. Choosing fabric is such a personal thing, I try to look for two things - something I would love to have in my home and, secondly, something that I know I would see in a friend’s home and be envious of! The best part of creating for others is being able to use fabrics and materials that you would never choose for your own home or your own wardrobe; pushing boundaries and hoping that your clients will fit neatly within those boundaries.
So that’s my Monday morning planning / thought session. Updates on my new bedding sets will follow. In the meantime I would love to hear from other creatives about your process, SJ.